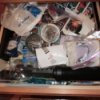
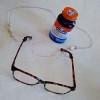
Turning boring picture frames into works of art doesn't take much more than some paint, glue, a junk drawer full of odds and ends, and an imagination! Revamping a picture frame is an easy project that you can complete in an afternoon (drying time included).
What you'll need:
Look at your boring, plain picture frame as a blank canvas, with limitless possibilities.
It's wise to plan out what kind of theme you'd like your frame to have before you start the project. What do the odds and ends in your junk drawer spell out? Rustic country style? Gothic? Outdoors-themed? Loud and colorful, or subdued?
First, think about what kind of base you'd like. It could be as simple as a couple of coats of acrylic paint. Alternately, if you have some old newspaper, rice paper or magazines you'd like to get rid of, you can create a decoupage paper base using acrylic medium. To do this, make a stockpile of paper cuttings. Paint a small area of your frame with acrylic medium, and place a cutting on the area you've painted.
Remember that before you add any sort of base or embellishment to your frame, you should remove the backing and glass first!
To give your frame an antique metallic finish, combine about 1/2 or 1/4 teaspoon of gold or bronze acrylic paint with 1 tablespoon of acrylic medium, and paint 1-2 layers of the mixture over a decoupaged or light-colored frame.
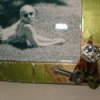
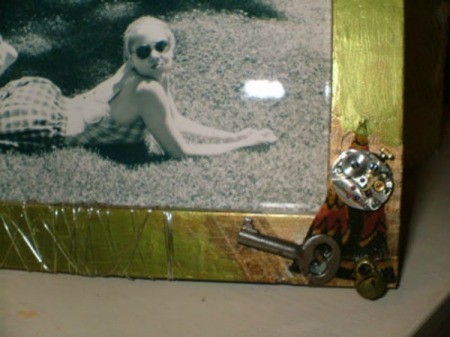
Once your base is dry, you can begin to add embellishments. This is the perfect opportunity to use up those keys whose locks are long forgotten, or that jar of single buttons.. A neat use for an old watch is to gut it with a small screwdriver and pliers, and glue its inner clockwork to your frame. Or -- string some beads onto some craft wire, and wrap the wire around the edges of the frame.
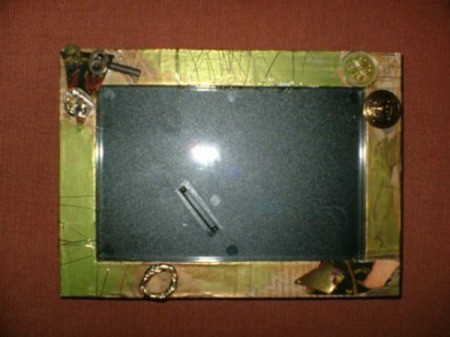
Simple tacky craft glue is ideal for a job like this one, because it's flexible but very sturdy and dries completely clear.
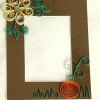
Once your embellishments have been added, you can decide whether you'd like to go over the entire frame with a coat or two of acrylic medium, to protect your creation.. This isn't always necessary, but if you've glued small beads or photos to the frame, the medium will help keep them stuck on.
Lastly -- it's important to put a special photo in your frame, and display it in a prominent place! You've created a work of art, and it will definitely draw compliments from houseguests.
© 2005 - ThriftyFun
About The Author: Jess Hampton has been an active DIY devotee since she was 15. Now, 10 years later, she uses her creations to furnish a little house in Regina, where she works as a freelance editor and lives with her husband, cat and 2 rats.
Add your voice! Click below to comment. ThriftyFun is powered by your wisdom!
Very cool, I really like the watch pieces!
margie @ hotmail.com
Add your voice! Click below to comment. ThriftyFun is powered by your wisdom!