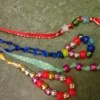
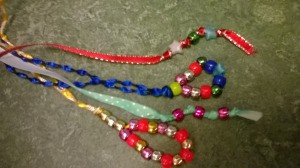
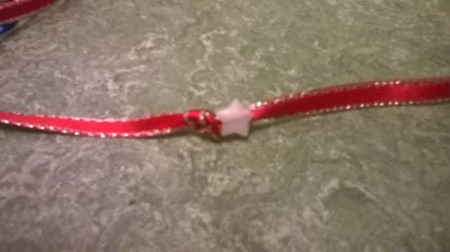
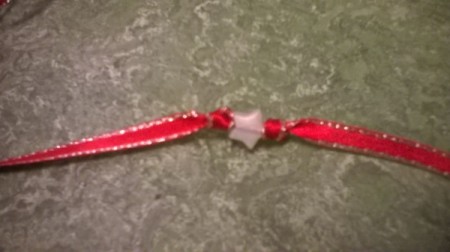
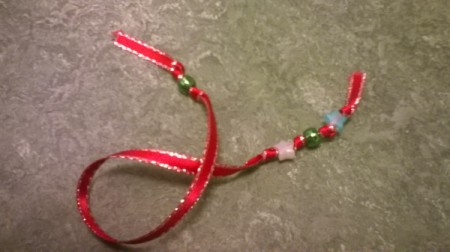
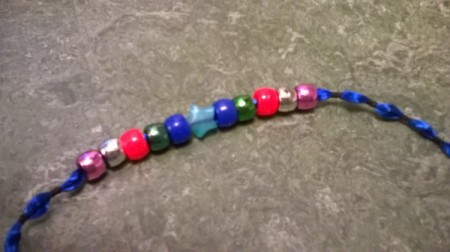
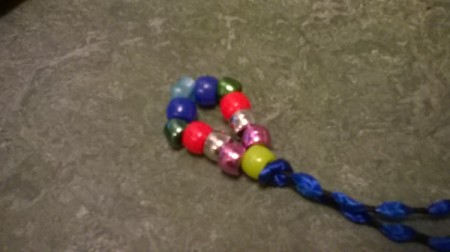
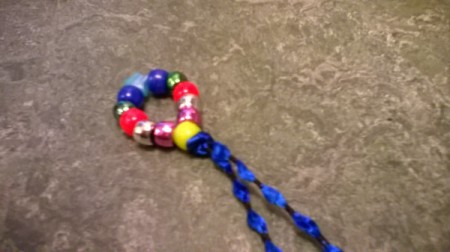
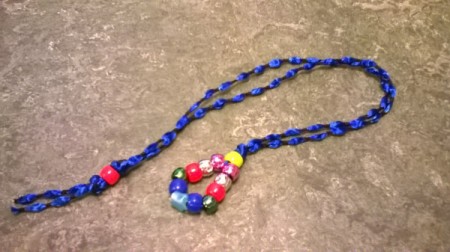
 This is one of the easiest and prettiest ways to make bookmarks. Ribbons and cords lie nicely between the pages. The beads not only make the bookmarks look pretty, but they also function as weights to hold the bookmark in place. Here are just two ways which even a child can do and the results are lovely. Make them for gifts for friends and family and for charity sales. Experiment and see what other ideas and combinations you can come up with.
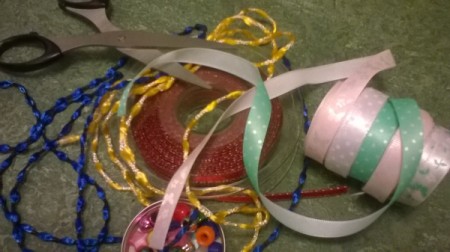
Supplies:
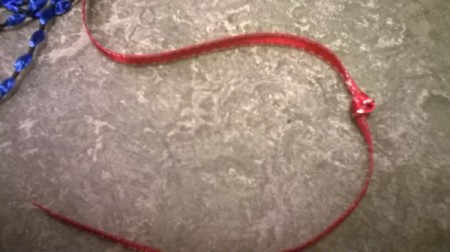
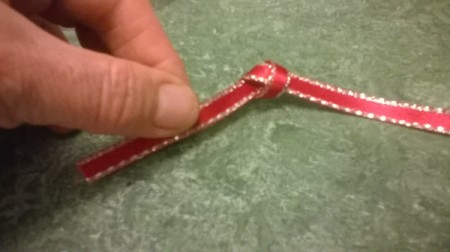
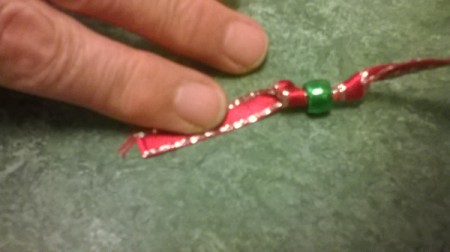
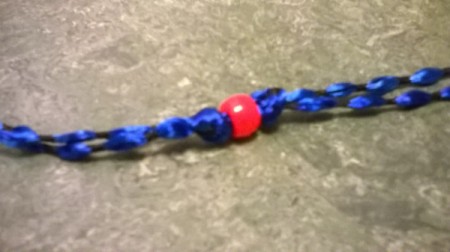
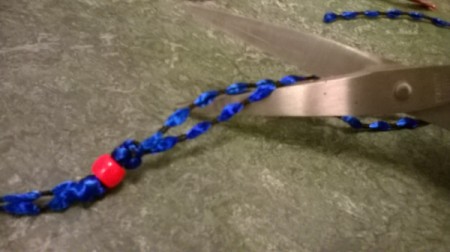
Steps:


Add your voice! Click below to comment. ThriftyFun is powered by your wisdom!