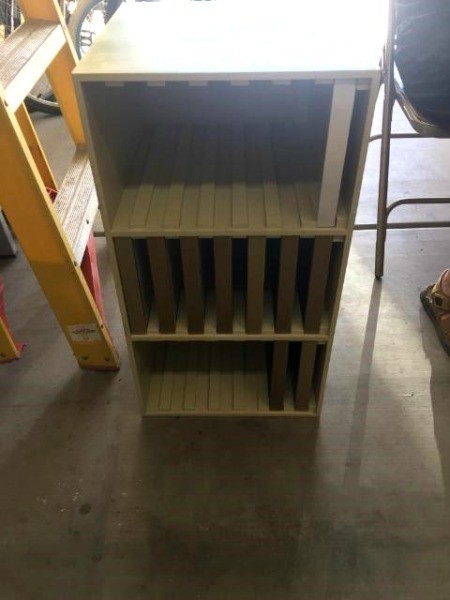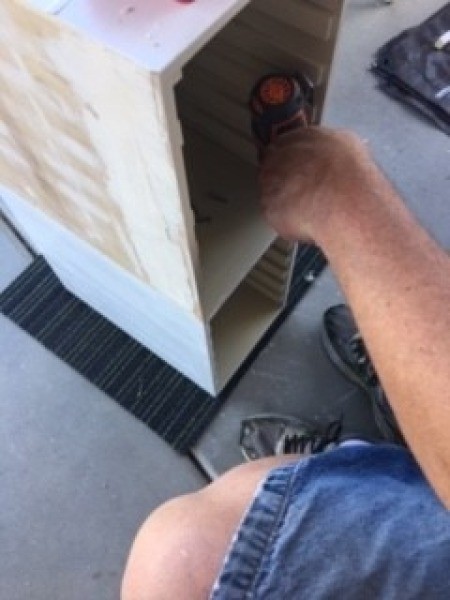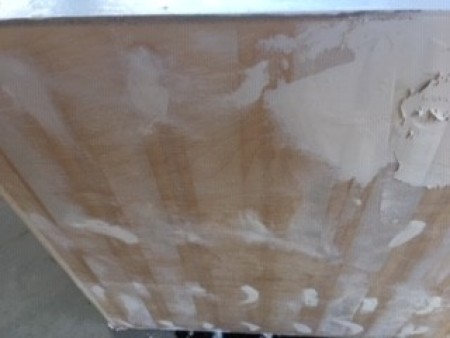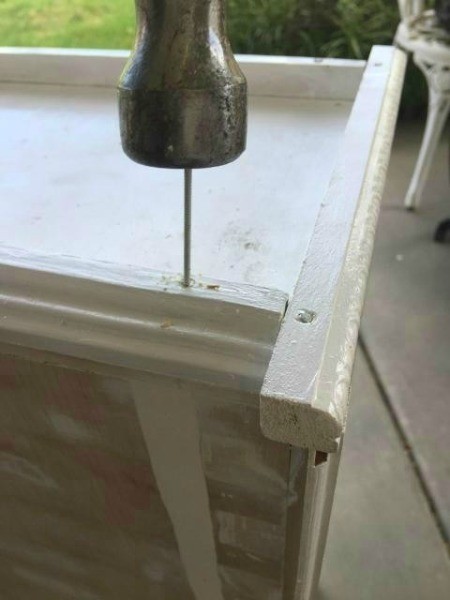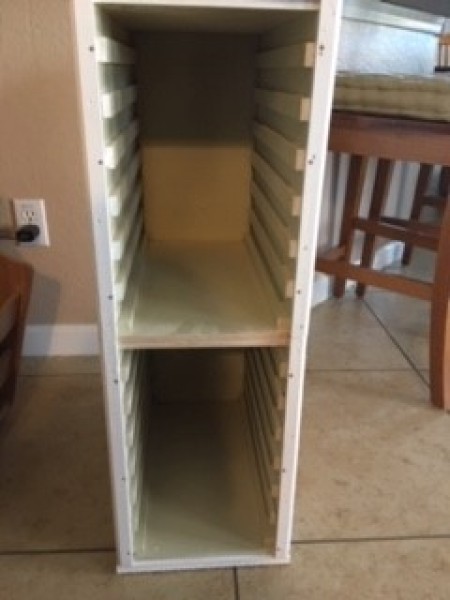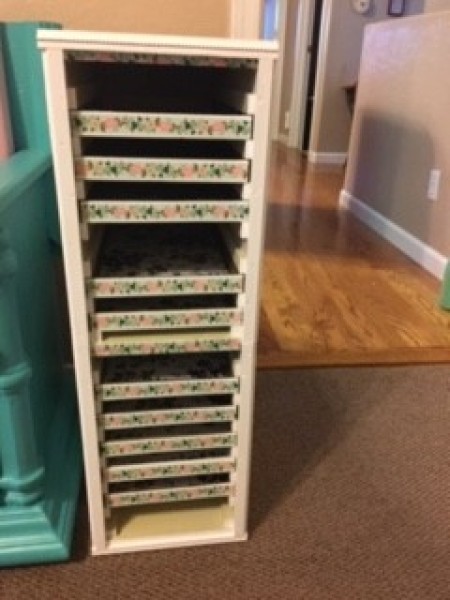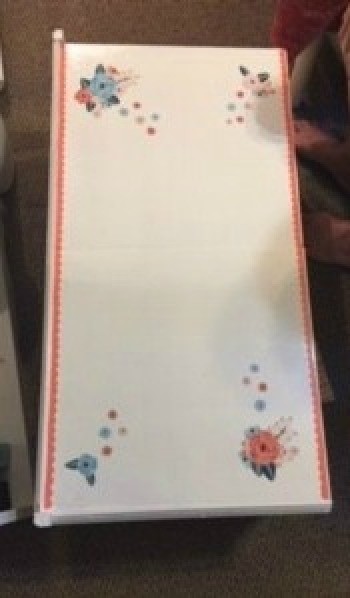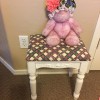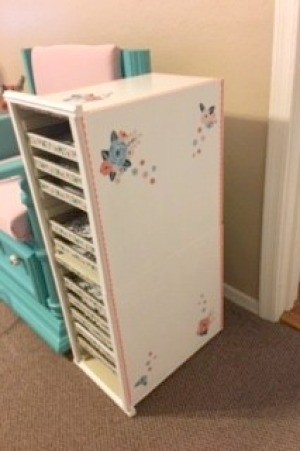
This was a boxy looking little cabinet with drawers and I wanted to upcycle it to make it look shabby chic. So this is what I did. I found the cabinet set out for trash pick up, but didn't know what it was or what to do with it. After a couple of months, we came up with this idea for storing my daughter's Bath and Body Works collection!
Total Time: 10 to 15 hours
Yield: 1
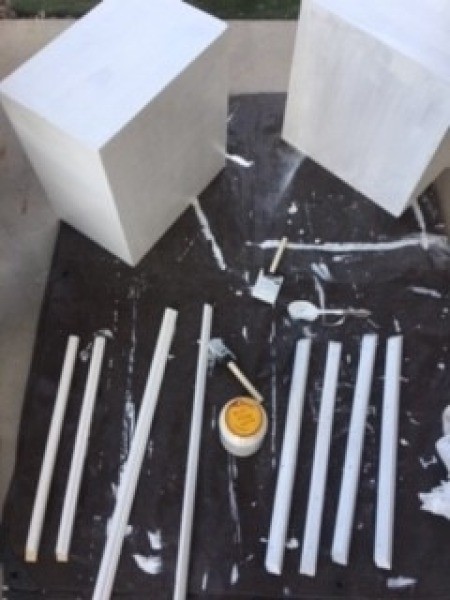
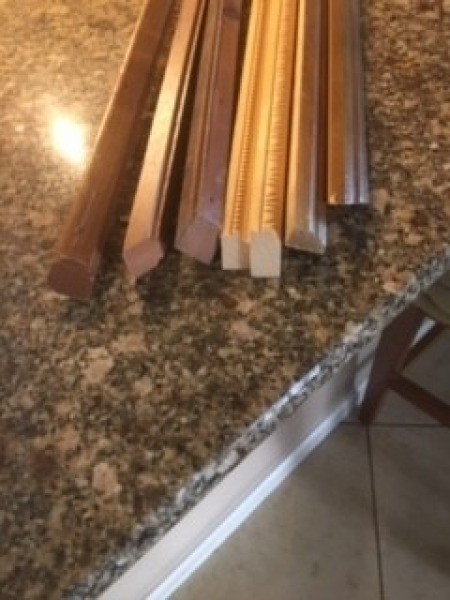
Supplies:
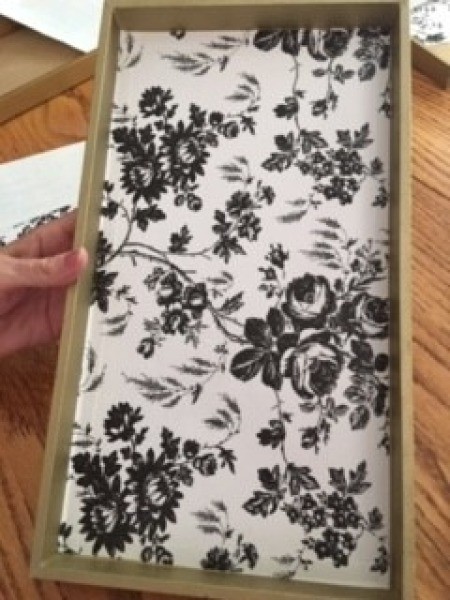
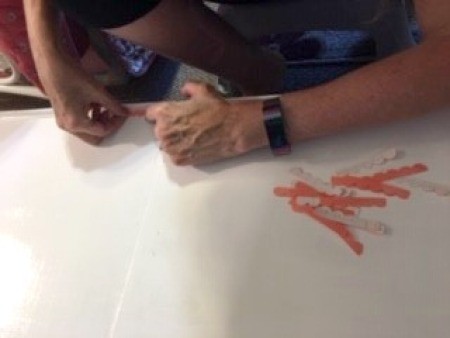
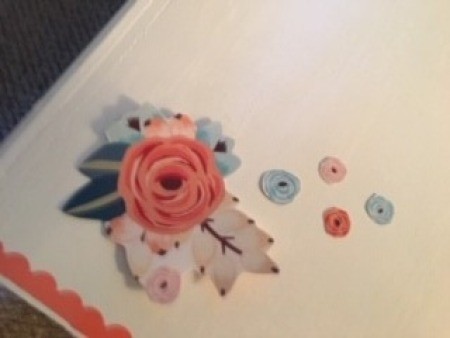
Steps: