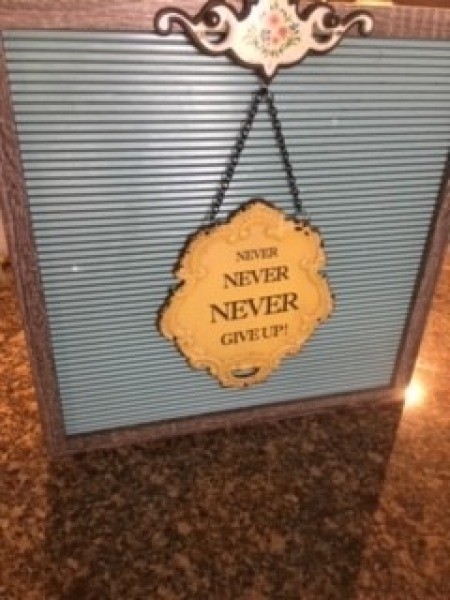
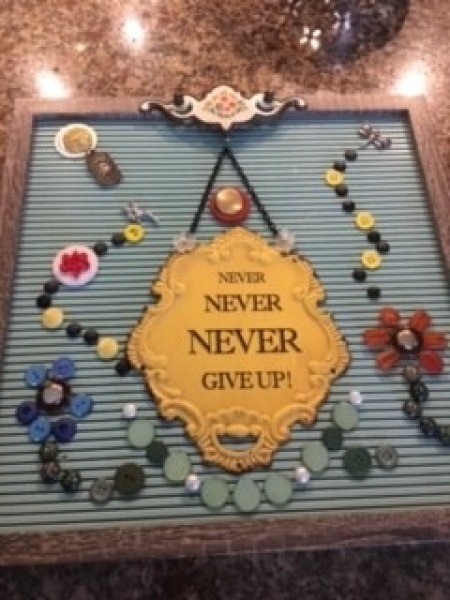
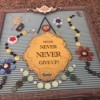
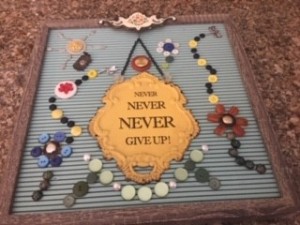
 Bought this letter board and came up with this idea to decorate it using buttons and some odds and ends of old jewelry.
Total Time: 1 hour
Yield: 1
Supplies:
- craft glue
- buttons
- jewelry
- one picture frame
- misc embellishments
Steps:
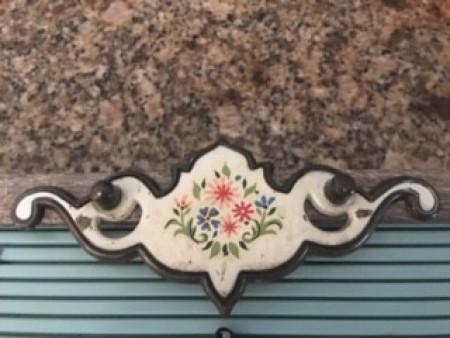
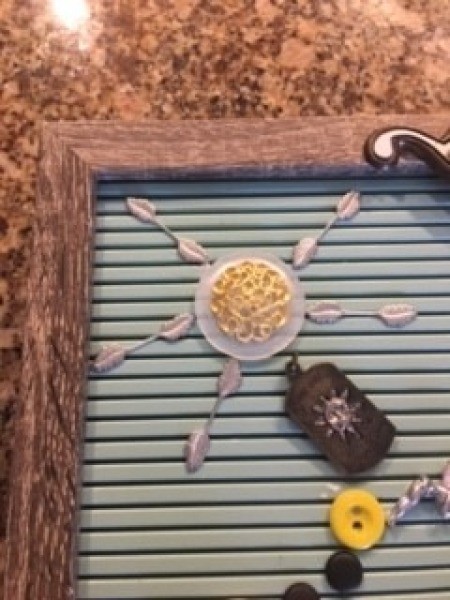
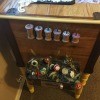
- Gather an assortment of buttons, charms, jewelry pieces, etc. I even threw in a broken drawer pull and a metal quotation wall hanging!
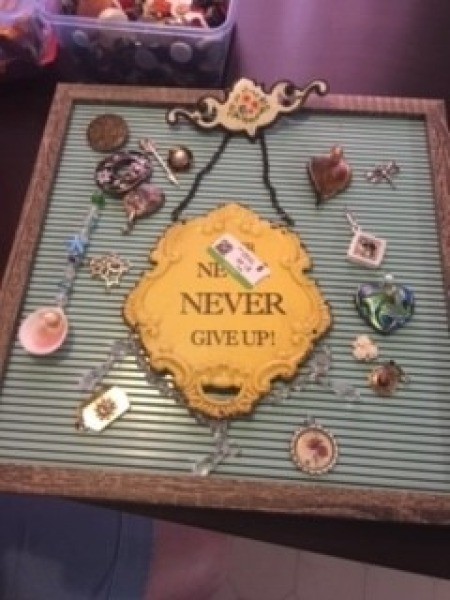
- Lay out a design using the embellishments. My idea was inspired by the drawer pull--the layout of flowers and colors--to copy onto the surface of the picture frame. I made a sun in the corner.
- We attached the drawer pull and the metal wall hanging to the interior of the picture frame with nails.

- Then, I glued each piece of the decor to the surface of the picture frame with craft glue and let dry.
Add your voice! Click below to comment. ThriftyFun is powered by your wisdom!