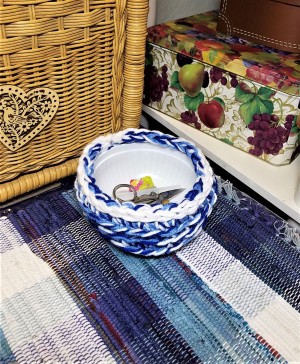
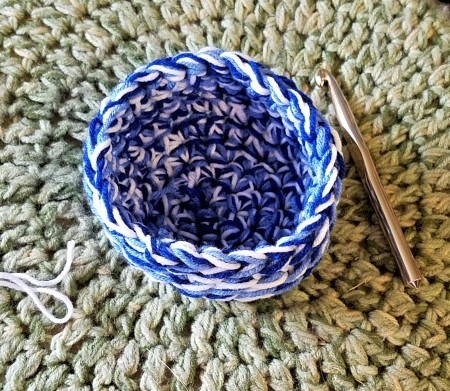
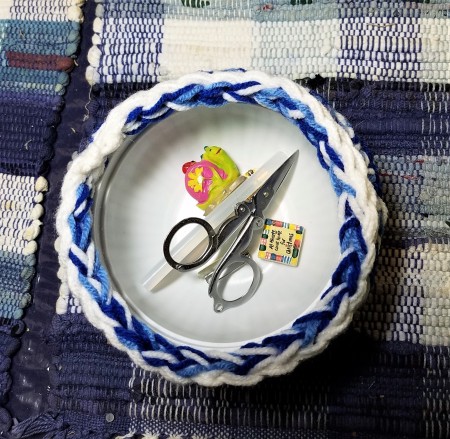
 Do we not all have a little place where we put things "till we have time to put them where they go"? Well I can't be the only one. So today I made one for my table, and might make others for my desk, bathroom, and kitchen.
Total Time: 30 minutes
Yield: 1
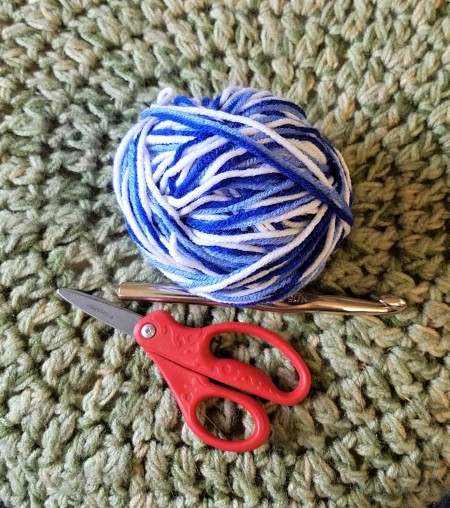
Supplies:
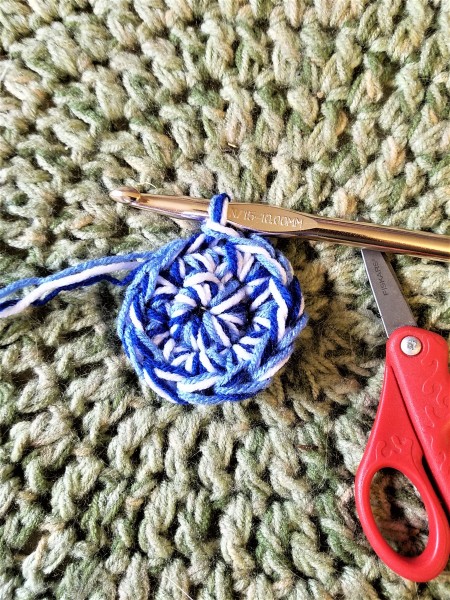
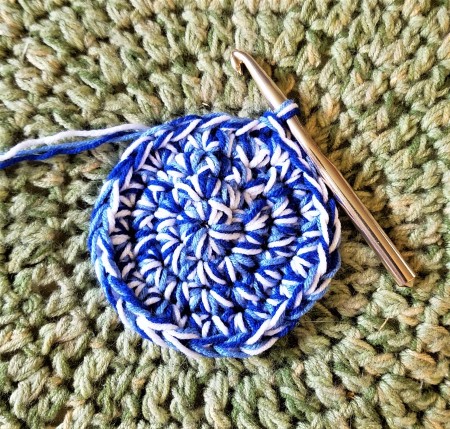
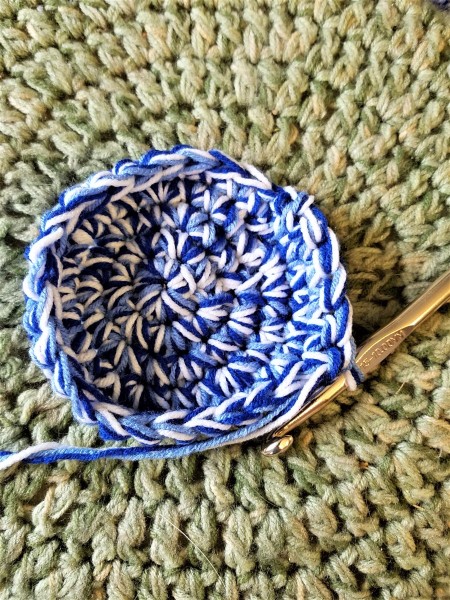
Steps:

Add your voice! Click below to comment. ThriftyFun is powered by your wisdom!