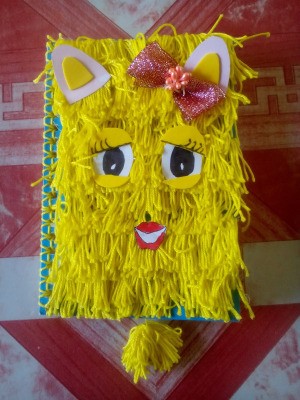
 Make your notebooks fancy with this back to school notebook idea. I like it because it's like a 3D cover design and it's always up to you to come up with what kind of animal or character to use as a concept or theme. And it is something you could enjoy doing with kids.
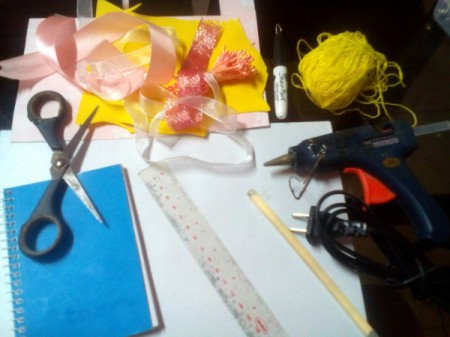
Supplies:
- notebook
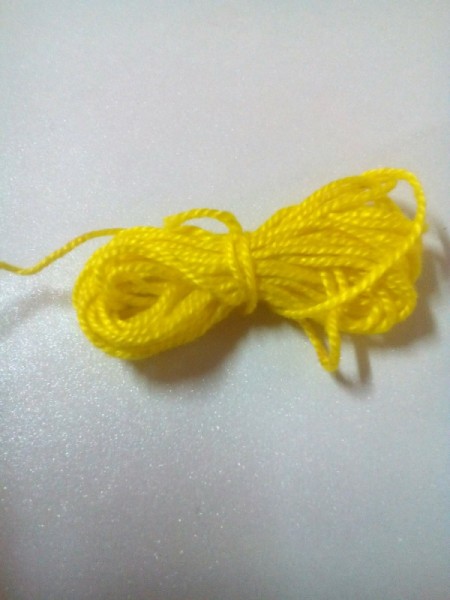
- 1 roll yarn
- hot glue
- white cardboard paper
- foam boards (optional)
- scissors
- drawing and coloring materials
- ribbons
- any scrap that can be used as decoration
- ruler
Steps:
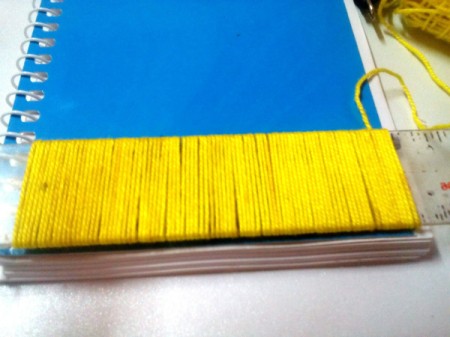
- Measure the width of the notebook and mark the ruler.
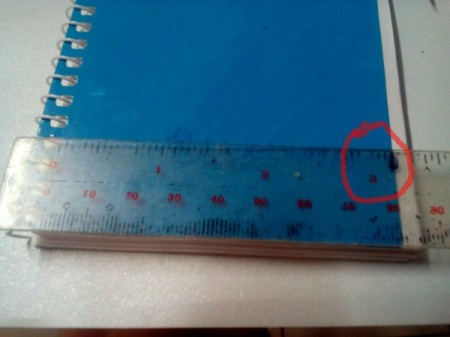
- Neatly roll the yarn onto the ruler, beginning from 0 up to the marking.

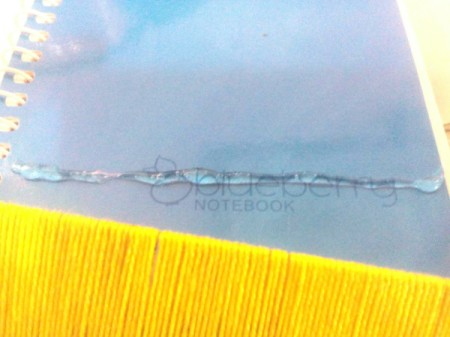
- Position the ruler on the bottom part of the notebook and carefully apply a thin line of hot glue onto the notebook. Stick the rolled yarn to the notebook.
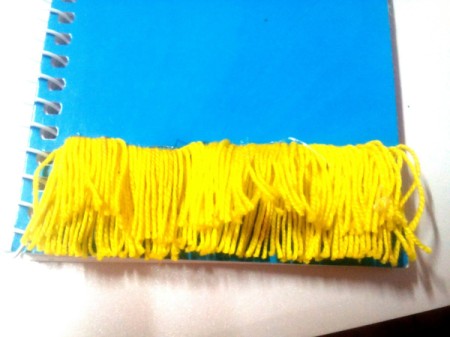
- Cut the bottom of the rolled yarn.
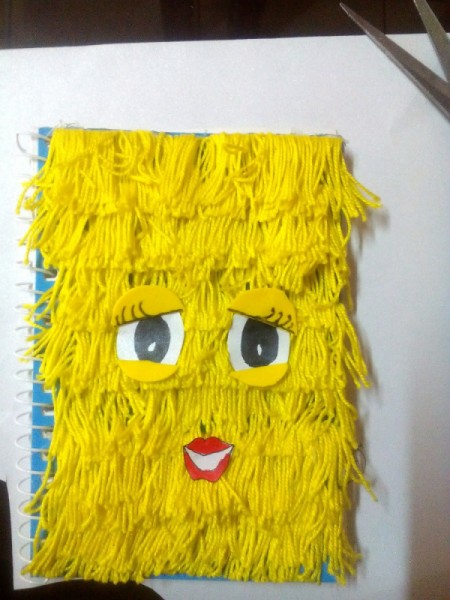
- Create more layers until you reach the top portion of the notebook.
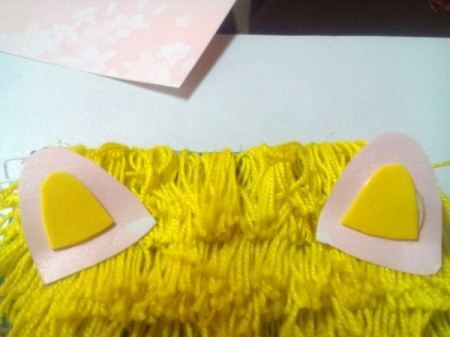
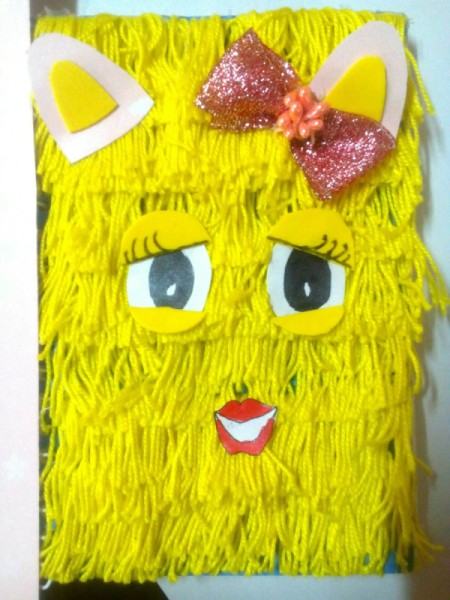
- Now start decorating by putting on the eyes and lips.
- Next, attach the ears and some fancy ribbon.
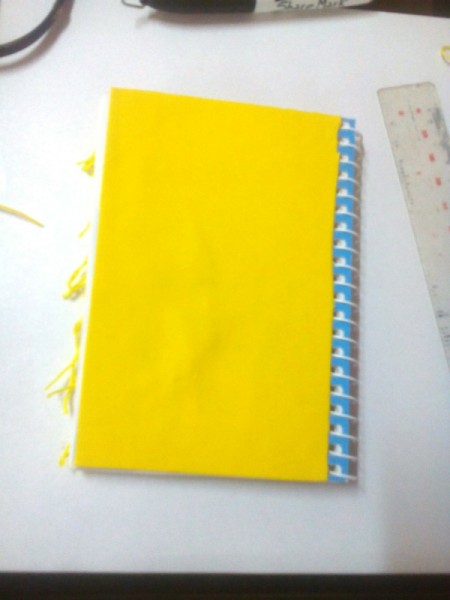
- Since I'm just using scraps of everything, I just covered the back portion with a scrap of foam board. If you have enough yarn, continue to cover the back with layers of it.
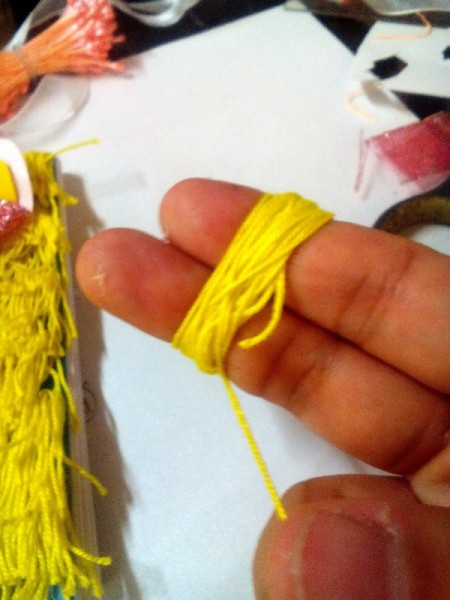
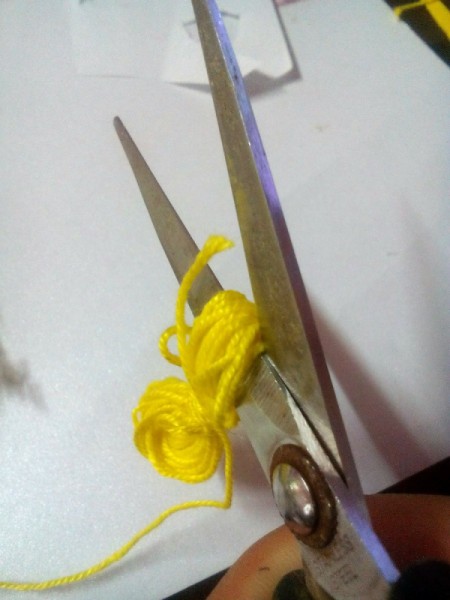
- For the tail, make several wraps of yarn around your two fingers.
- Remove that from your fingers and tie the middle of the roll.
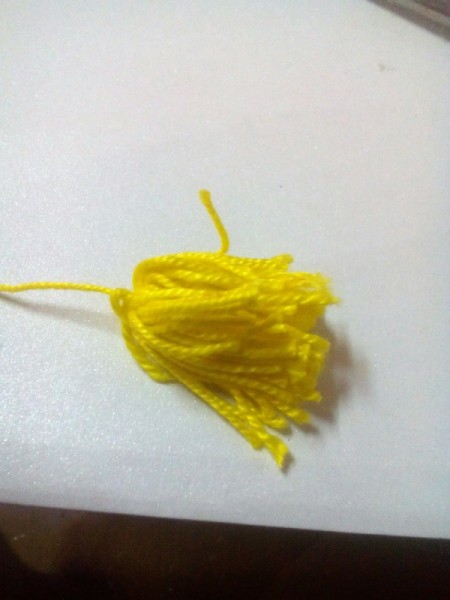
- Cut the edges to form a mini pom-pom.
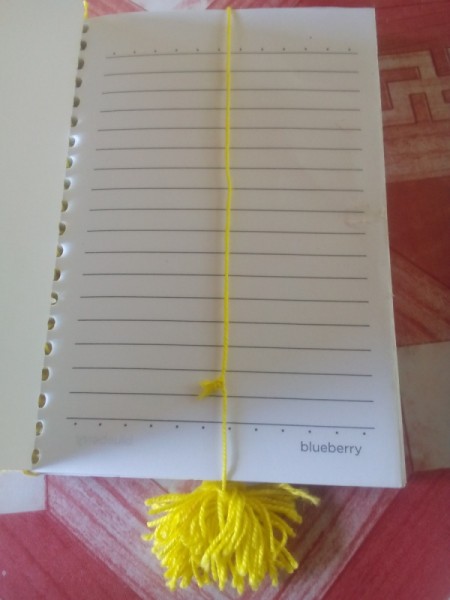
- Tie the other end of the pom-pom onto a piece of ribbon, making a bow.
- Stick the bow onto the lower back portion of the notebook.
- Pull up the pom-pom from the back, down to any page of the notebook so it serves as a marker.
- Done!
Add your voice! Click below to comment. ThriftyFun is powered by your wisdom!
15mhhm15
Diamond Post Medal for All Time! 1,298 Posts May 17, 20180 found this helpful
Very cute notebook!!
attosa
Diamond Post Medal for All Time! 1,246 Posts May 17, 20180 found this helpful
Awwww cute!
Add your voice! Click below to comment. ThriftyFun is powered by your wisdom!