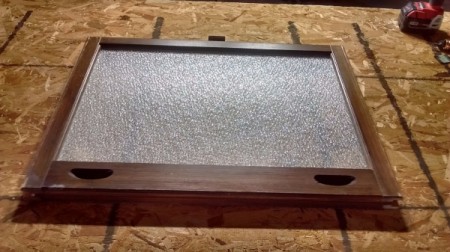
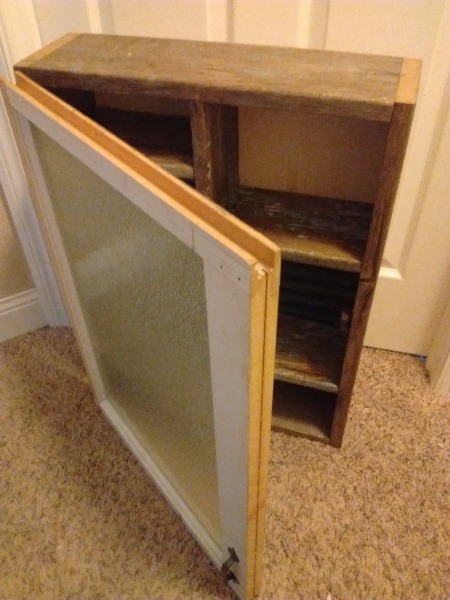
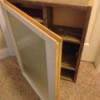
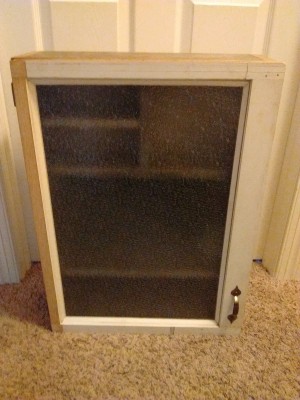
 Once this cabinet was done, it had a look of unity and rusticness. The balance of my cabinet is asymmetrical, meaning it isn't balanced on both sides, but what rustic piece of furniture is? I used multiple examples of form when I used multiple rectangles off the top of my head. There is at least six. Also, I used varied textures, including the textured rain glass, the metal accents in the back, and the wood's own texture.
Total Time: About 8 hours, split up into three days
Supplies:
- 1 vintage translucent textured rain glass window
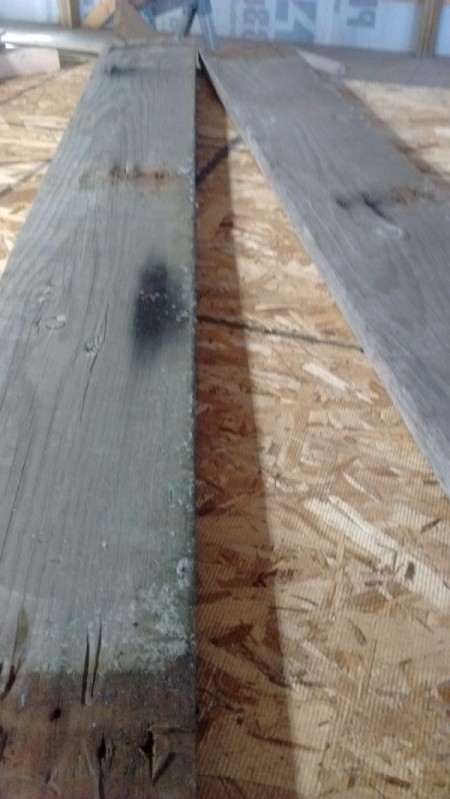
- multiple (4-6) pieces of weathered old wood, roughly 50 - the wood we used was about 100 years old
- 1 3/4 baltic birch plywood
- 8x 3 finished trim screws
- table saw
- chop saw
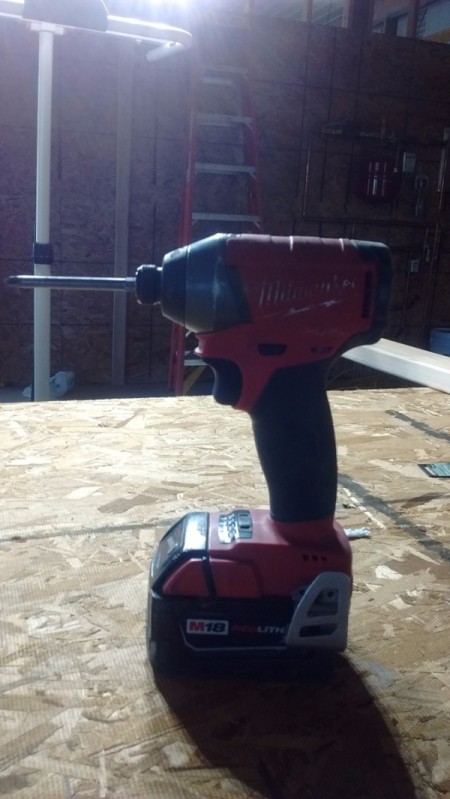
- Milwaukee cordless impact driver
- drill
- brad nail gun w/nails
- nail set
- hammer
- end pullers
- circular saw
- putty knife
- sanding sponge- fine 220 grit
- 1 qt polyurethane
- safety eyewear
- spray bottle or paper towel
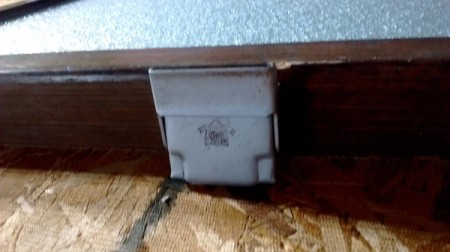
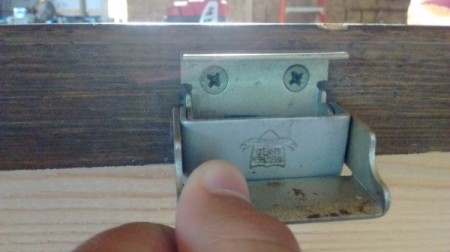
- antique magnetic catch
- antique brass handle
- antique brass hinges
- clear NPC caulk
- 3-4 null foam brushes
Steps:
Notice: I am working wet, meaning I used a damp cloth to get the wood damp so any possible lead dust will not be inhaled while sanding it.
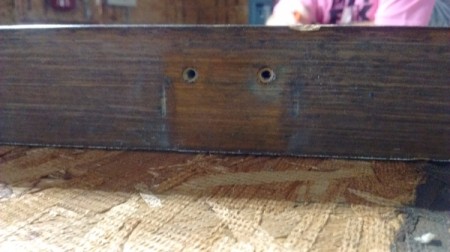
- First, all window hardware needs to come off. I used the Milwaukee cordless impact driver.
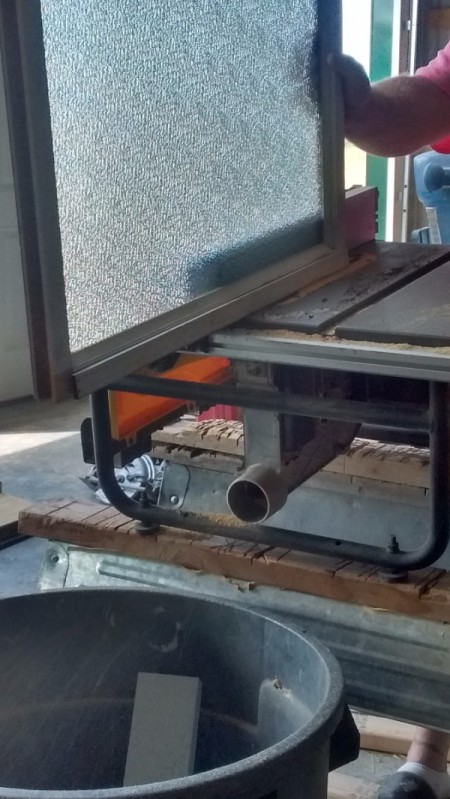
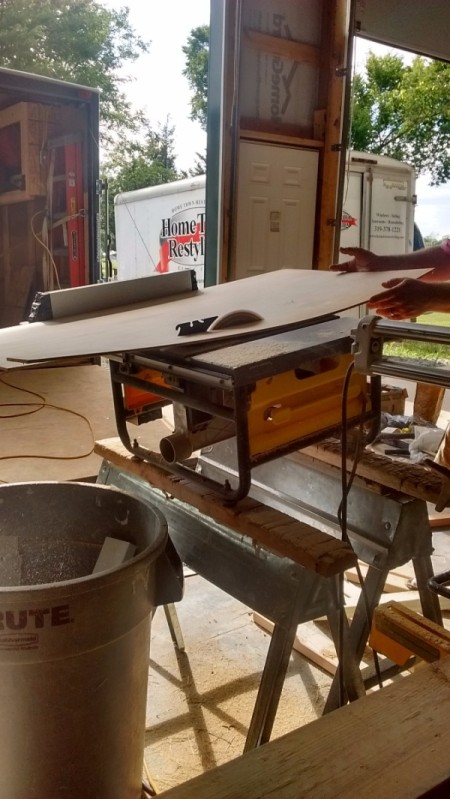
- Next, all the surfaces on your window need to become level by using the table saw.
- The stain on my window was in good shape, therefore it did not need sanding or new stain.

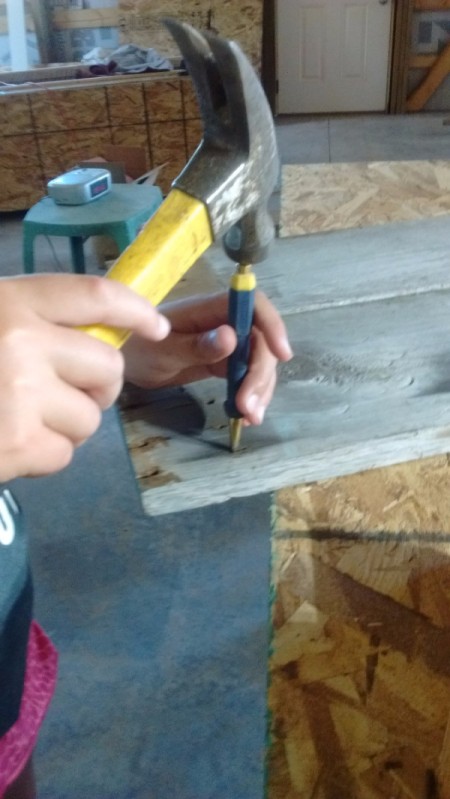
- I used reclaimed wood. The problem with that is, there are almost always screws or nails. I used a nail set, hammer, and end pullers to pull out most of them.
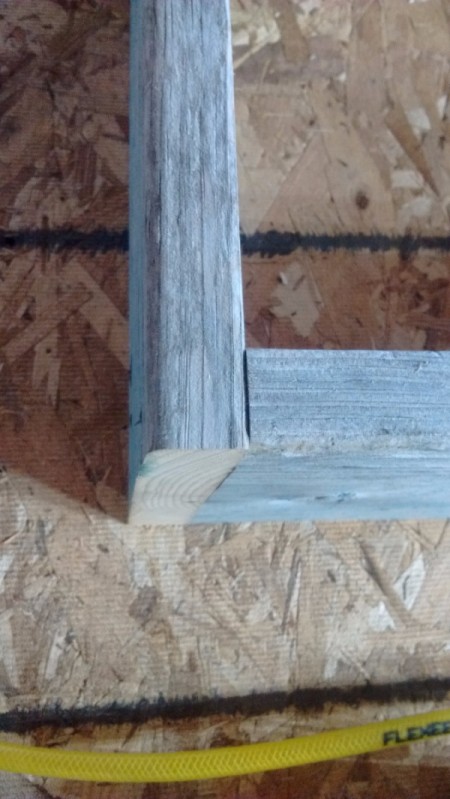
- Some of my wood had splits around the edges so I had help cutting them down to a width where all of our pieces didn't splinter. I used the table saw. After that I had some help using the chop saw to cut two pieces 27" from each piece of wood, then two 18 ¼" pieces which are not the width of the window because I am making butt joints, as you will see in the next step.
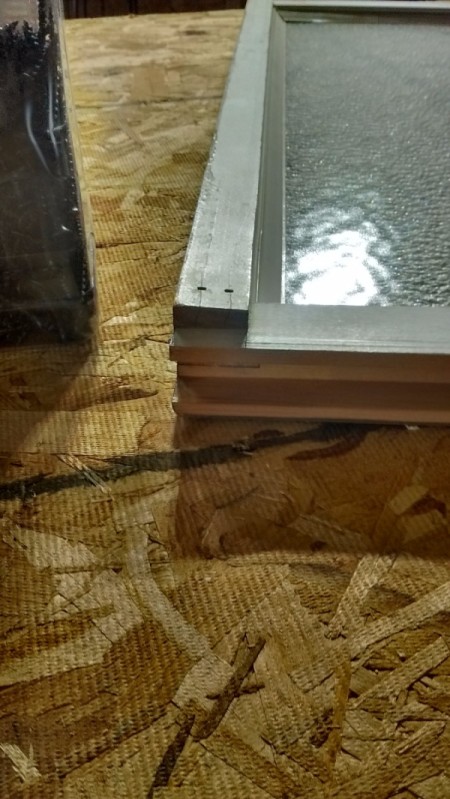
- I assembled the box or frame. I used our nail gun to tack the edges together in a more quick manner, then we will reinforce them with screws.
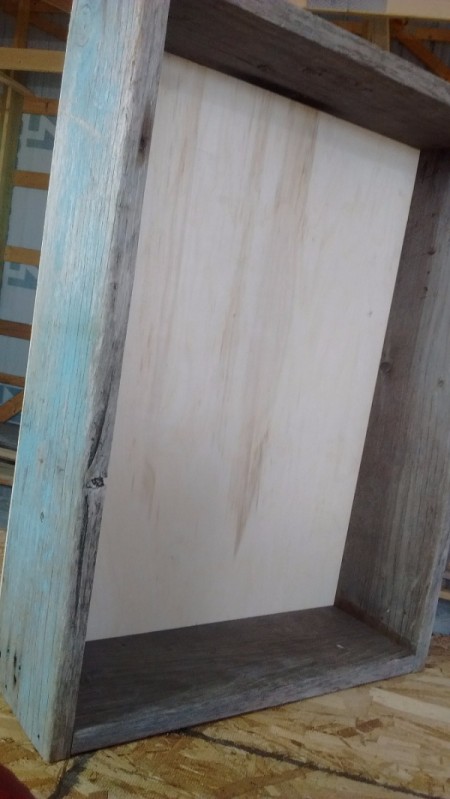
- Now I am ready to use the piece of baltic birch plywood. I had help cutting it so it is 20¼" x 27". The tools used were a circular saw and table saw.
- I used the square edges of the plywood to square the frame and secured it with our brad nail gun.
- Moving on to another board, I have to use the putty knife and the sanding sponge to knock off the loose paint and debris. I have more help using the table saw again to rip (cut) it to width. I used the chop saw to cut it to length, which is 18 ¼" wide.
- I placed my shelves as follows, the bottom shelf was 5 ½", the middle shelf was 10", and the top shelf was 8". I made a divider for the top with a micro shelf. They are not necessary, but a customized cabinet is not something you see every day.
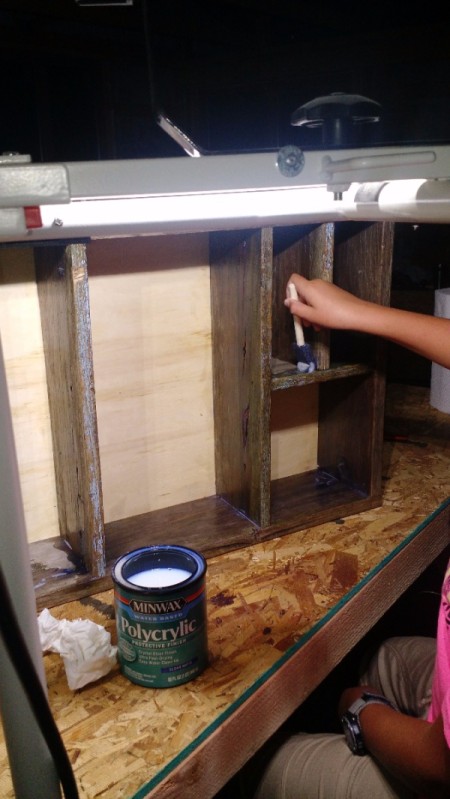
- At this point in time I opened up the can of polyurethane and I used foam brushes to cover all of the sides.
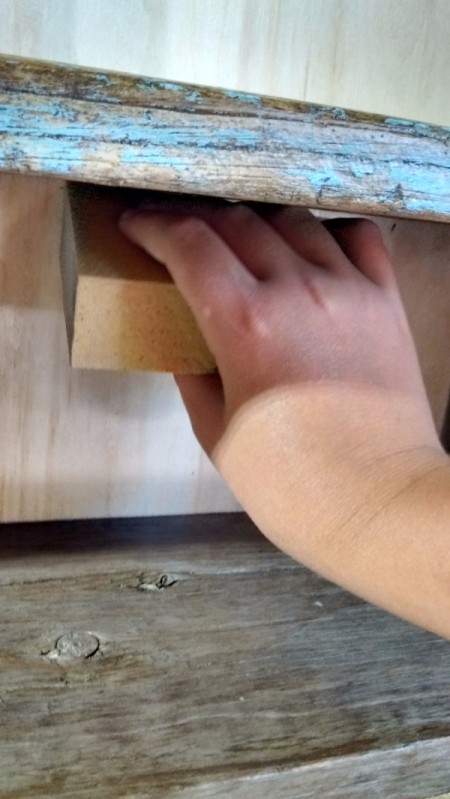
- Once all of the layers were dry I sanded down all the sides so they were smooth and then put another coat on.
- At this point in time, I am now able to put on all of my hardware. I position my hardware where I want it.
- Then I made pilot holes using a drill with a 1/16 sized bit to make sure that when screwing in the screws my wood will not split.
- I used the screws that come along with my hardware and I installed them in the appropriate spots. This includes the handle, hinges, and magnetic catch. All contribute to the mounting and operation of the door.
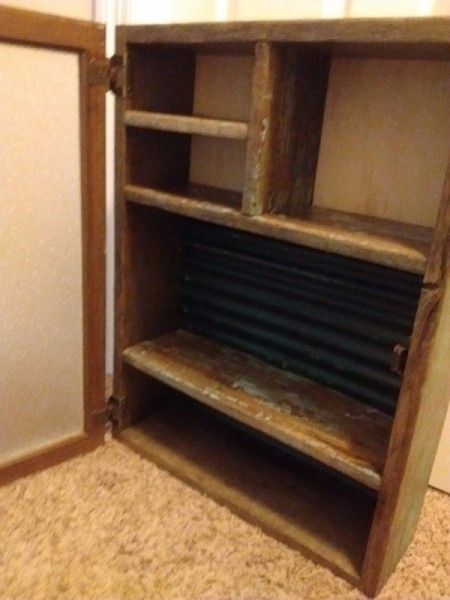
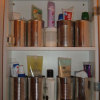
- When I was making my cabinet, I was going to stop there then someone suggested using some old corrugated metal on the back of it.
- I used tin snips to cut out the size of the middle shelf and the bottom. I had some help because the metal is old and tough.
- Now I used our caulk gun, and I put it on the back of the bottom and the middle shelves.
- I screwed in 3 ¼ x ¼ drive self-tapping sheet metal screws to ensure that the caulk holds it properly.
- After the caulk dried I used a damp paper towel to remove any particles or dust, then I cover everything in a layer of polyurethane.
- After the last layer of polyurethane dried, as liquid turns to solid a handcrafted primitive style cabinet is finished.
Add your voice! Click below to comment. ThriftyFun is powered by your wisdom!
October 1, 20161 found this helpful
this cabinet came out perfect
Add your voice! Click below to comment. ThriftyFun is powered by your wisdom!