If you have a vintage sewing machine in its original cabinet, you might want to consider a makeover. The restoration can include getting the machine into good working order and restoring or refinishing the cabinet. Whether you use it for sewing or as a piece of decor this can be a very rewarding and enjoyable project. See how it was done here.
deenagoodale Bronze Post Medal for All Time! 221 Posts
June 10, 2020
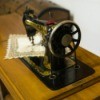
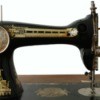
After receiving this 1938 Singer sewing machine and cabinet from a friend, my husband and I took on the restoration project together to put our "stay-at-home during COVID 19" to good use!
Total Time: 16 hours
Yield: 1
Supplies:
paint and paint brush
stain and varnish
sandpaper
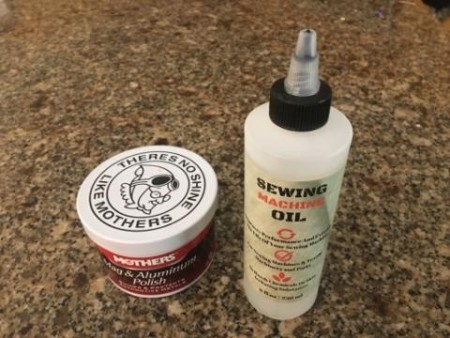
sewing machine oil
miscellaneous tools
light fixture and electrical supplies
Mother's mag and aluminum polish
finishing sander
Mod Podge and brush
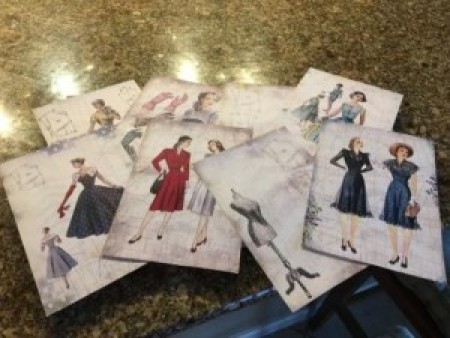
printout of vintage patterns
Steps:
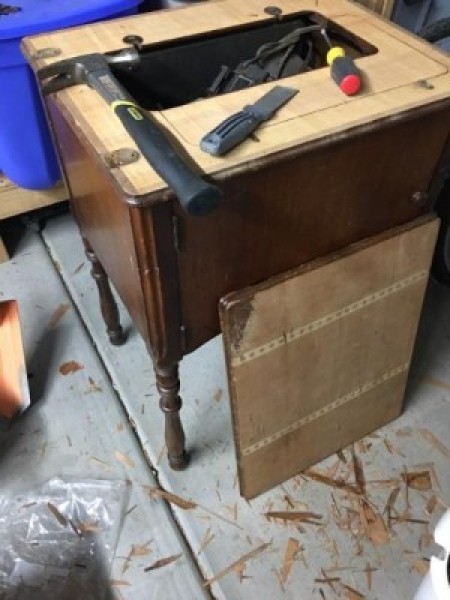
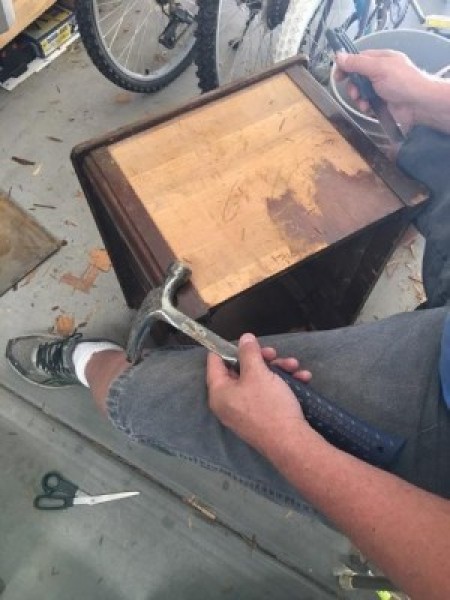
Using a putty knife and hammer, we removed the veneer finish from the cabinet with the exception of the legs. We also removed the side table to use as a shelf inside of the cabinet.
Advertisement
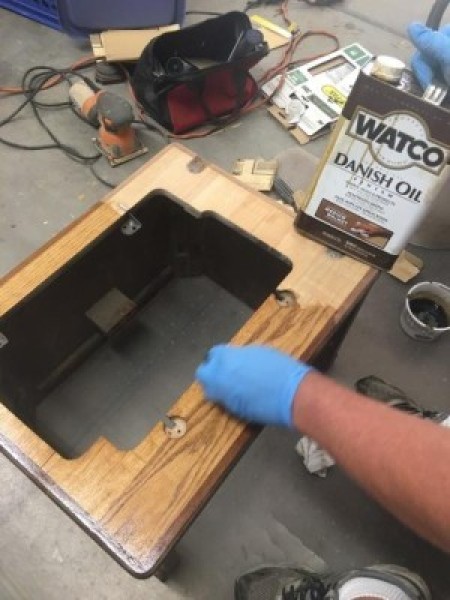
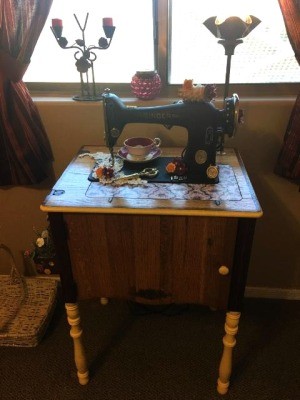
The surfaces were then sanded, stained, and varnished.
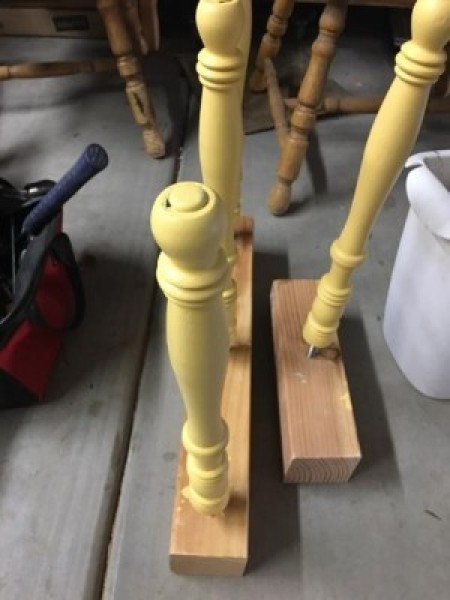
The legs were painted.
The sewing machine was cleaned with oil and metal polish. This step took about eight hours.
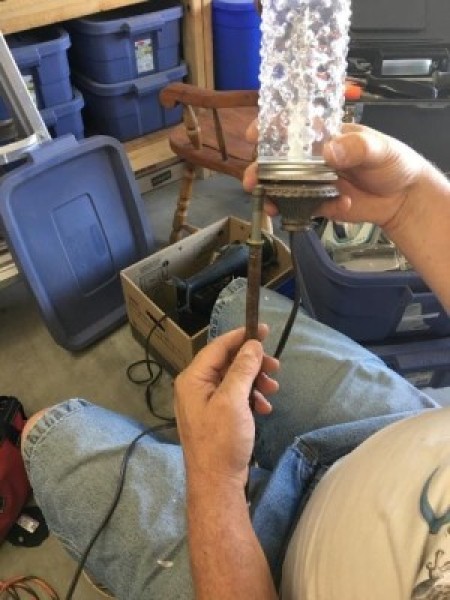
A light fixture was added. For our lamp, we used a jar for the shade, a metal tortilla mold for the lamp shade base, a metal rod and cord from an old lamp, and added a push button switch to the side of the cabinet.
Advertisement
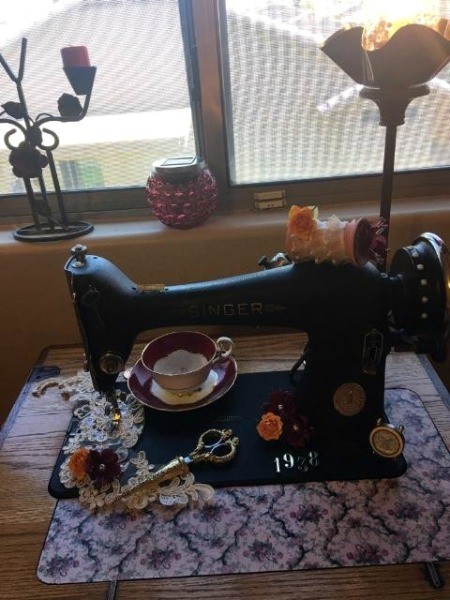
Finished and decorated top.
The shelf which was originally located on the side of the sewing machine was attached to the inside of the cabinet for storage and was mod podged with vintage sewing pattern printouts.
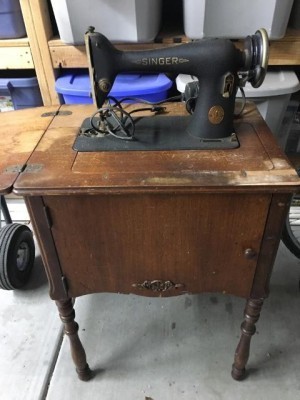
 After receiving this 1938 Singer sewing machine and cabinet from a friend, my husband and I took on the restoration project together to put our "stay-at-home during COVID 19" to good use!