 If you're looking for a fun and easy origami project, look no further than the origami twirly-copter! This project is perfect for kids of all ages, and it's a great way to teach them about geometry and aerodynamics. Plus, it's a lot of fun to fly!
Total Time: 5 minutes
Yield: 1
Link: The Daily Dabble
Supplies:
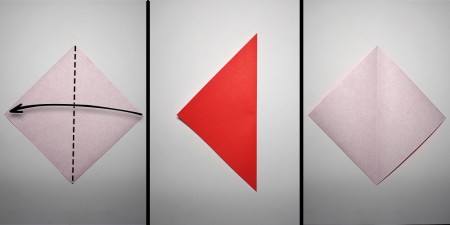
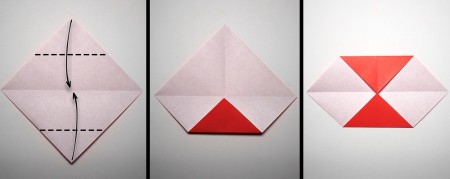
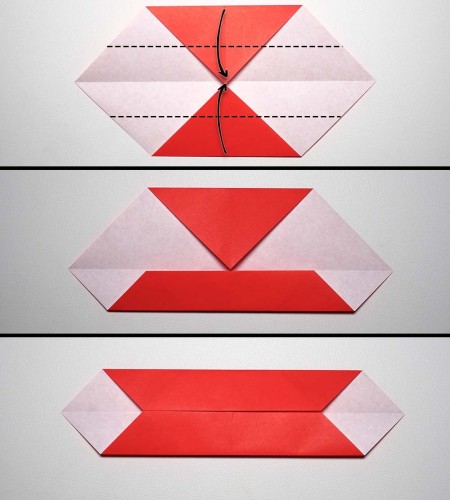
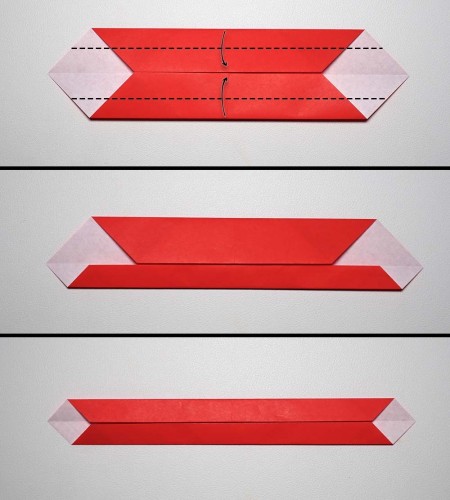
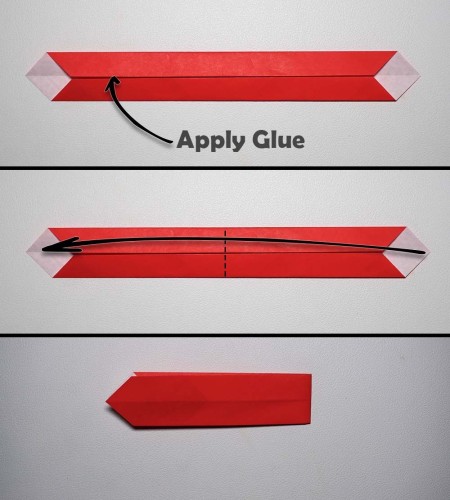
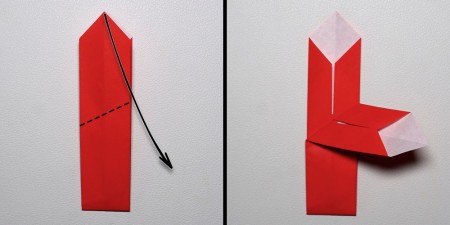
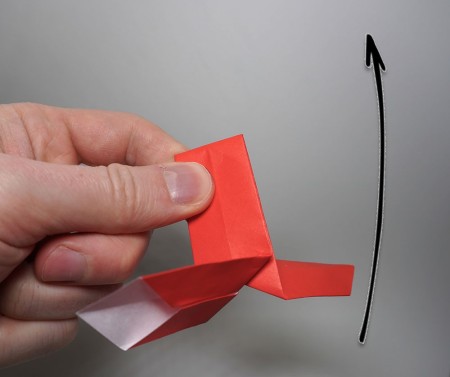
Steps:

Add your voice! Click below to comment. ThriftyFun is powered by your wisdom!