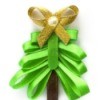
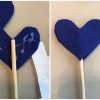
 These are perfect wands to make for a girl's birthday! Or for your child to play with. Your child can play with this wand at home, during dress up, or outdoors. They are very inexpensive to make and are made with items you may already have around your home.
Total Time: 25 minutes
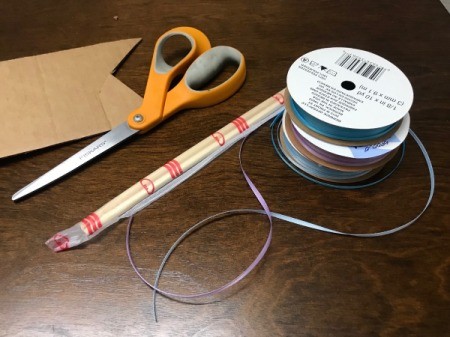
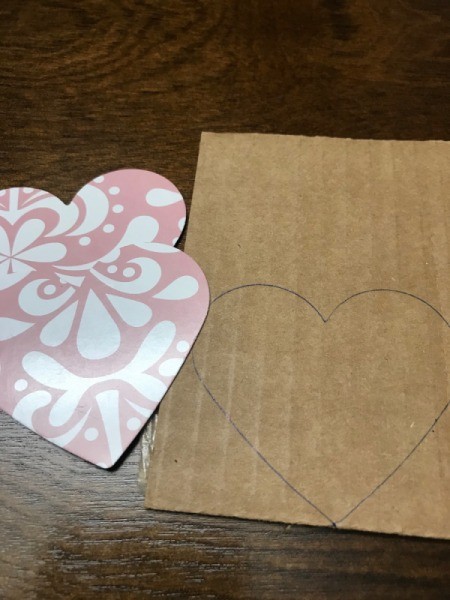
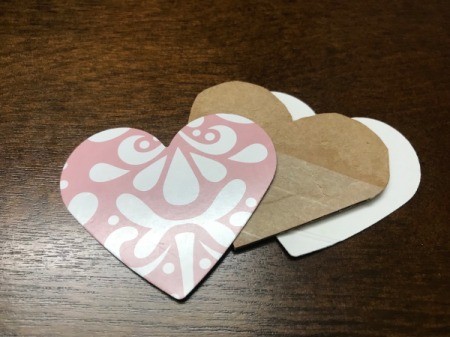
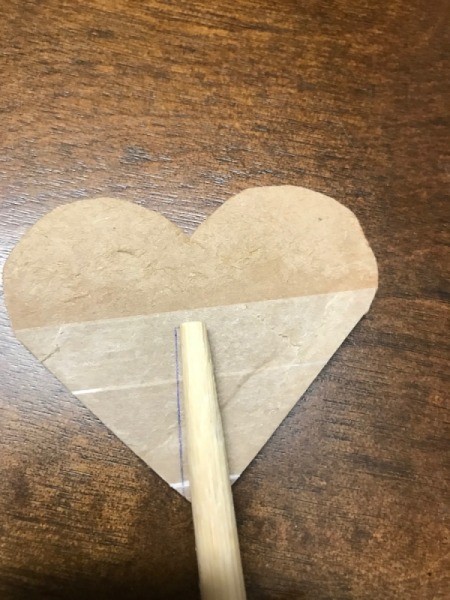
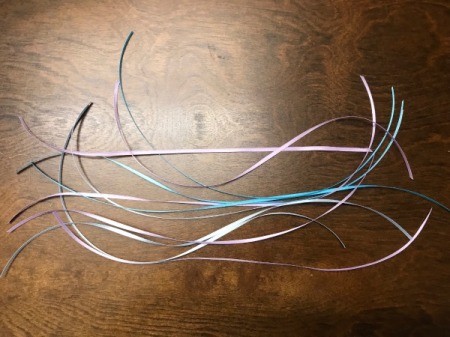
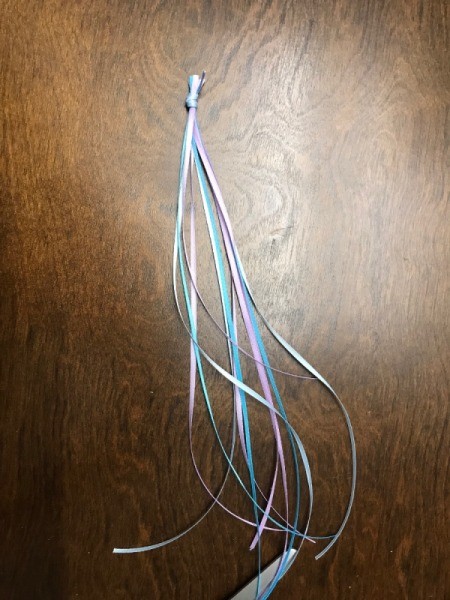
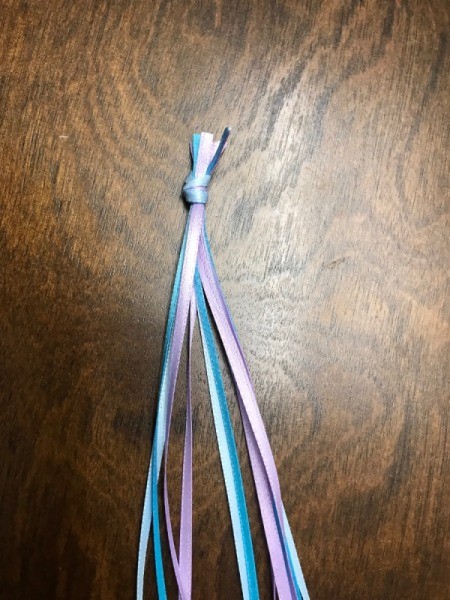
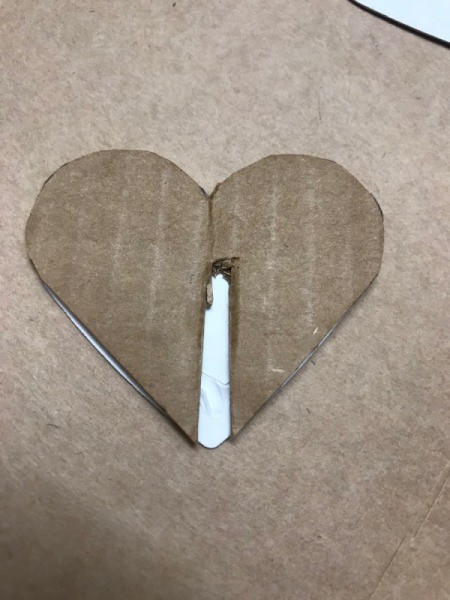
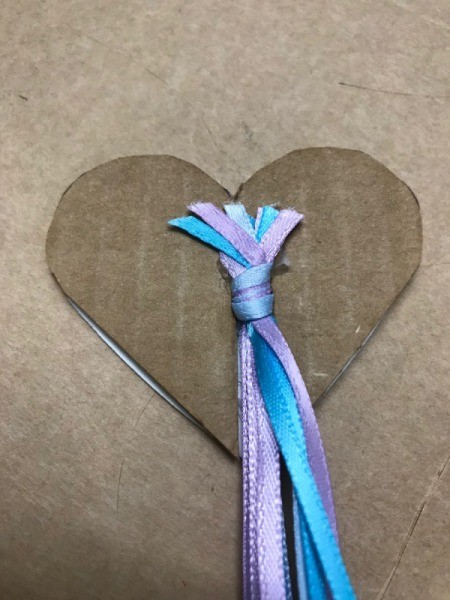
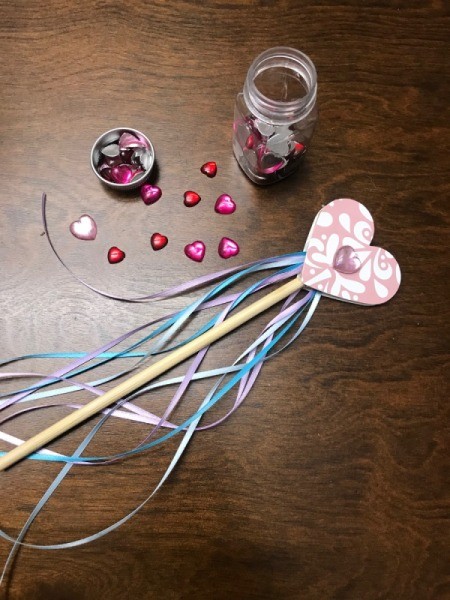
Supplies:
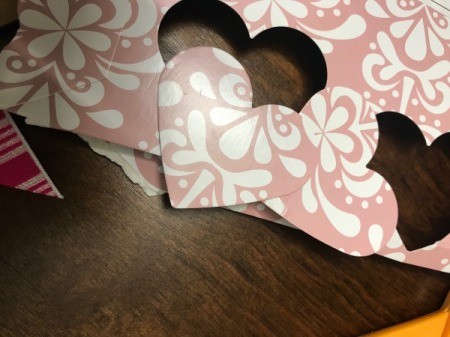
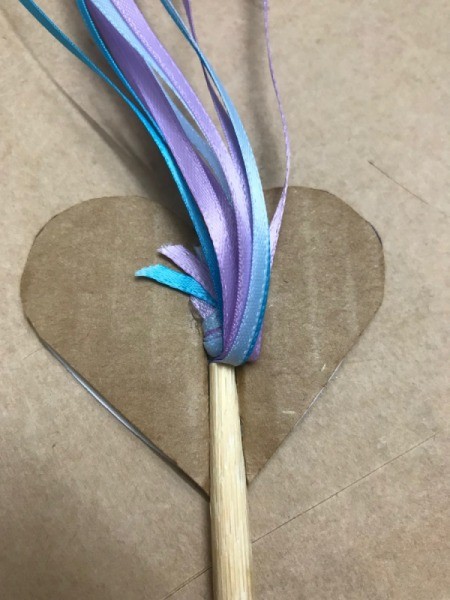
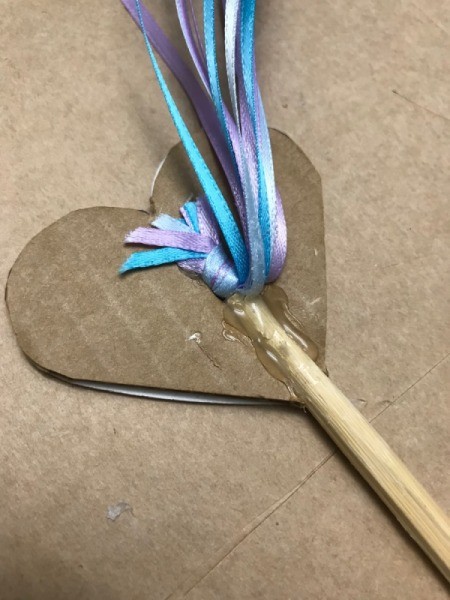
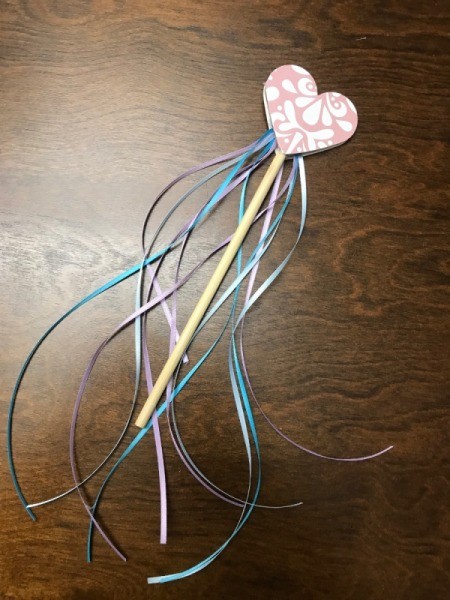
Steps:


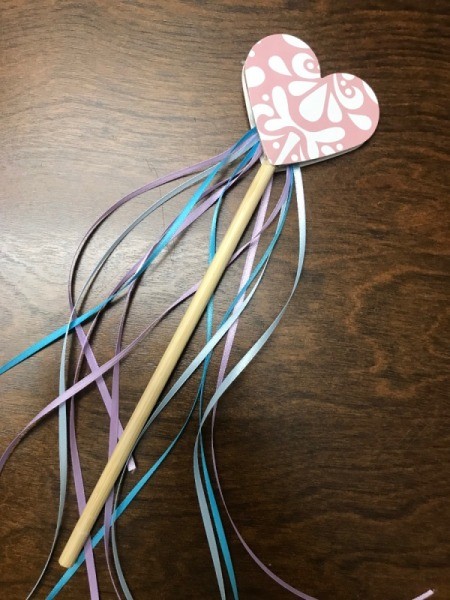
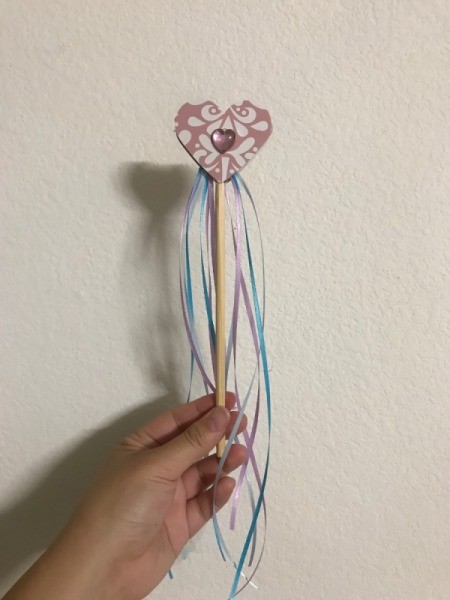
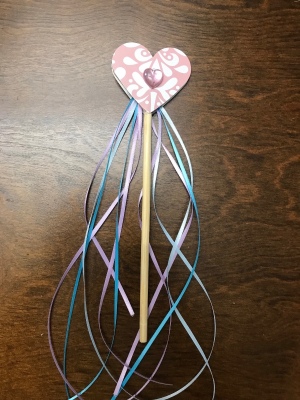
For a girl? For a child? Nu-uh, lady! I'm making one for ME :D
I had so much fun twirling the wand like I was a princess haha!