 This is another of those crafts you think about forever and then finally get to do! I hope you like it!
Total Time: 3 hours
Yield: 1
Supplies:
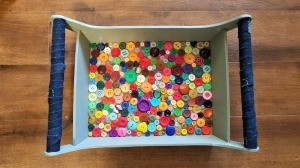
- 1 wooden tray
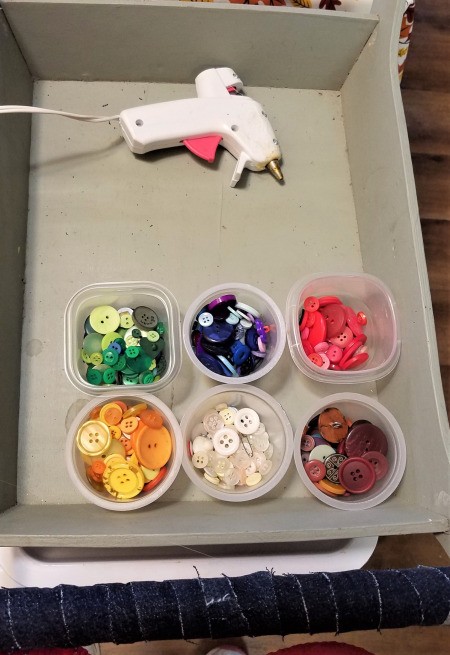
- 6 cups buttons
- hot glue gun and 3 sticks
- 2 sq ft scrap denim
- scissors
- resin or a piece of plexiglass to cover buttons, optional
Steps:
Have seen them on line. All white, so I wanted color in mine
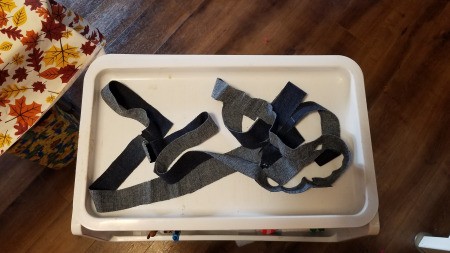
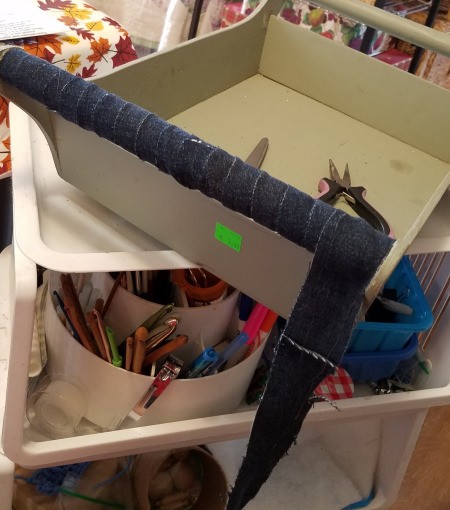
- The first thing I did, was to cut the denim strips from an old pair of jeans. Firing up the glue gun, I then glued them together and then wrapped the handles of the tray.

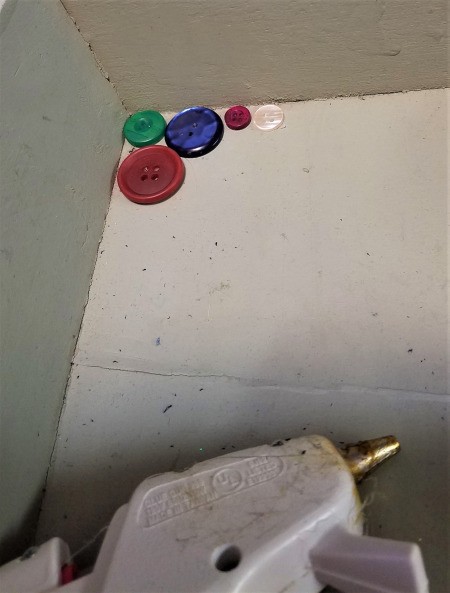
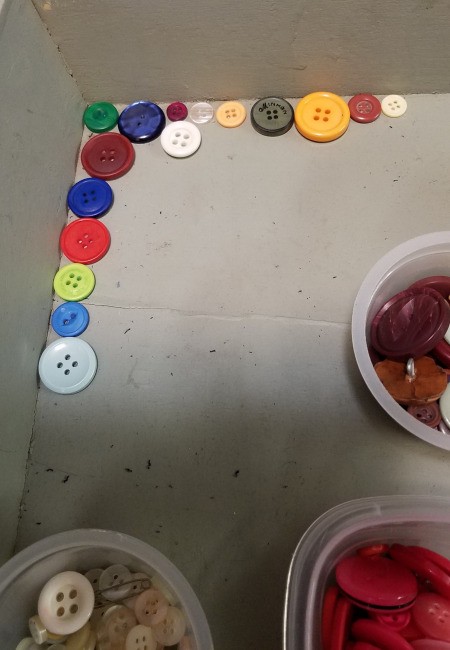
- Once the handles were done, I then began the buttons. There is no right way to do this. I began in the corner and just started to glue them down. You can start at the bottom row, do it diagonally, etc.
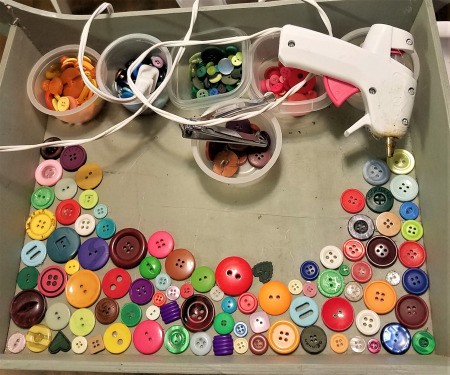
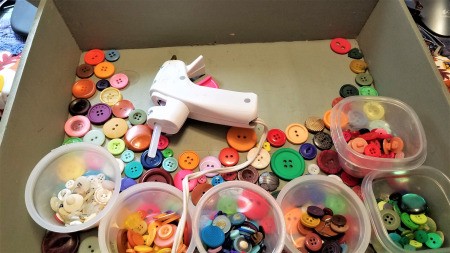
- I kept adding buttons, big and small. I was holding the tray as I was adding them, so when half was done, I flipped the directions so I had a blank part of the tray bottom to work on, once the other half was done.
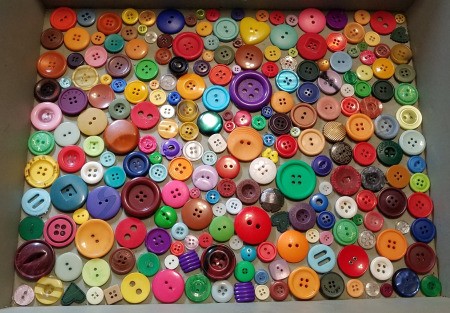
- Once I got the buttons all glued in, I tried to find the smallest buttons to fill in the larger gaps. I was pretty happy with the results. The only thing that would have been cool, is what I discovered when the bigger buttons were thicker than others. When I make another of these, I will make sure the buttons are all the same thickness.
- NOTE: You can either pour resin in it, or get a piece of plexiglass to lay inside. This is recommended if you are planning to use it as a serving tray. N-JOY!!