lalala...
Gold Post Medal for All Time! 899 Posts 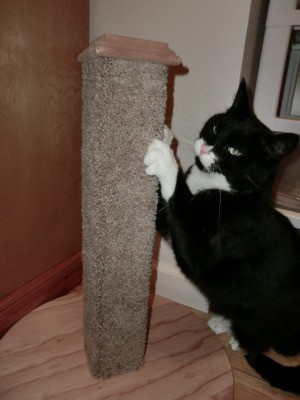 Our cat Oolong decided to start scratching our book case. Apparently he was mad that we got rid of our big cat tree. My husband and I decided that we would make him a small scratching post that we could put next to where he was scratching. These cat scratching posts end up costing less than $10 to make.
Total Time: 1 hour
Yield: 1
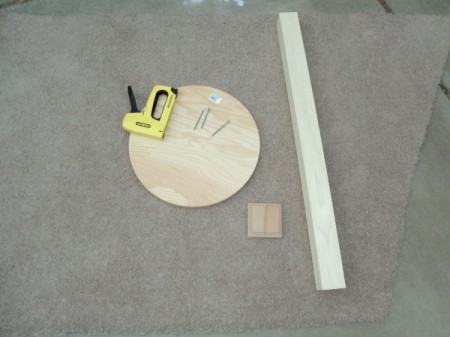
Supplies:
- 1 3 x 3 wooden post ($3.00)
- 1 post cap ($1.00)
- 1 pre-cut plywood circle ($4.00)
- 3 wood screws ($.25)
- 1 carpet remnant (at least 18 x 15 in.)
- nail gun or glue
- staple gun
- utility knife
Steps:
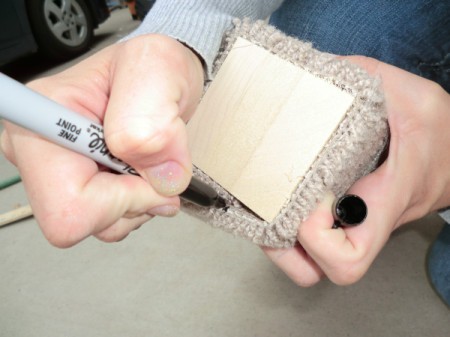
- Find the center of the circle and trace around your post for placement later. Then find the center of the square that you drew and mark it and a few other spots for screws. (Note: To find the center, use a right triangle...)

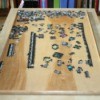
- Pre-drill holes for your screws at the marked spots.

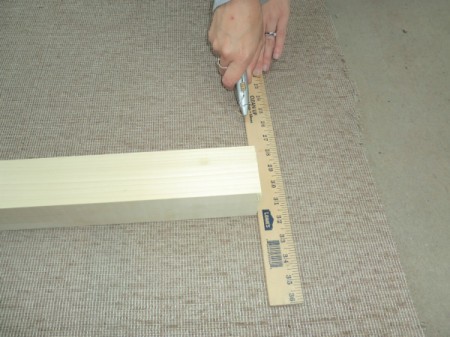
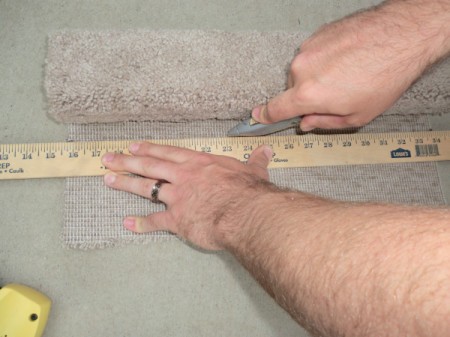
- Lay carpet, backing side up. Measure out a rectangle (18 in. x 15 in.), marking the lines with a Sharpie. Then using a utility knife and a straight edge, cut out the piece of carpet.
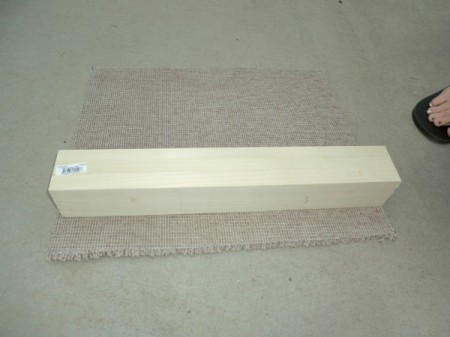
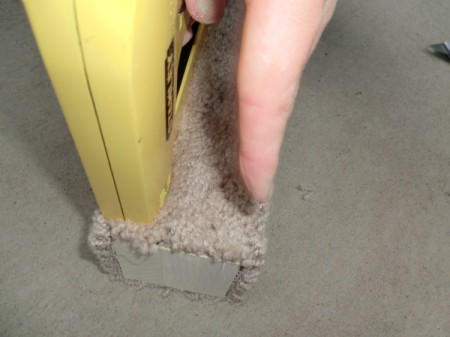
- Lay your post on the carpet piece. Pull the edge up and over the post, placing the edge about halfway across the side. Hold the carpet edge down and staple all the way along the edge to secure it. Be sure to push down hard on the stapler to ensure that they go all the way through the carpet and into the wood.
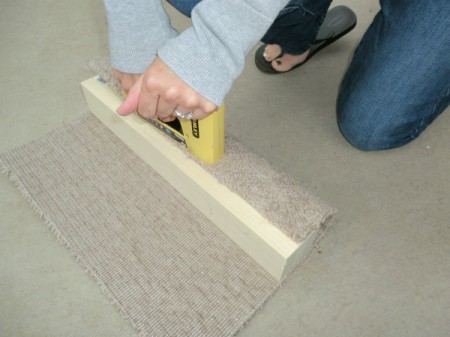
- Holding the post tightly against the carpet, begin to roll the post onto the next side. Staple the bottom and top edges. I added an addition staple in the middle too. Repeat on the next two sides.
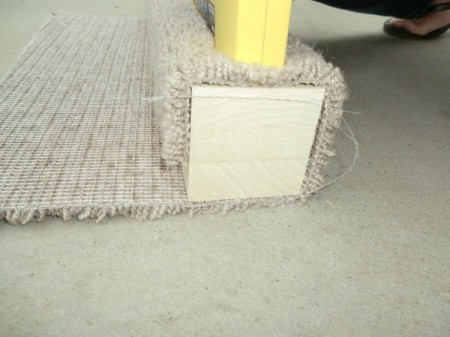
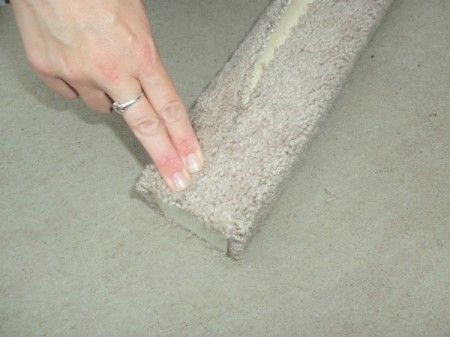
- Lay the remaining carpet against the post and using a Sharpie mark it (on both ends) where it overlaps the starting edge of carpet. Then lay the post back down and use a straight edge to cut off the excess carpet.
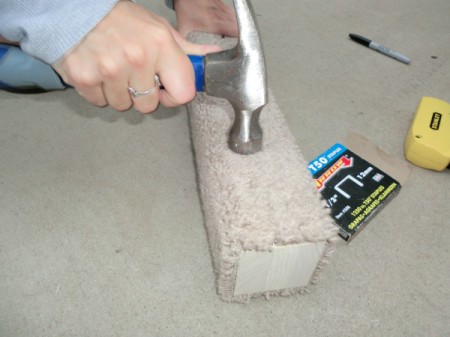
- Pull the carpet edge up tight to the other edge and staple it down all along the edge. Once you are done stapling, use a hammer to tap all of the staples in as far as you can. This will help prevent your cat's claws from catching on them when they are using the post!
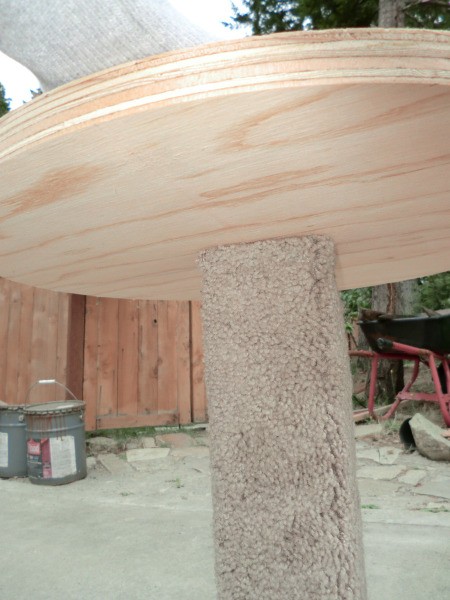
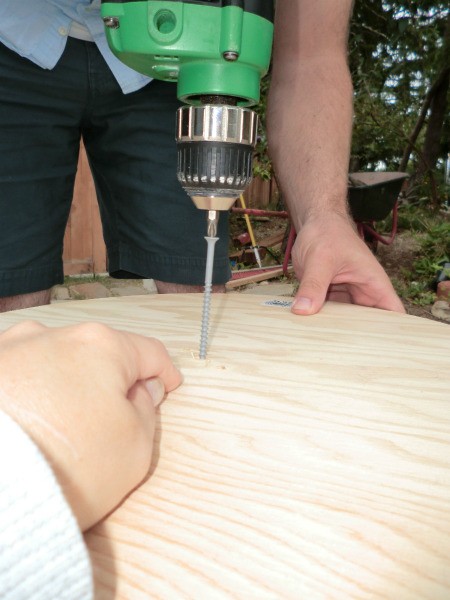
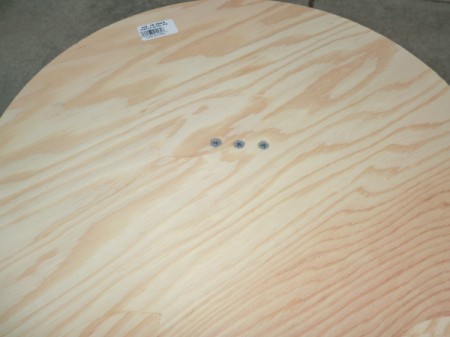
- Set the circular base on top of the post, being sure to center it. Secure the base onto the post with wood screws. If possible, sink the screws in so that they sit just below the surface to avoid damaging your floor later.
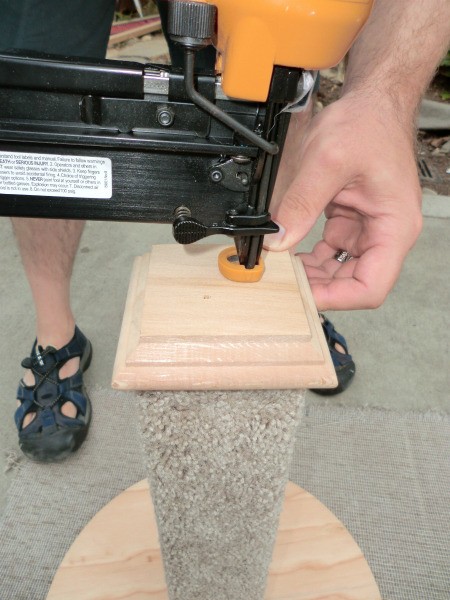
- Turn the scratching post over and secure the post cap to the top with a nail gun. Note: You can finish the base and cap any way that you want (i.e. paint, stain, etc.). I chose to leave this one unfinished, as I am thinking about decoupaging comic book pages onto it. :)
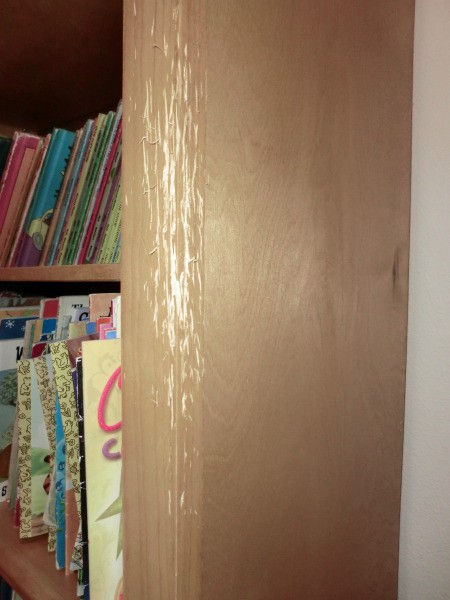
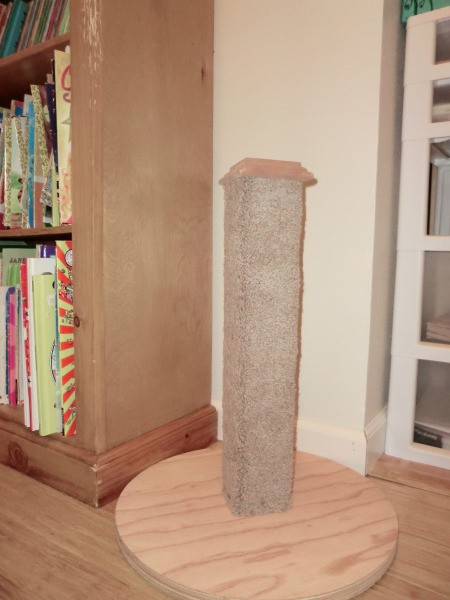
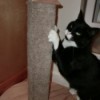
- Here is the damage that Oolong caused to our bookcase. We set the post next to it and brought him over to show him that it was there. Luckily he used it right away, so hopefully he will leave the bookcase alone now!
Add your voice! Click below to comment. ThriftyFun is powered by your wisdom!
Pixiedust7
Gold Feedback Medal for All Time! 679 Feedbacks August 13, 20120 found this helpful
Thanks - the instructions and photos are so clear! Wonderful job!
petlover
Bronze Feedback Medal for All Time! 128 Feedbacks August 13, 20120 found this helpful
Excellent instructions - Thanks for taking the time to photograph each step. Good job.
October 9, 20140 found this helpful
Thank you for the time you took to give complete instructions with photos. This helps immensely.
February 24, 20180 found this helpful
Thank you. My problem is that I tried to attach the carpet to the post while the base was still attached. Taking the extra time to remove the base and reattach after carpet is applied seems to make the difference.
Anonymous
September 4, 20200 found this helpful
Thank you for posting those instructions one concern I have is teaching them to scratch the carpet. I would prefer to cover the post with s i s a l.
Add your voice! Click below to comment. ThriftyFun is powered by your wisdom!