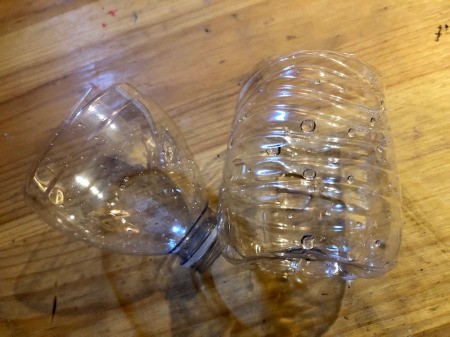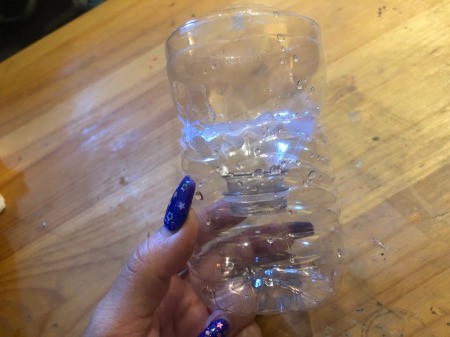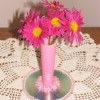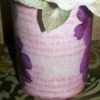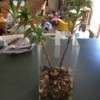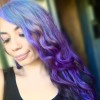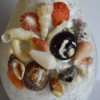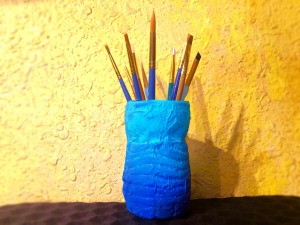
I like making vases and cupholders from plastic bottles. Cutting and placing the neck of the bottle upside down into the base of the bottle makes it so you can fill the vase without it tipping over. Simply place your pens or flowers in the middle and they will center by weight. The textured look is made by ripping up paper napkins and gluing them on. I love ombre looks so I used two paint colours to achieve this blue gradient.
Total Time: 1 hour plus dry time
Yield: 1 vase
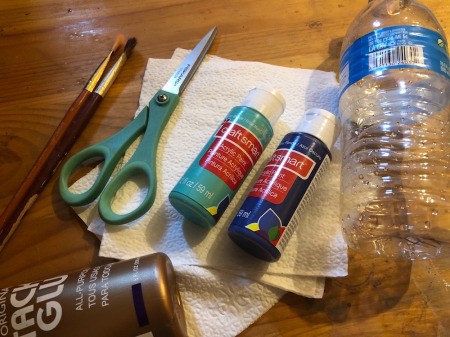
Supplies:
Steps: