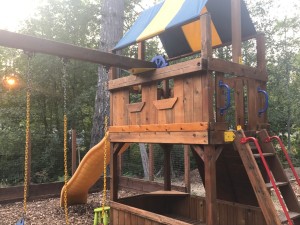
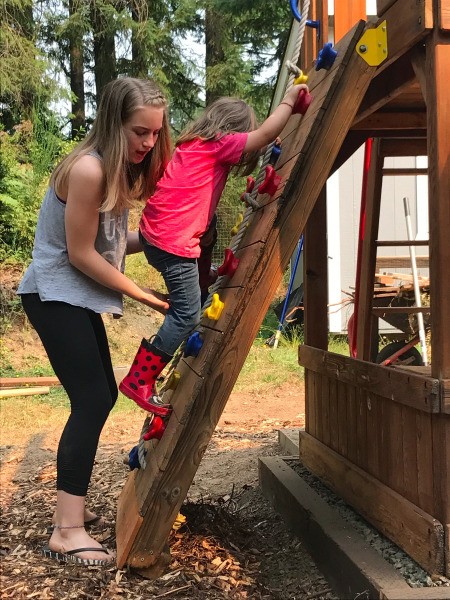
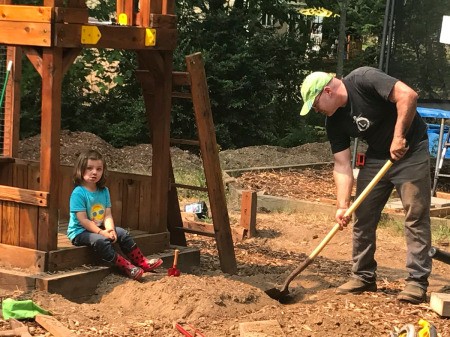
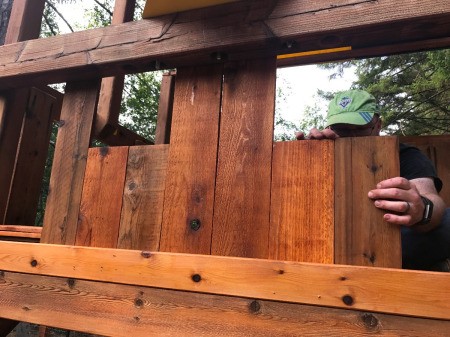
 We bought this playground 13 years ago for our 2 oldest kids. We recently decided to refinish it, instead of buying a new one, for our 5 yr old son.
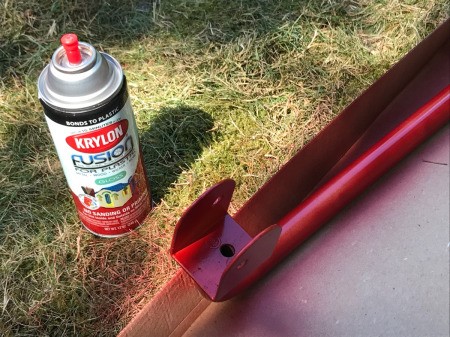
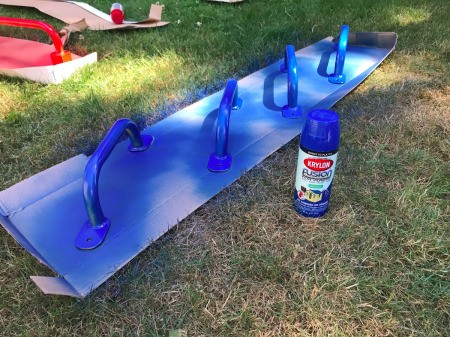
Supplies:
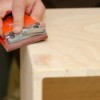
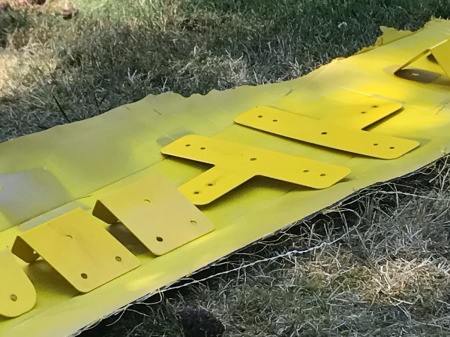
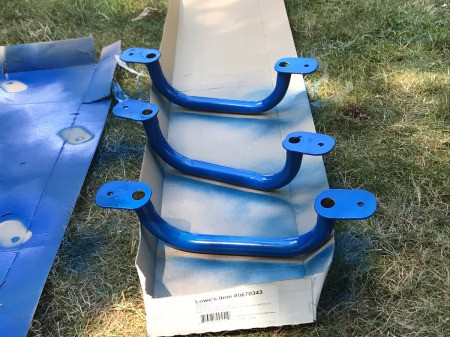
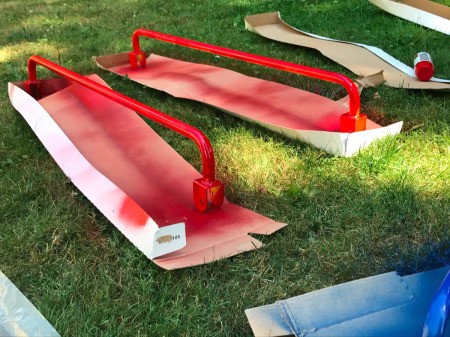
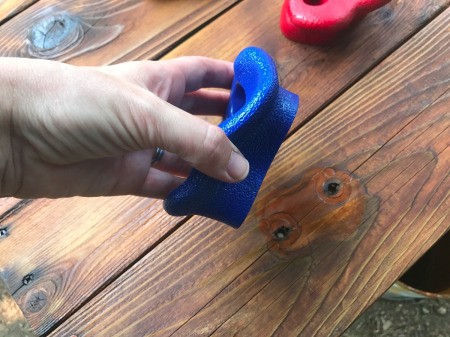
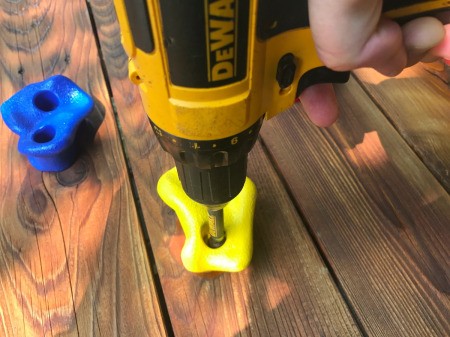
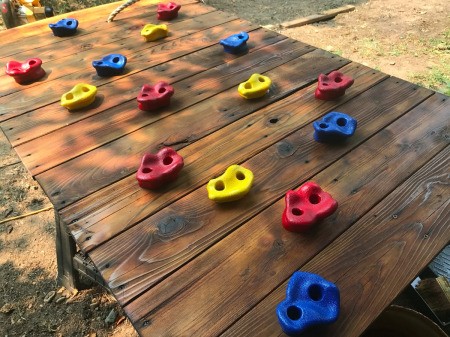
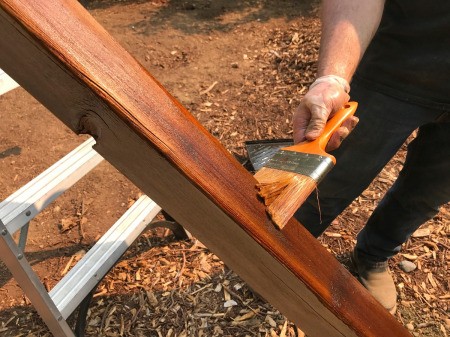
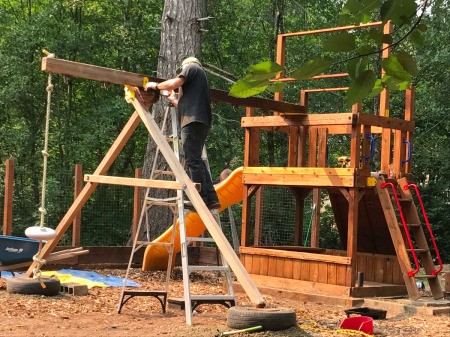
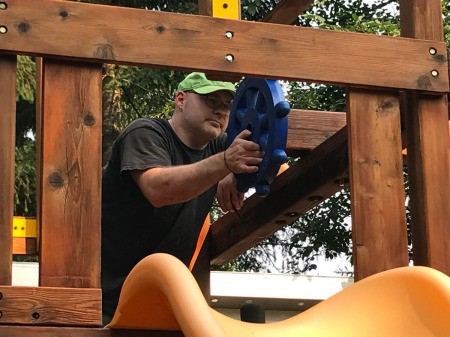
Steps:
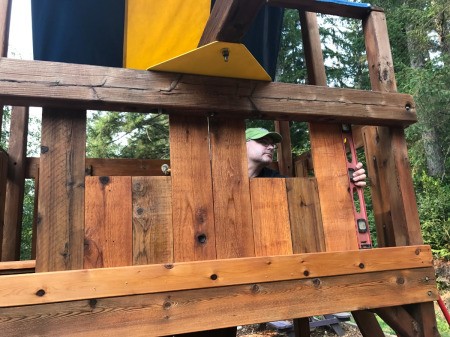
THANK YOU! Every effort to reduce, re-use, and recycle is so important. Plus being labor of love.