I've seen a lot of these broken peg looms for sale cheap. It's easy to repair and use them.
Advertisement
Supplies:
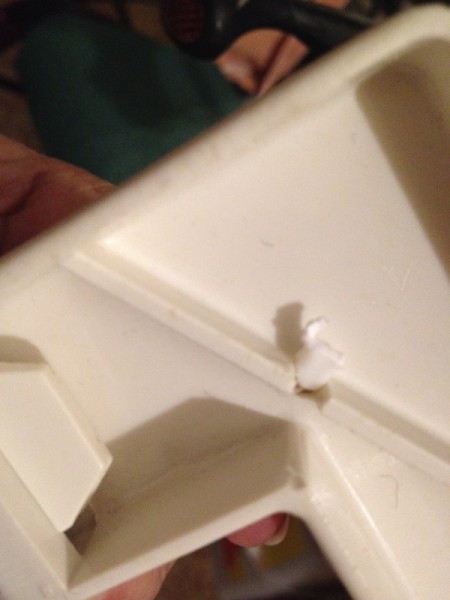
1 pizza box spacer (the triangle that keeps the pizza lid from sticking to pizza, looks like mini 3 leg table)
Super Glue
drill or scissors to enlarge hole
Steps:
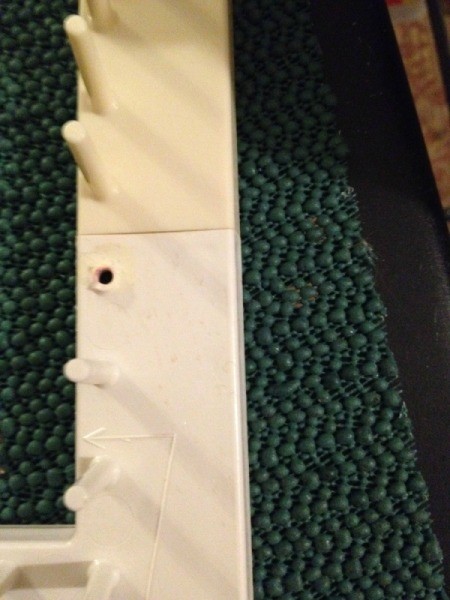
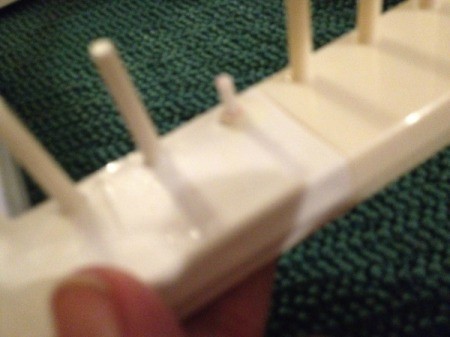
Drill a hole where peg was broken off. Start with a small hole.
Break off one leg from the pizza triangle. Make sure you get a little of the top with leg. You will need this to hold peg in place.
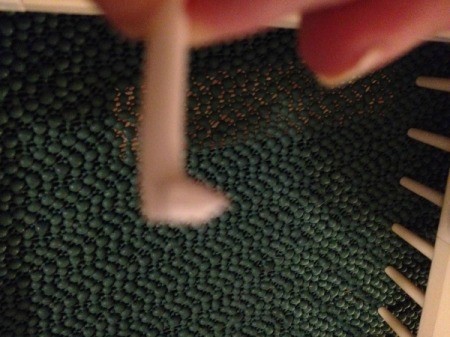
Insert the pizza leg into drilled out hole from where broken peg is missing on loom. If it does not fit, make the hole larger. I used small scissors or a drill bit to make it larger.
Advertisement
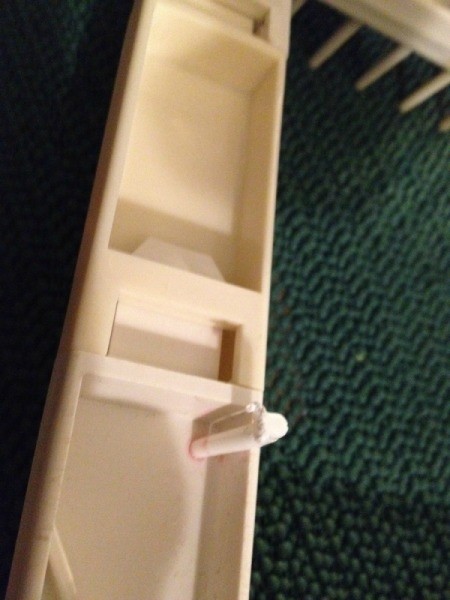
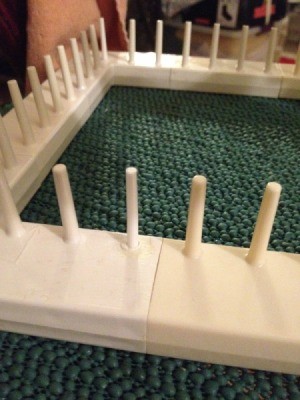
Insert peg and push in, should be snug but do not force it or you will crack your loom. Glue in peg. Repair finished. Peg is smaller and more flexible. Still works great.
 I've seen a lot of these broken peg looms for sale cheap. It's easy to repair and use them.