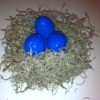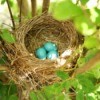
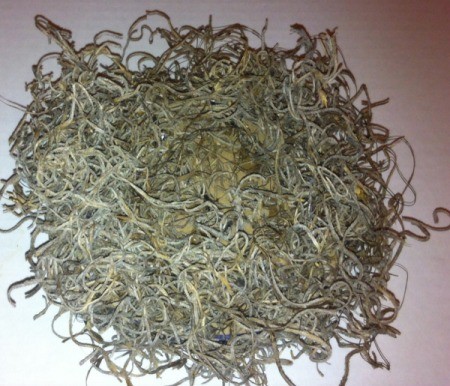
 When I think of spring, I think of new growth and new life. Both of these are so fun to incorporate into the classroom. Many times, kids can explore outside first and then create replicas inside. For this robin's nest craft, it is always exciting to go on a nature walk in search of real life examples. The kids can't wait to come back in to make their own, afterward.
Total Time: 10 minutes
Yield: 1 nest
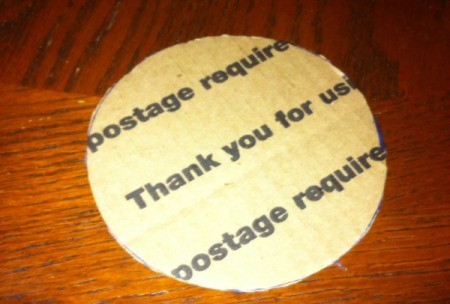
Supplies:
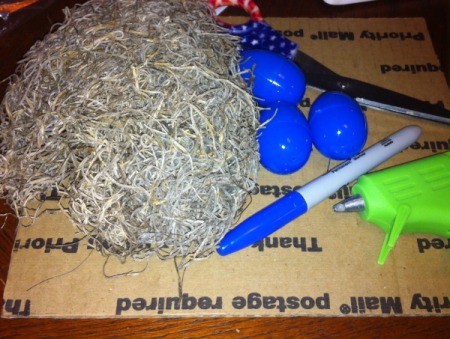
Steps:

Add your voice! Click below to comment. ThriftyFun is powered by your wisdom!