deenagoodale Bronze Post Medal for All Time! 221 Posts
March 23, 2022
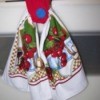
I needed a trivet to go with a lot of my placemats and dishes and found this idea.
Advertisement
Total Time: 1 hour
Yield: 1
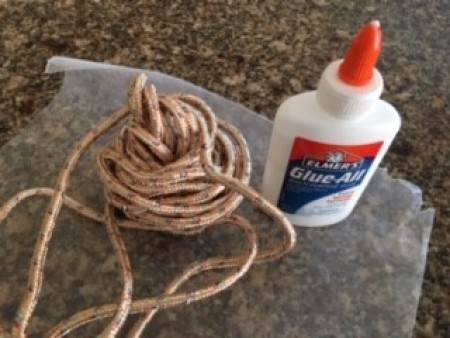
Supplies:
1 pkg. multipurpose utility rope
Elmer's Glue all
needle
Embroidery floss
Steps:
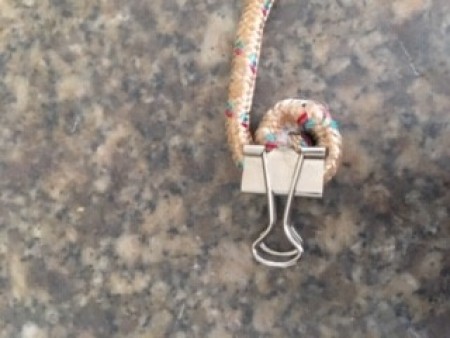
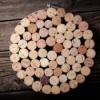
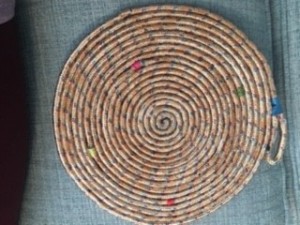
Using a large clip, to hold rope in place, start gluing the rope into a circle. I glued several inches, clipped it, and let dry for ten to fifteen minutes before adding the next few rows of rope.
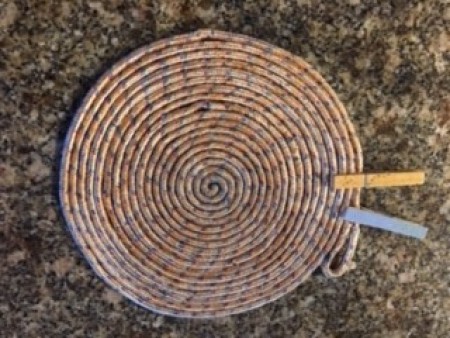
Continue gluing and coiling until you reached the desired size. Cut rope and end by making a loop and gluing it into place.
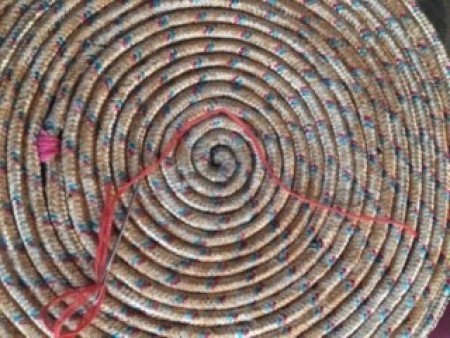
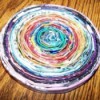
Using embroidery floss and a needle, wrap a few rounds of floss in a random pattern over the trivet. I wanted to use these colors because they match several of my dinnerware.
 I needed a trivet to go with a lot of my placemats and dishes and found this idea.