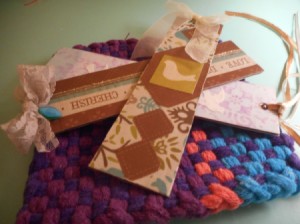
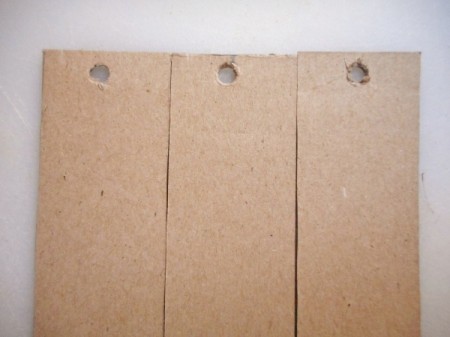
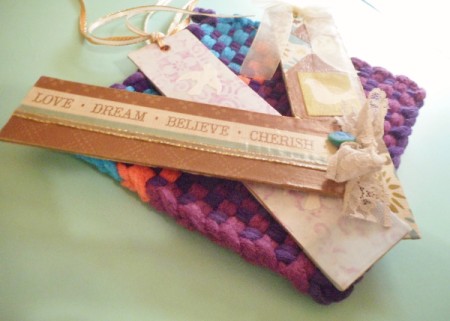
 The idea for these came to me a couple years ago. It was Christmas time, and like many college students, I had no money to buy gifts. What I did have was an old notebook from the end of the semester with a heavy backing. I also had a hole-punch, a few simple craft supplies, and patience! Needless to say, the gift recipients were impressed I had made "something beautiful out of nothing."
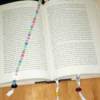
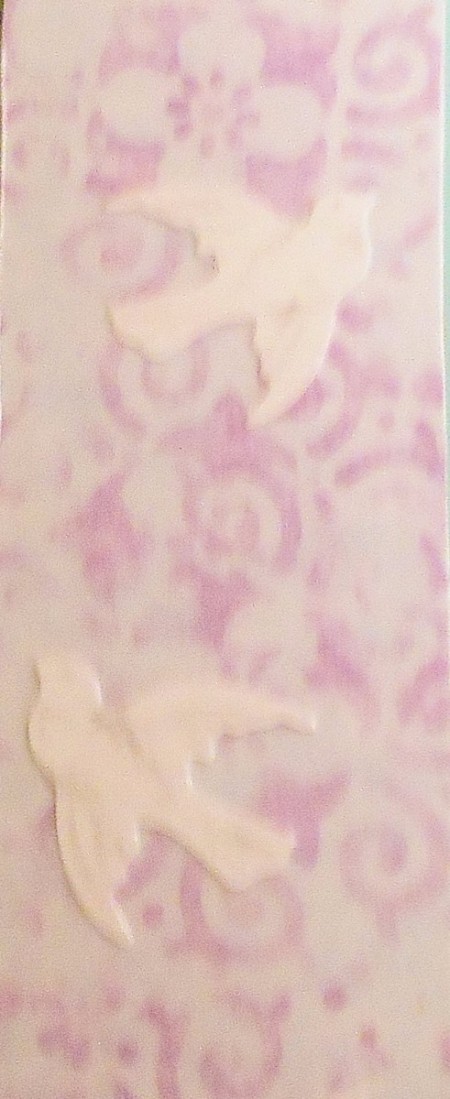
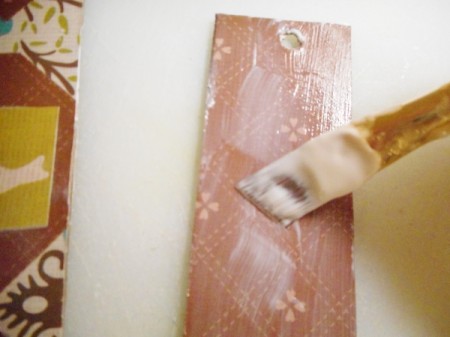
This project does take patience, but is definitely worth the end result. Unlike other bookmarks, they last long and stay looking great! They have a very hard finish--not too shiny, not too dull--that protects the designs underneath from bumps and scratches that would otherwise come with everyday use.
Total Time: 2 hours
Yield: 1+
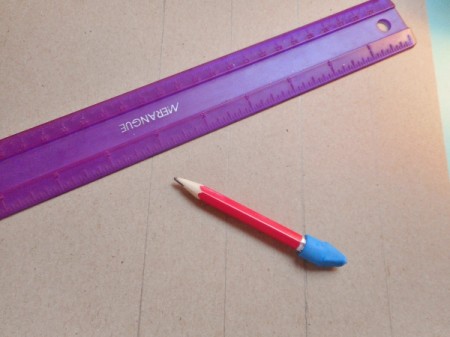
Supplies:
Steps:


Add your voice! Click below to comment. ThriftyFun is powered by your wisdom!