My father is currently recovering from cancer, and he uses a food supplement called Lifegain that comes in a neat tin. When the first tin was empty, I asked my mom if I could have it, as I was thinking of recycling this tin.
I recently discovered some old family photos in my mother's cupboard. The photos are more than 50 years old, and all of them are coming from the era when black and white photos were still regarded as fashionable. I decided to use one of these photos to decoupage the empty Lifegain tin, and to make something new from something that otherwise, would have ended up on the rubbish bin.
Approximate Time: 3 hours
Supplies:
- a suitable old black and white photo
- a photo editing program ~ I used PhotoScape version 3.5, which can be downloaded free of charge from http://www.photoscape.org/.
- an old tin
- paint stripper and paint scraper
- a can of quick-drying white spray paint
- an 8/32 inch paint brush
- fine paintbrush
- a fan-shaped paint brush
- water-based primer
- Deco Art glue
- Modge Podge
- water-based varnish
- hairdryer
- acrylic paint in the following three colors: white, flesh, and old gold
- a stencil that will fit with the rest of the design ~ cut your own design from an old X-ray film
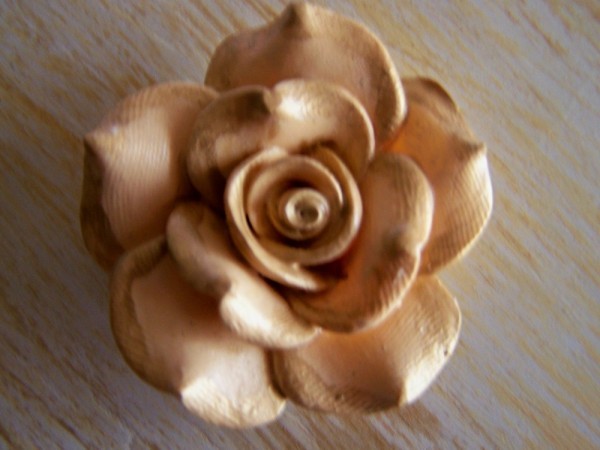
- a rose made from polymer clay (available from craft shops)
- silicone gel
- a pair of standard scissors
- a few sheets of old newspapers to protect the working area
- an old cloth
Instructions:
- Apply a coat of paint stripper to the tin and the tin's lid. Depending on the type of stripper used (follow instructions of the manufacturer), wait approximately 1 minute, and then use the scraper to peel off the paint. If necessary, use a second coat of paint stripper to get rid of all the paint.
- Wash the tin and lid in warm soapy water and dry it thoroughly.
- Use the can of quick-drying spray paint to give the tin and lid a base color. Remember not to hold the can too close to the tin or lid when spraying, and do not spray too much paint, as this will cause the paint to run.
- Let the tin and lid dry thoroughly. If necessary, apply a second coat of paint.
Scan the photo onto your computer.
- With the PhotoScape program, choose the Filter button and click on Region (Out of Focus). Choose the black radial option, with the settings 85% for the Size and 40% for the Feather.
- From the different frames that can be added to the photo, choose the Antique 04 frame and set the width at 150%.
- Save the adjusted photo onto your computer. If you want to keep the scan of the original photo for another project, remember to save the adjusted photo under a different name.
- Print the number of copies that would be needed for the tin ~ I used 6 for this tin.

- With a slightly wet 8/32 inch brush, paint a thin layer of the water-based primer over the whole tin and lid. Remember not to paint on the area that will be under the lid once closed, as this will cause the lid to eventually get stuck to the tin.
- Dry the tin and lid thoroughly with the hairdryer.
- Next, using the same paint brush, add a thin layer of white acrylic paint to the whole tin and lid, again making sure not to paint on the area under the lid once closed.
- Dry the tin and lid thoroughly with the hairdryer.
- Using the fan-shaped paint brush, give the tin and lid a wash with the flesh-colored acrylic paint, again not painting on the area under the lid. Make sure to especially add some detail to the bottom of the tin and the edge of the lid with the flesh-colored acrylic paint. Remember not to use too much paint when using a fan-shaped brush, as this will lose the fan-shaped effect ~ remove excess paint by dabbing it onto a sheet of newspaper before starting to paint.
- Dry the tin and lid thoroughly with the hairdryer.
- Repeat step 14, but this time using the old gold acrylic paint.
- Again, dry the tin and lid thoroughly with the hairdryer.
- Cut out the pictures and decide how they will be placed on the tin. Having the pictures slightly overlap one another and placing them on different levels, creates a more interesting end result.
- With the 8/32 inch brush, paint a substantial amount of Deco Art Glue to the back of the first picture. Turn the picture around and put it in position on the tin, but do not press it down.
- With the brush, spread glue to the front of the picture, lightly applying pressure so that it will stick to the tin.
- Working from the middle of the picture, and from inside towards the outside, rub out all the air bubbles and excess glue from the back of the picture. Use an old cloth to clear any excess glue from the tin.
- Use the hairdryer to dry the picture thoroughly.
- Repeat steps 19-22 with the other pictures.
- Use a stencil and a thin paint brush to add some detail with the old gold paint.
- Use the hairdryer to dry the stenciled designs.
- With the 8/32 inch brush, paint a thin layer of Modge Podge over the whole tin. Remember again not to paint on the area under the lid. The Modge Podge will protect the pictures and give the product a smoother finish.
- Dry the tin thoroughly with the hairdryer.
- Repeat steps 26-27 ~ you need to apply at least 6 coats of Modge Podge, but remember that with every layer, the direction in which the Modge Podge is applied, must be changed from horizontal to vertical to horizontal, etc. Also, remember that after every layer of Modge Podge, the tin must first be dried thoroughly with the hairdryer.
- With the 8/32 inch brush, add a layer of water-based varnish to the whole tin and lid, and again use the hairdryer to dry the tin and lid thoroughly.
- Using a fine paintbrush, paint the polymer clay rose with the flesh-colored acrylic paint. Allow to dry, and then add some detail to the rose with the old gold acrylic paint.

- Glue the rose to the top of the lid with the silicone gel and allow it to dry thoroughly.
Tips:
- I deliberately didn't use Paper Seal, as the running of the ink added to the vintage look. If preferred, one can paint a thin layer of Paper Seal over the printouts of the photos before gluing them onto the tin.
- To clean, wipe with a damp cloth and do not use strong detergents. Not dishwasher safe.
- When doing decoupage, do not use the highest heat setting on the hairdryer.
Photos included:
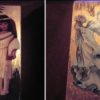
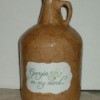
Photo 1: The edited vintage photo that was used for the project.
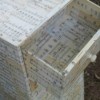
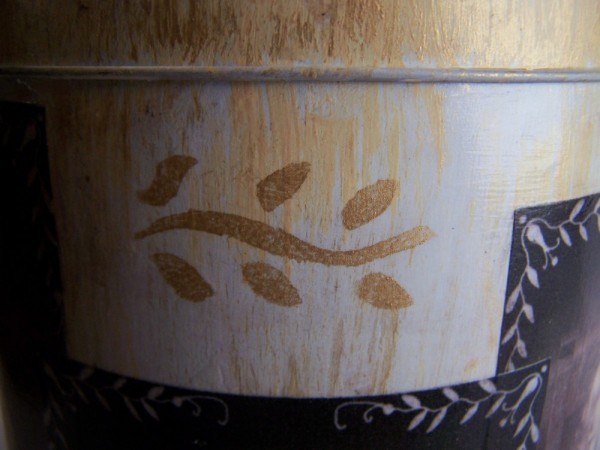
Photo 2: The detail that was added with the stencil.
Photo 3: A close-up of the rose.
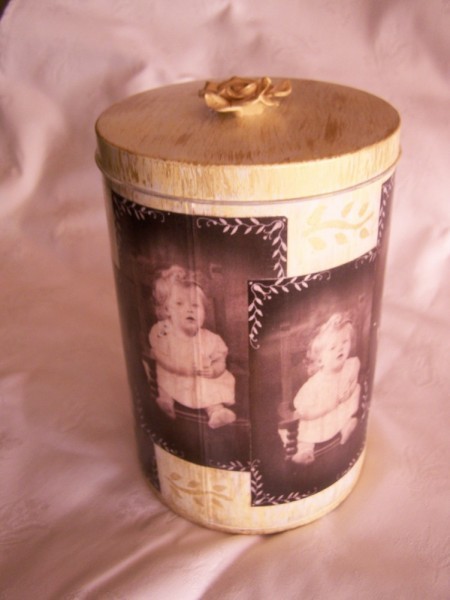
Photo 4: The completed tin.
By Benetta from Pretoria, Gauteng