A romantic soft glow is simple to accomplish with this easy project. Made with things you might just already have around the house.
Approximate Time: 1 1/2 hour
Supplies:
- 16 craft sticks
- hot glue
- double stick tape
- 6 1/2 inch ceramic tile or 1 inch wood
- luncheon napkins or wrapping paper
- 2 foot wide lace optional
- 2 foot ribbon
- tea light candle
- votive candle and holder
- florist putty
Instructions:
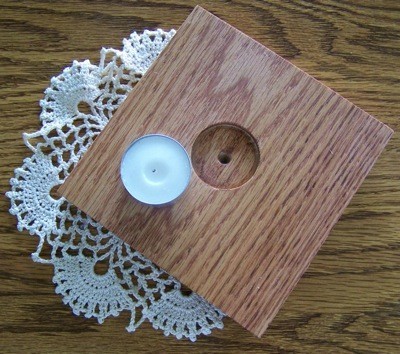
A romantic soft glow is simple to accomplish with this easy project. Made with things you might just already have around the house. By using double stick tape you can easily change the cover whenever you want. I recommend the tape because of the fragile nature of the paper if it gets torn you can quickly replace it. If you are using a wood base you want to have a bit that will drill out the size of your tea light. I wouldn't trust florist putty to hold to the wood.
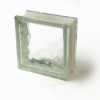
- To start with you will be building a frame from the craft sticks. You will make four walls, hot glue two sticks together in an L shape with the ends making a smooth 90-degree corner.
- Repeat with two more sticks and glue the two L's together to form one wall. The two opposite sticks will be on top and the other two on bottom.
- Repeat this wall building three more times so you end up with four walls.
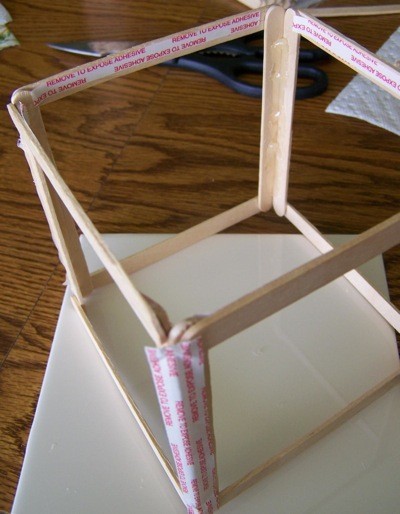
- Then take two of the walls and glue the edges of the sticks together with a good heavy line of hot glue from top to bottom. I found it easiest to hold it against my ceramic tile to make sure it was square, I held it for a bit until the glue had set then repeated with the other walls. Gluing the two sets together is a little tricky but if you glue half way up, let the glue set then turn the frame over and glue from the other end it works pretty easily.
- Let your frame set and harden while you get your paper ready. If you are using wrapping paper, measure around your frame, add one quarter inch for overlap, the height of your frame and add one half inch to fold over the top. If you are using luncheon napkins be sure you buy the kind that have the decoration on all four sections or if not you will need to use four napkins and make joints by using tacky glue or double stick tape at the corners of your frame to join them. Remember anything that sticks outside your frame will show when your luminary is lit.
- Unfold your napkin halfway and cut on the fold so you have two long halves. One half should fit from one corner around to the opposite corner of your frame.
- Now you will place double stick tape on two opposite corners, (if using tacky glue do the glue as you go) and a narrow strip on the inside of the four craft sticks going around the top. The paper will fold over and be secured to this tape.
- Line your napkin up with the surface you are working on to cover the bottom of the craft sticks. Start at one corner and center the edge of your napkin or paper on the tape leaving the other half to secure the last piece coming around the frame. Repeat with the second half of the napkin and glue the overlap to the first napkin edge so it lies down smoothly with tacky glue.

- Remove the protective paper from your tape on the cross sticks and fold the top edge of your napkin down and secure to the tape.
- Glue your frame to your base and you are done unless you want to put some ribbon around the edge. You could embellish with small flowers at the corners or however you like.
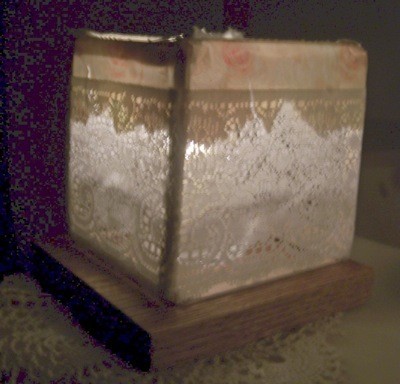
- To make the luminary with the lace I measured up how far the lace would reach, then cut the paper one half inch lower than that so I could secure the lace to the bottom of my paper. I cut two sides and tore the other two just to see how they looked. The torn sides look pretty sloppy I thought, I should have torn them more evenly, would have liked that better.
- If you are using a ceramic tile and tea lights, for safety sake I recommend you put a piece of florist putty on the bottom of the tea light so it won't move around if bumped. The votive should be fine in its container, do not burn a votive without it being in a container.
- As in the photo I drilled a hole to hold the tea light container in my wood base. Just drill it one quarter inch deep, enough to keep the candle from moving. If I decide to use a votive it will set over the hole just fine.

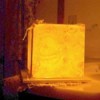
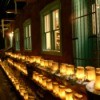
These completed pictures were taken in complete darkness to show you how they illuminate. Hope you try this easy and quick project.
By Ann Winberg from Loup City, NE