Add some fun to this year's Easter egg hunt by making luxury Easter eggs. The kids can help, and the whole family can have fun together!
Approximate Time: 20 minutes, excluding the time waiting for the eggs to cool down
Advertisement
Supplies:
hardboiled eggs
food coloring in the following four colors: red, yellow, apple green and blue
a separate small glass bowl for each food coloring
a candle and box of matches
an old fine paintbrush
acrylic paint in the following two colors: white and true red
Artline 210 Fineliner pen
a clean dry cloth
cotton buds
leftover pieces of ribbon, a fabric bow, and small crystal flat-back round rhinestones
quick-drying glue
a pair of standard scissors
an old toothbrush
Instructions:
Boil the eggs and let them cool down completely before proceeding to the next step.
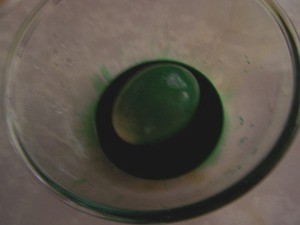
Dip each egg into one of the food colorings ~ make sure that the egg is covered all over with the coloring.
Advertisement
Light the candle and wait for the wax around the wick to start melting.
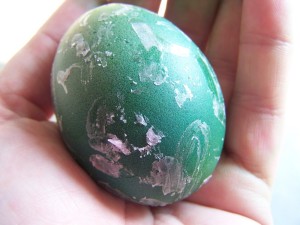
Dip the paintbrush into the melted wax and draw patterns onto the egg with the melted wax.
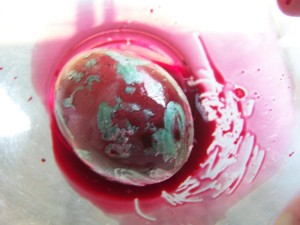
As soon as the wax that you have painted onto the egg has hardened, dip the egg into a second food coloring.
Wash the egg under a warm water tap, and use the toothbrush to lightly scrape off any wax residue left on the egg.
Dry the egg with a clean dry cloth.
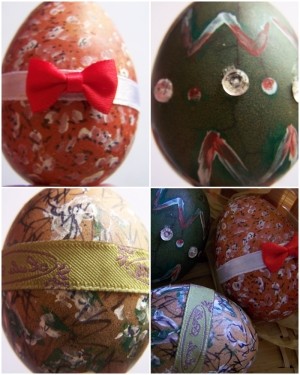
Use the cotton buds and the acrylic paint to add some detail to the egg.
Advertisement
Once the acrylic paint has dried, add some more detail to the egg with the Artline pen.
Finish the egg by decorating it with the ribbon, bow, or rhinestones.
Photos included:
Photo 1: Dip each egg into one of the food colorings ~ make sure that the egg is covered all over with the coloring.
Photo 2: Dip the paintbrush into the melted wax and draw patterns onto the egg with the melted wax.
Photo 3: As soon as the wax that you have painted onto the egg has hardened, dip the egg into a second food coloring.
Photo 4: Use the cotton buds and the acrylic paint to add some detail to the egg.
Advertisement
Photo 5: Once the acrylic paint has dried, add some more detail to the egg with the Artline pen.
Photo 6: Finish the egg by decorating it with the ribbon, bow or rhinestones.