A friend of mine is celebrating her birthday early in January. After all the expenses for Christmas, I need to budget carefully, so I thought about making her a photo gift.
During our summer break, I went to Montecasino Bird Gardens, where I took several photos of colorful birds. I decided to turn some of these photos into a photo gift, comprised of 4 cards suitable for any occasion.
Note: One can also use just one photo, making a set of cards all with the same photo.
Approximate Time: 30 minutes
Supplies:
- four suitable photos of colorful birds
- a photo editing program
I used PhotoScape version 3.6, which can be downloaded free of charge from http://www.photoscape.org/.
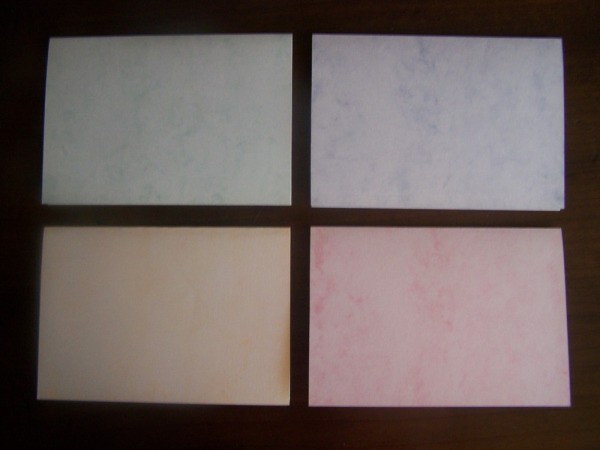
- four matching pieces of marble cardboard, each sized 8.2 inches by 5.7 inches
- four pieces of light green cardboard with white polka dots, each sized 3.9 inches by 5.4 inches
I found this cardboard at a scrapbook supplier.
- four pieces of green paper, each sized 3.9 inches by 5.4 inches
- pencil
- ruler
- pair of standard scissors
- quick-drying glue
- ordinary printer paper
- four matching envelopes
- decorative ribbon
Instructions:
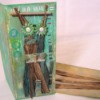
Fold each piece of marble cardboard in half to create a card sized 5.7 inches x 4.1 inches. Use the ruler to make the fold neat and smooth.
For each card, glue the 3.9 inches by 5.4 inches piece of polka-dot cardboard to the front of the card, carefully ensuring that it is an equal distance from the edges.
With each photo, do the following:
With the PhotoScape program, from the different frames that can be added to the photo, choose the Cali08 frame.
Save the adjusted photo onto your computer, and then close the file.
Reopen the file with the PhotoScape program, and from the different frames that can be added to the photo, now choose a matching frame from the Patterns, setting the width at 200%.
Save the adjusted photo onto your computer.
Then, print the picture via PhotoScape, using the 3 inches x 5 inches size option.
Cut out each photo, and glue each photo to the front of the card, carefully ensuring that it is an equal distance from the edges.

For each card, glue the piece of green paper to the inside of the card, where a message can be written.
Use a decorative ribbon to tie the cards and envelopes together.
Photos included:
Photo 1: Fold each piece of marble cardboard in half to create a card.
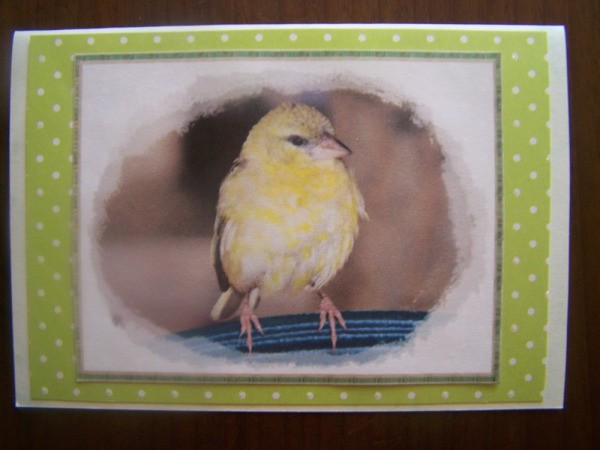
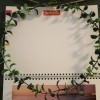
Photo 2: Card 1 of the completed set.
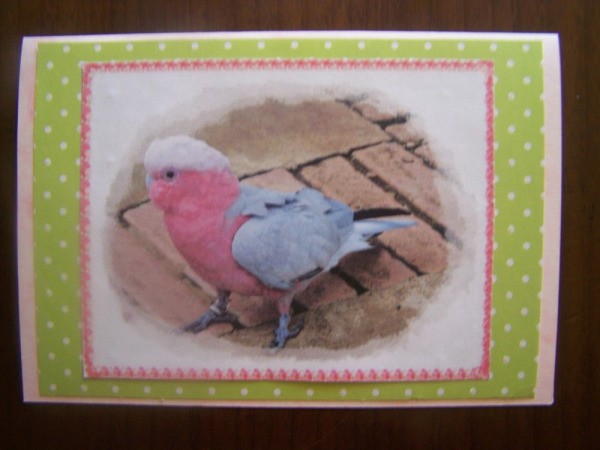
Photo 3: Card 2 of the completed set.
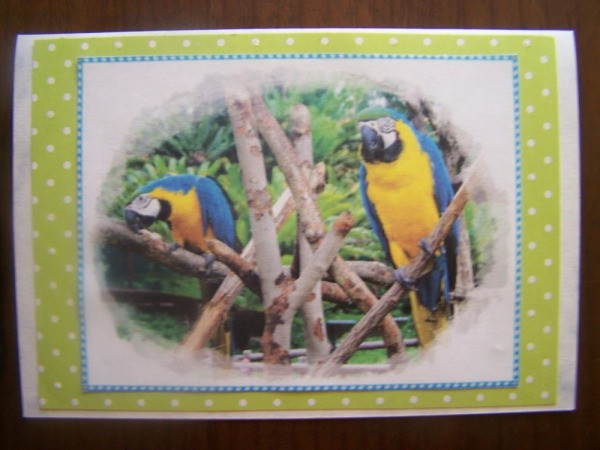
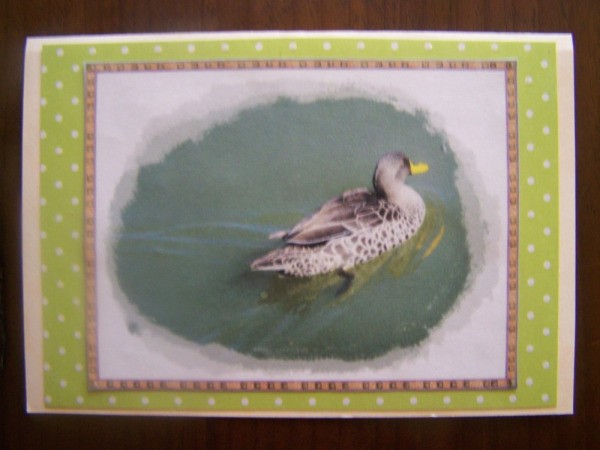
Photo 4: Card 3 of the completed set.
Photo 5: Card 4 of the completed set.
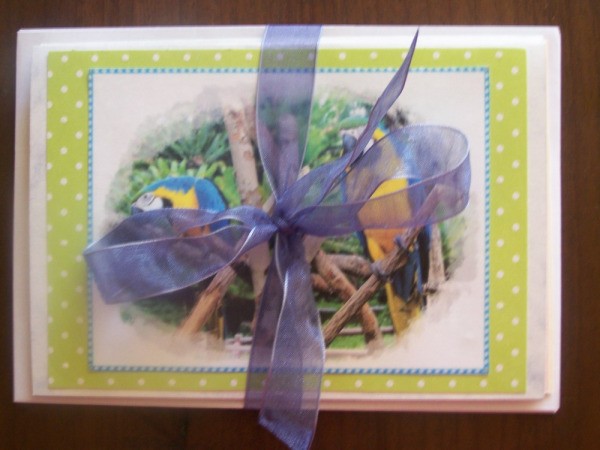
Photo 6: Use a decorative ribbon to tie the cards and envelopes together.
By Benetta from Pretoria, Gauteng