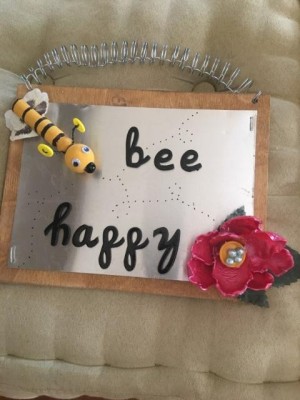
 After looking at cute garden signs on the internet, I decided to come up with my own creation using various craft supplies I had on hand. Luckily, it didn't cost a cent!
Total Time: 2 hours
Yield: 1
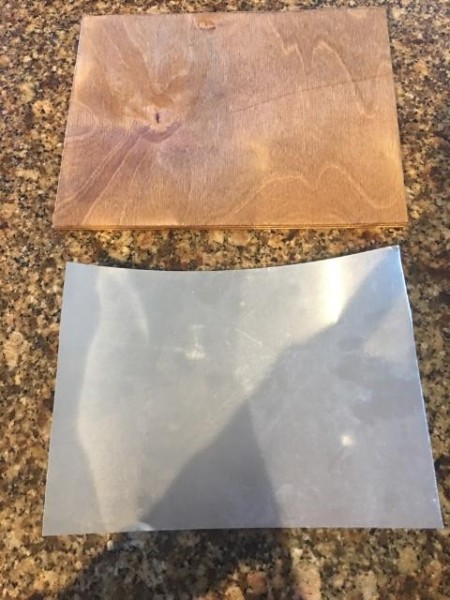
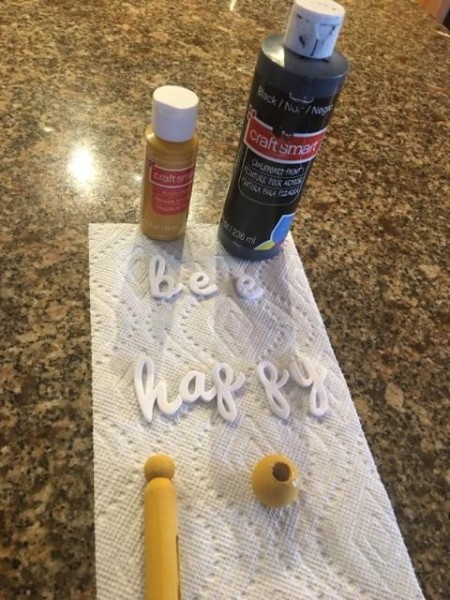
Supplies:
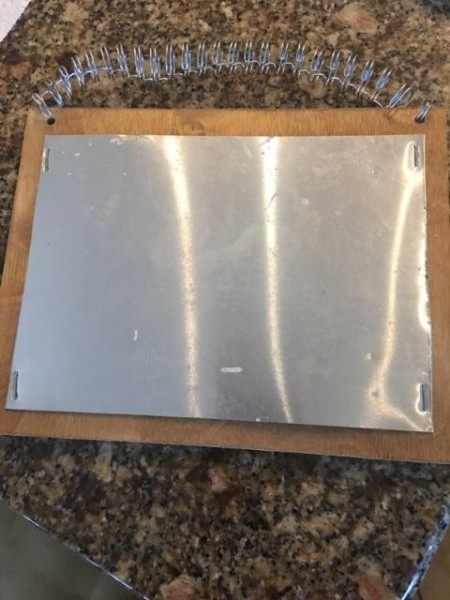
Steps:
Add your voice! Click below to comment. ThriftyFun is powered by your wisdom!