Garden decor and signs can be pricey. They may however get your creative mind working and inspire you to craft an original of your own. This cute sign is fun to make and can be constructed from items you may already have lying about at home. Give it a try.
deenagoodale Bronze Post Medal for All Time! 221 Posts
April 23, 2020
After looking at cute garden signs on the internet, I decided to come up with my own creation using various craft supplies I had on hand. Luckily, it didn't cost a cent!
Total Time: 2 hours
Yield: 1
Supplies:
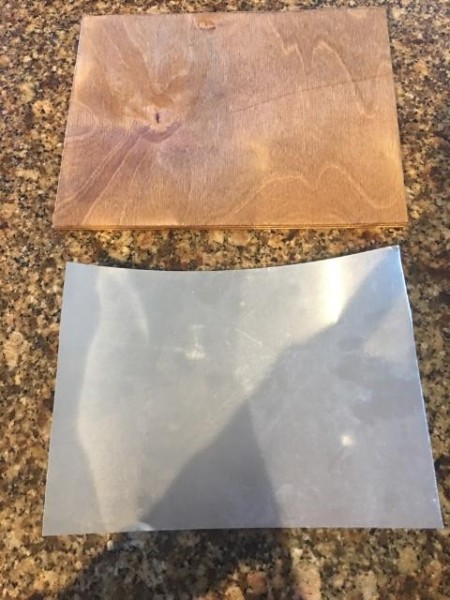
1 piece of wood, 7" by 9"
spray varnish
stain
permanent marker
1 cut metal roof flashing, 6" by 8"
staple gun
1 spiral coil from old notebook or wire
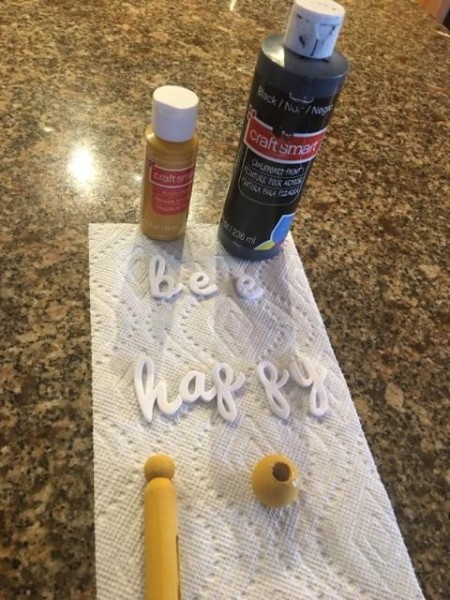
craft paint and paint brush
assorted crafts for bee (wood, buttons, eyes, wire) I used a peg style clothes pin and a wooden bead
8 plastic spoons
lettering or stencils
candle
hot glue gun
silk leaves and silk flowers
Steps:
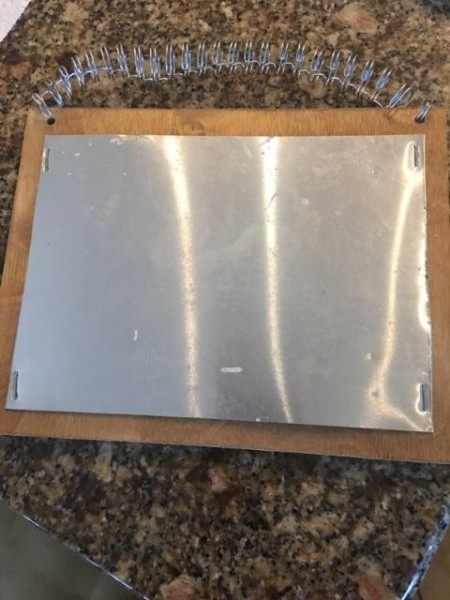
Cut and stain the piece of wood. Cut metal flashing and attach to wood with a staple gun. Attach wire or spiral coils (from an old notebook) to top of wood, drilling a hole in the top of the wood on both sides.
Advertisement
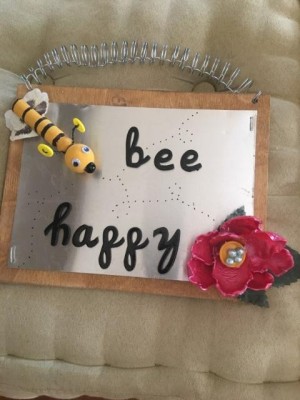
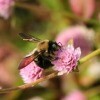
Using stickers or stencils and paint, place lettering on wood. (I used some white 3d alphabet stickers and painted them black.) Make a bee. I used a large round bead for the head and an old-fashioned clothespin for the body, painted it yellow and added black stripes with a permanent marker. I used googly eyes, a black button for the "nose" to cover up the wood hole, added wire and smaller buttons for the antennae, and flower petals for the bee wings, gluing all parts together. Use your imagination with whatever craft supplies you might have!
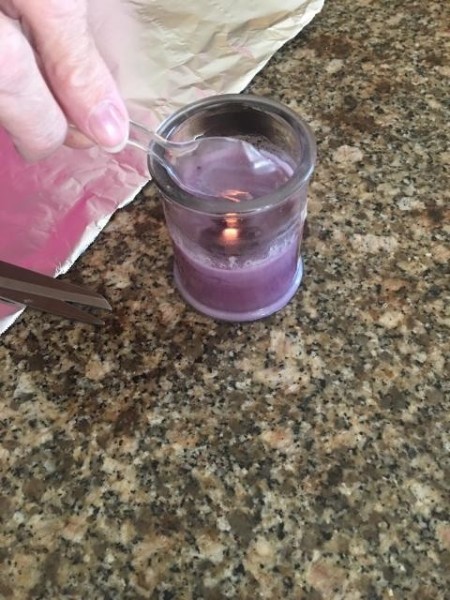
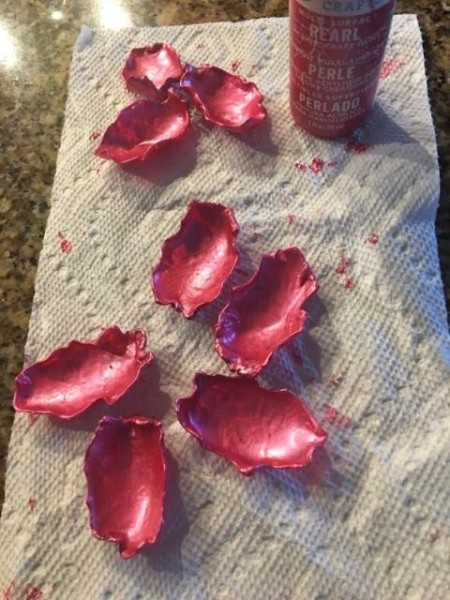
Make a flower. I melted spoons over a candle flame and shaped them like flower petals, cut off the handle, and painted them with Martha Stewart all surface paint. Then, I spray varnished them to protect the paint. Using a hot glue gun, I assembled the flowers, one petal at a time, and glued them into a flower shape. For the center of the flower, I glued a large yellow button and some pearls.
Advertisement
Using a glue gun, I glued the bee onto the board and the flower onto the opposite corner, and finished by adding silk leaves underneath. I also used a black permanent marker to embellish the empty spaces.