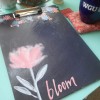
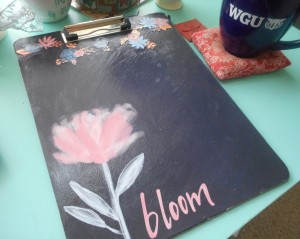
 You can make these for about two dollars a piece! All you need is a clipboard, craft paper, glue, and Mod Podge.
Total Time: 2-3 hours
Yield: varies
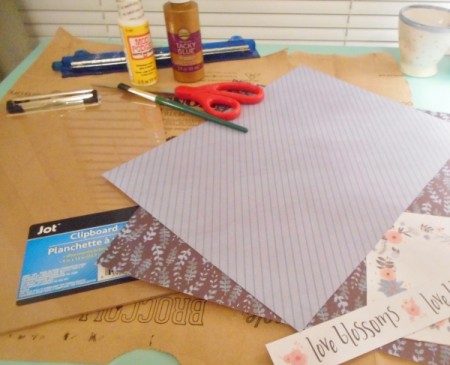
Supplies:
- clipboard ($1.00)
- 2 12x12 inch sheets sturdy craft paper + scraps for decorations
- 1/2 ounce of glue
- 1/2 - 3/4 ounces of Mod Podge
- small, rectangular paintbrush
- scissors
- ruler
- newspaper or shopping bag to keep your work surface clean
Cost of supplies: I purchased the glue, Mod Podge, clipboard, and paintbrush at the Dollar Tree. The paintbrush was part of a children's set and I do not recommend it for actual painting, but it works great for crafts! The bottle of glue I used was 3 fl oz and the Mod Podge was about 2 1/2 fl oz, both a dollar a piece (Matte or Gloss-Luster). The Mod Podge can cover two clip boards with a some left over for a smaller craft. The bottle of glue is enough to make several clipboards. This is because you need to apply at least two coats of Mod Podge for it to work effectively as a sealer and finish, whereas you only need the glue to attach the paper to the clipboard. That being said, it's less than 50 cents worth of Mod Podge for the project! :) As far as the paper goes, I purchased a a discounted pad at Michael's for 7.00 and got 48 sheets (15 cents a sheet). I used two full sheets and one partial sheet for each clipboard. In all, one clipboard totaled up to about 1.97, estimating 10 cents for the glue.
Steps:
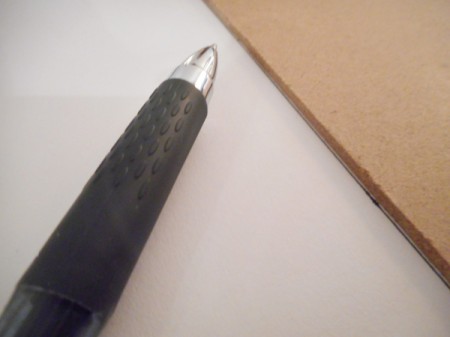
- Trace around the flat side of the clipboard on the blank side of the craft paper. This will be your backing.
- Repeat this for the front side. Then, take measurements of the clip. Draw tick marks according to the measurement and then connect the dots to make the proper sized cut-out.
- Cut the craft paper and attach with glue. You will want to brush the entire clipboard with a thin, even layer of glue. I recommend starting at the top, around the cut-out, before coating the rest of the clipboard. The cut-out will be a little tricky to attach, and you want it to line up nicely without any wrinkling. Once it is attached and secured, gently bend the paper up and continue to coat the clipboard.
- Let the front side dry somewhat before moving to the back side. Brush on the glue and attach the paper covering. Wait for the glue to dry. While you wait, rinse the brush out with warm water and let it dry. This will prevent clumping and help ensure the nicest finish.
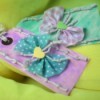
- Once the paper is secure and dry, trim off any excess. Attach cut-outs and coat the whole side with a thin, but fair, layer of Mod Podge. With cut-outs, I like to try and make sure there is a thicker layer of Mod Podge around the edge of the cutout because it gives it a nice seal.

- The Mod Podge will dry with lines, so do your best to feather the glue to blur the lines, just like you would if you were hand-painting something.
- Make sure to coat the edges of the clipboard with Mod Podge as well. Dry 15 minutes between coats.
- Let the Mod Podge cure overnight before doing anything with the clip board. I found that the gloss was nice. However, use matte. The matte lost it's tackiness much sooner. Matte has a little sheen, but is not overwhelming.
Add your voice! Click below to comment. ThriftyFun is powered by your wisdom!