social

Clipboard Gallery Wall


Silver Post Medal for All Time! 254 Posts
April 5, 2022

The clipboard gallery wall.
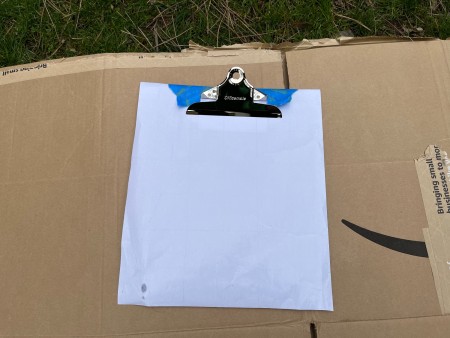
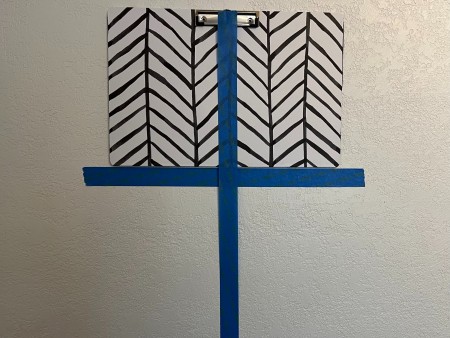
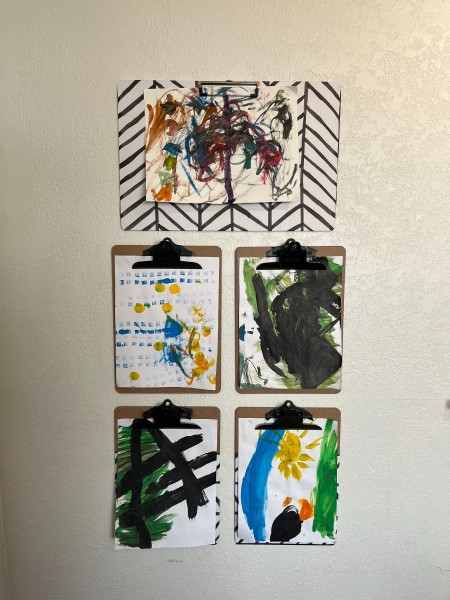
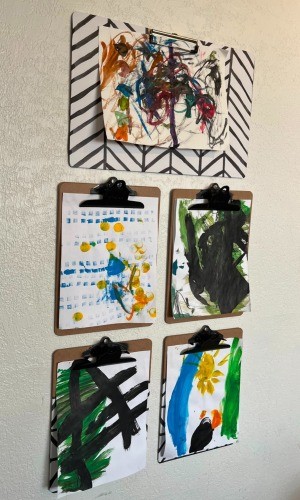
If your kid is anything like mine, there is a slew of artwork being made each day. I wanted a way to display my child's art in a way that could be easily changed. This is the solution I came up with. I wanted to be able to have both verticle and horizontal pieces of art, so I got two sizes of clipboards so that art would be contained within the parameters of the clipboard. I added some patterned contact paper to some of the clipboards to add interest and also painted the clips black to match. In retrospect, I don't think the contact paper was needed, as I am sure these will always be full.

Advertisement

Supplies:

Related Products: (Affiliate Links)

Steps:

  1. First, you will want to use painter's tape to tape around the clips so that you will not paint the clipboards black.
  2. Clip a plain piece of paper onto the board and in a well-ventilated area, carefully spray paint the clip black. Let dry completely.
  3. A plain clipboard.
     
  4. Decide which direction you want your pattern to go and cut out a piece of contact paper slightly bigger than the spot you want to cover.
  5. Advertisement

  6. Peel off just a little bit of the contact paper and place it on the clipboard, carefully rubbing out and bubble and trying not to let it crease.
  7. I decided to completely cover the landscape clipboard, so used an X-acto knife to cut around the clip. Fold the ends around the back and press down the edges. You may choose to use the X-acto knife to get a clean cut around the edges.
  8. Figure out the layout on your wall, you can use painters tape and a level to place lines on the wall to help you place the clipboards evenly.
  9. Adding contact paper to the clipboard.
     
  10. I placed the removable mounting squares on the top 2 corners of the clipboards first to help, get the placement right and then I removed the clipboard and placed a Command Strip in the middle and mounting squares on the bottom and secured each clipboard to the wall one at a time, being sure to place them in the right spot.
  11. Attaching velcro to the back of the board.
     
    The clipboard display wall.
     
    Advertisement

  12. Showcase your artists' work on your new gallery wall.
  13. the clipboard display wall.
     
Comment Pin it! Was this helpful? Yes
Categories
Crafts Home Decor DecorationsMay 11, 2022
Pages
More
🎃
Halloween Ideas!
🍂
Thanksgiving Ideas!
Facebook
Pinterest
YouTube
Instagram
Contests!
Newsletters
Ask a Question
Share a Post
Categories
Better LivingBudget & FinanceBusiness and LegalComputersConsumer AdviceCoronavirusCraftsEducationEntertainmentFood and RecipesHealth & BeautyHolidays and PartiesHome and GardenMake Your OwnOrganizingParentingPetsPhotosTravel and RecreationWeddings
Published by ThriftyFun.
Desktop Page | View Mobile
Disclaimer | Privacy Policy | Contact Us
Generated 2022-10-25 20:35:27 in 3 secs. ⛅️️
© 1997-2022 by Cumuli, Inc. All Rights Reserved.
https://www.thriftyfun.com/Clipboard-Gallery-Wall-1.html