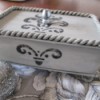
 I used to have my craft projects in a binder. It was nice, but not easy to see and get inspired by. Today I made a sort of a tickler box that I can see when I want to, is custom made, and only cost me about 1.00.
Total Time: 6 hours
Yield: 1
Supplies:
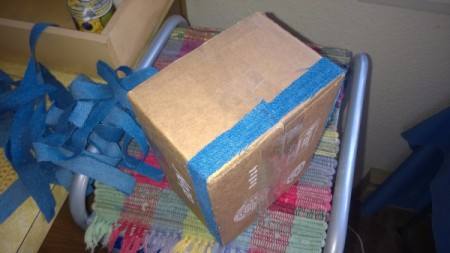
- 1 box to accommodate either 3" by 4" or 5" by 7" index cards ($0.00)
- 1 Package of 100 index cards ($1.00)
- scissors ($0.00)
- 6 in scrap yarn ($0.00)
- 6-8 yd jean strips ($0.00)
- 6 CD or DVD cases ($0.00)
- 6 printed (or hand printed) labels ($0.00)
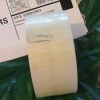
- 10 yd tape ($0.00)
- hot glue
- darning needle
- button
Steps:
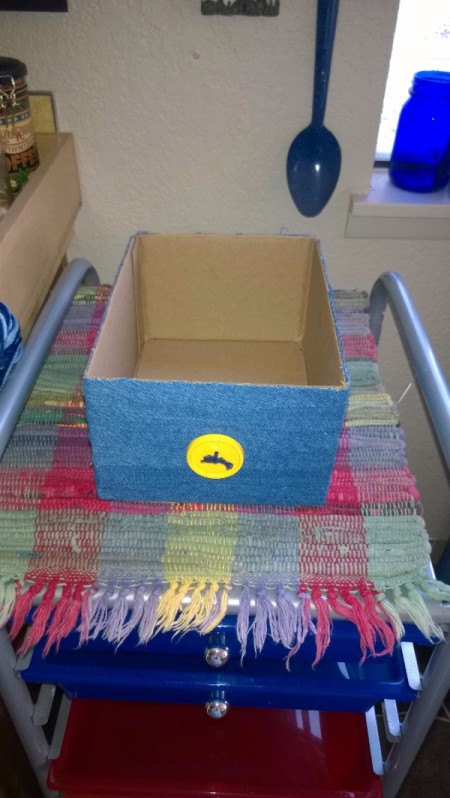
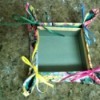
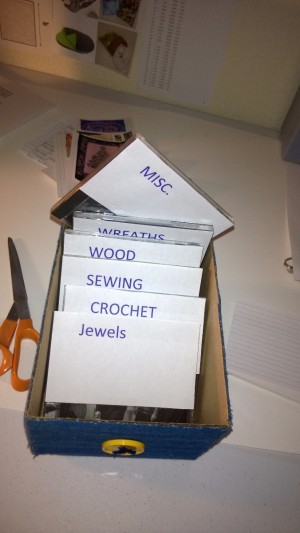
- Measure your box to make sure your cards fit in without bunching up. Cut your jeans or the fabric of your choice into 1" strips and begin gluing in the back. Each row should have it's own piece, so you can't just "wrap" and keep going.
- With your glue gun, glue them to just cover to the top. My box was so close to being too narrow that I chose not to fold over the edges. I trimmed them. The button in front had a small amount of yarn tied to the holes so I glued it on.

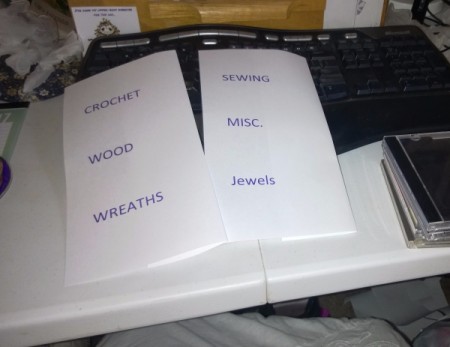
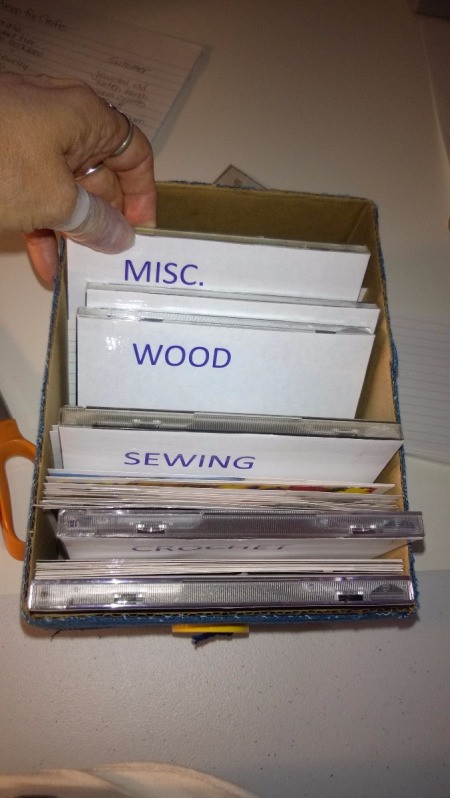
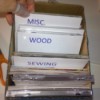
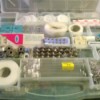
- I wanted something to stick up as dividers that was firm and strong. I chose some CD cases, taking out the cd's for a later craft. Then I printed my subjects on my printer and taped them to the front, so the bottom would be covered by the pieces of card stock.
- Once my subjects were determined, I began to put the cards inside each subject space.
- Now my crafts I want to make for the rest of the year are like a tickler file. I can move them easily inside the system, put them in order of what I have at home vs. what I need to buy stuff for. Once I am done with them I can then put them in the back of each subject and go onto the next. NOTE: If you want a larger size, you will have to find a larger box. If you can, give your cards about 1/8" leeway then you can fold the top row of fabric over the edges down into the box. N-JOY!!
Add your voice! Click below to comment. ThriftyFun is powered by your wisdom!
April 22, 20170 found this helpful
Looks and Sounds inspiring.
Betty

April 23, 20170 found this helpful
Thanks. It's so much easier to just pull something rather than drag out a binder, find it, and pull it out of the sleeve.
Add your voice! Click below to comment. ThriftyFun is powered by your wisdom!