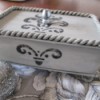
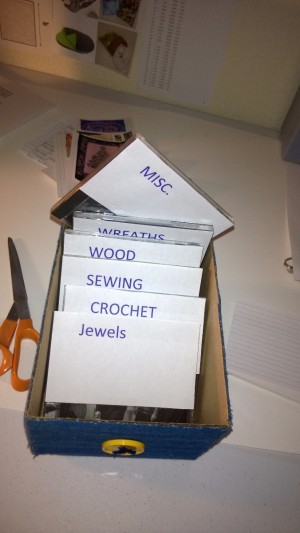
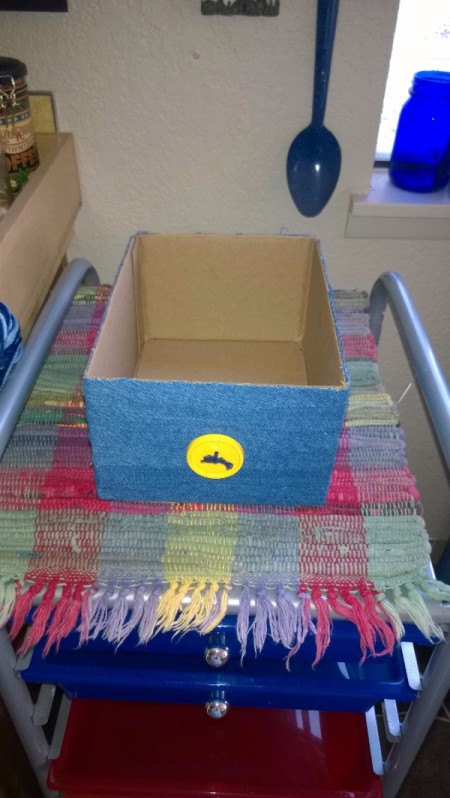
 I used to have my craft projects in a binder. It was nice, but not easy to see and get inspired by. Today I made a sort of a tickler box that I can see when I want to, is custom made, and only cost me about 1.00.
Total Time: 6 hours
Yield: 1
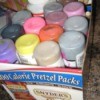
Supplies:
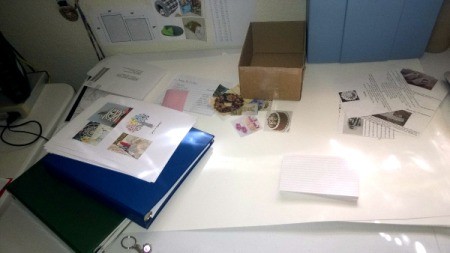
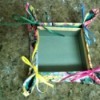
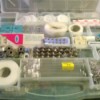
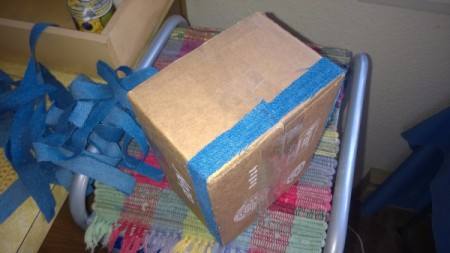
Steps:
Looks and Sounds inspiring.
Betty
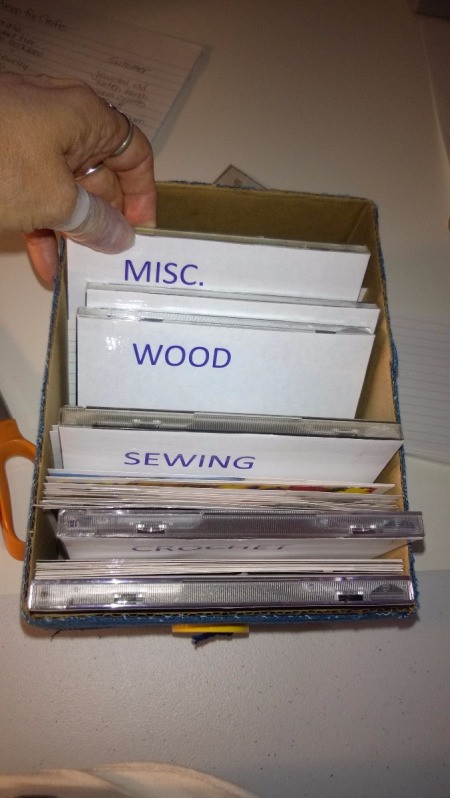
Thanks. It's so much easier to just pull something rather than drag out a binder, find it, and pull it out of the sleeve.