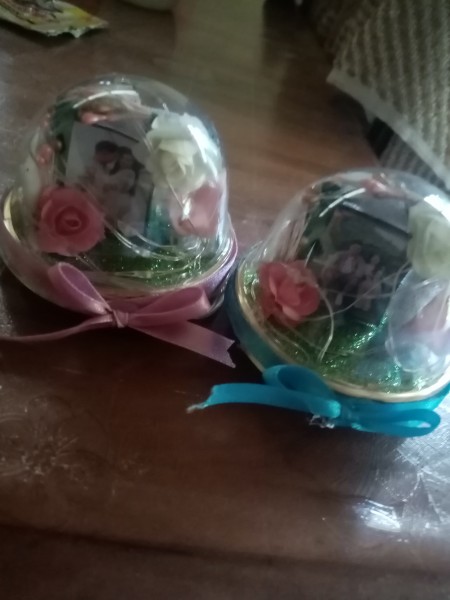
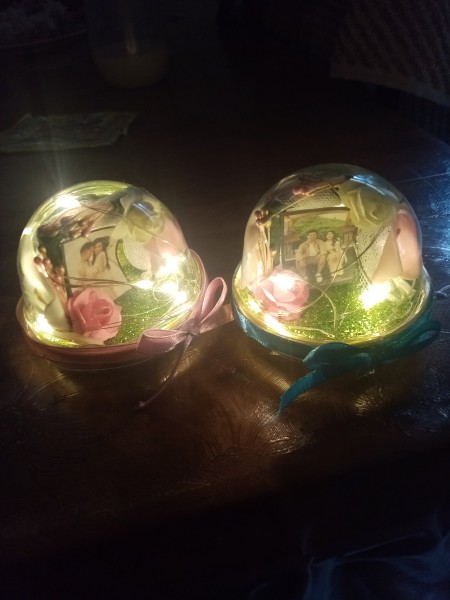
Souvenirs are always present in occasions especially on weddings. We all want to impress our guests with the most unique giveaways. If you are in a tight budget, you can never find the good looking ones for a low cost. You can always choose a DIY option to get your desired quality. Just make sure you do it the earliest possible to save your time for the big day.
Total Time: 5 minutes per dome
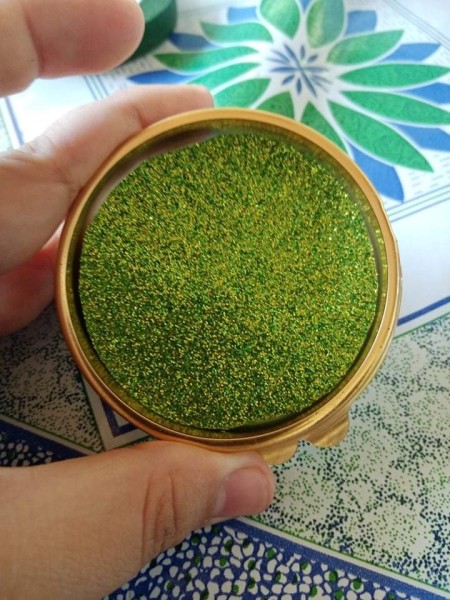
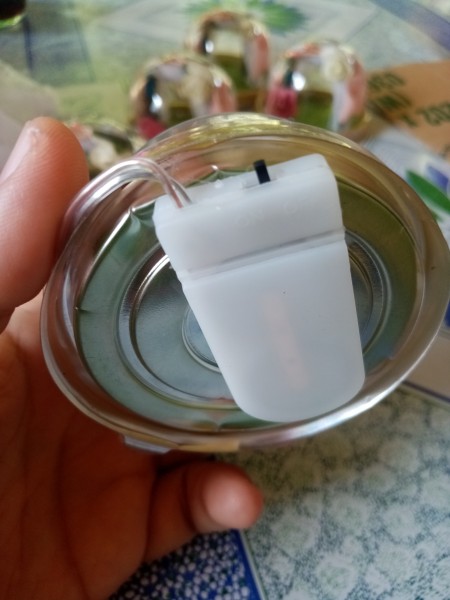
Supplies:
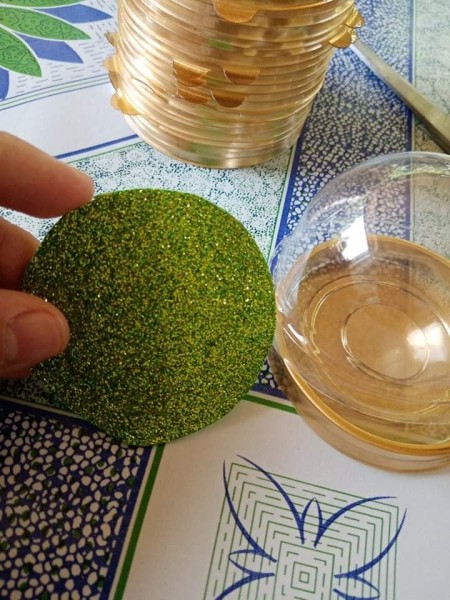
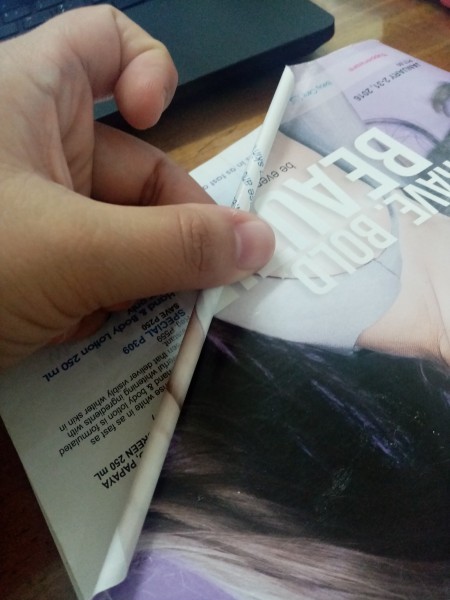
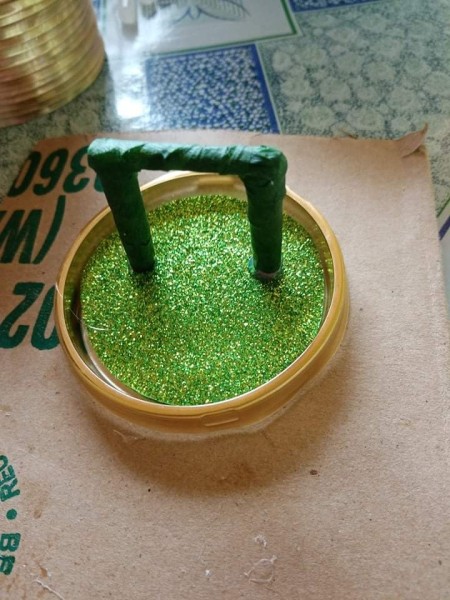
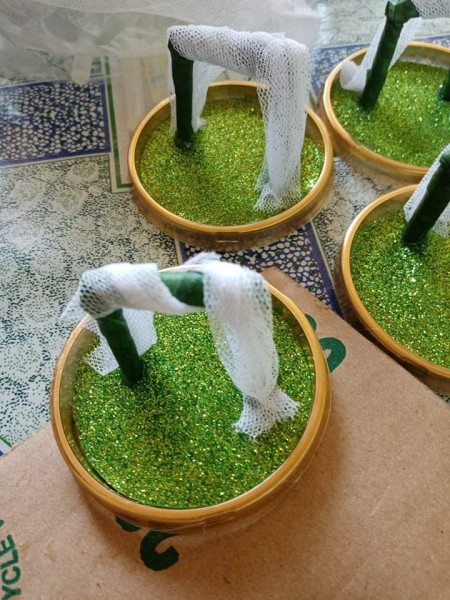
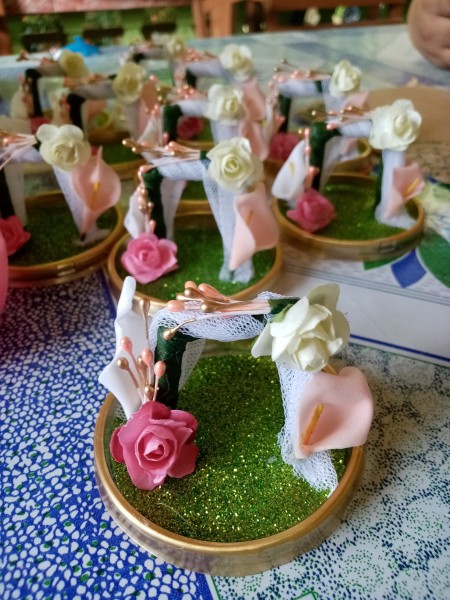
Steps: