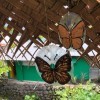
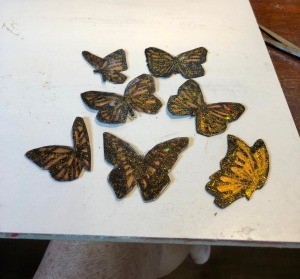
 Summer is upon us here in Tahiti and everywhere I look I see the most beautiful butterflies. Here is a great way to keep summer with you even during the winter months. These butterflies are so easy to make and they look good in your windows, on your refrigerator, or even hanging on a mirror. Smaller children can easily do the creative work to make their butterflies, but the parents will need to help them cut them out.
Total Time: 1 hour
Yield: 3 to 4 butterflies
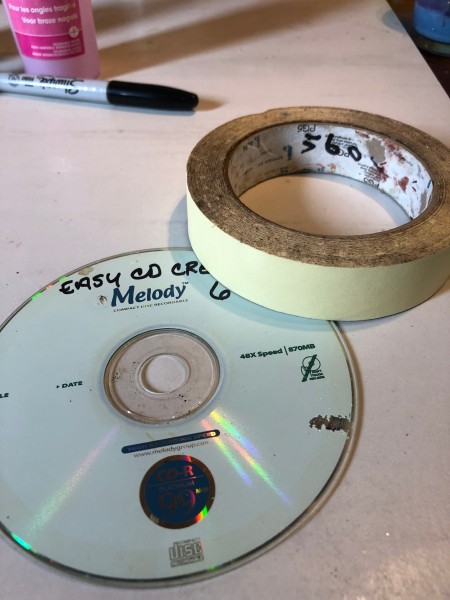
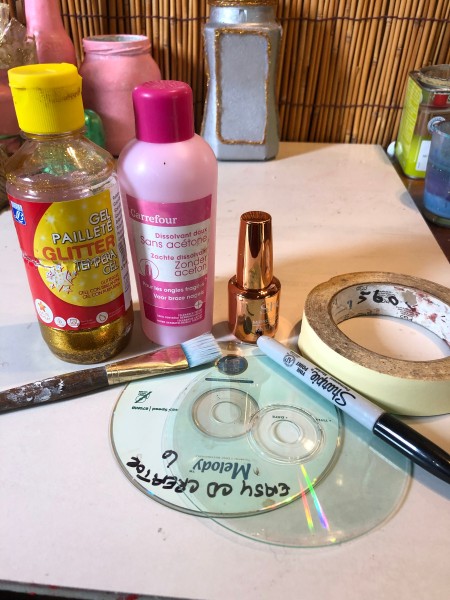
Supplies:
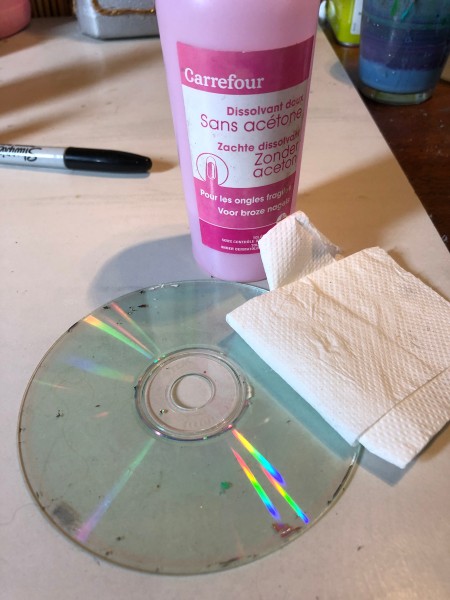
Steps: