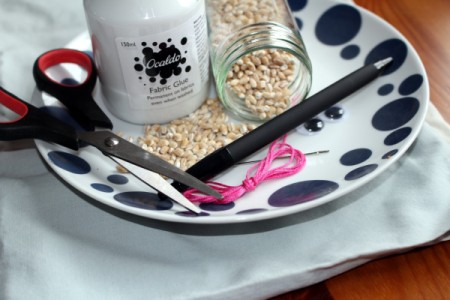
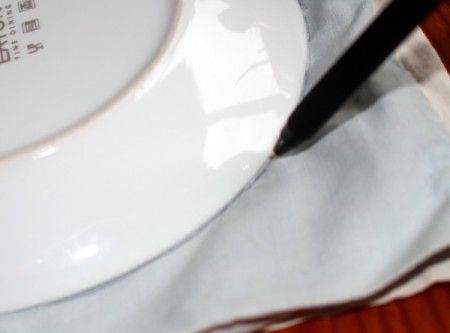
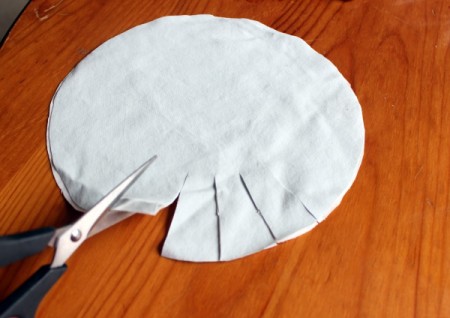
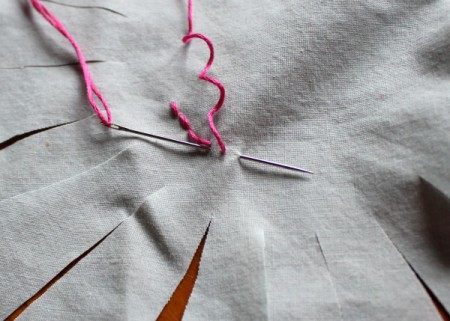
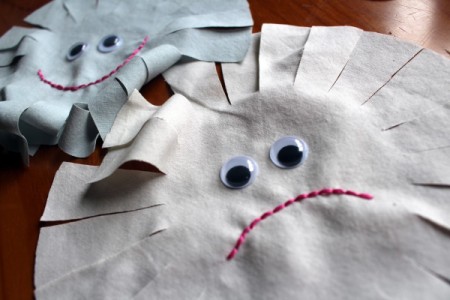
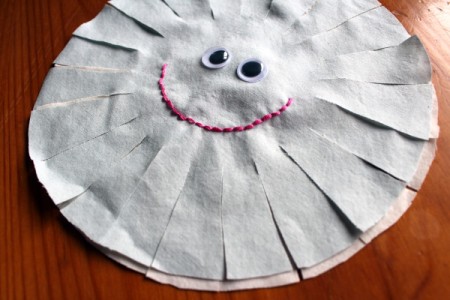
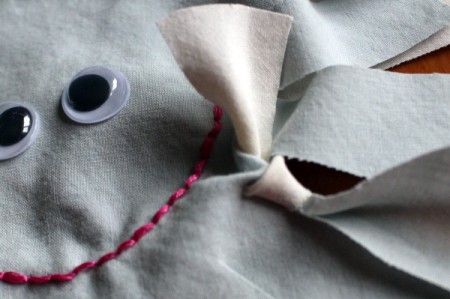
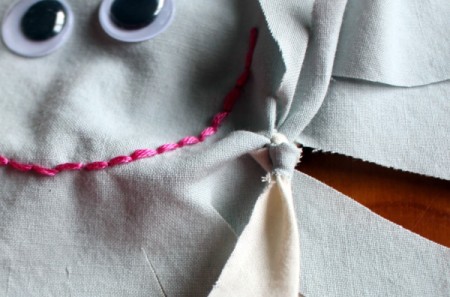
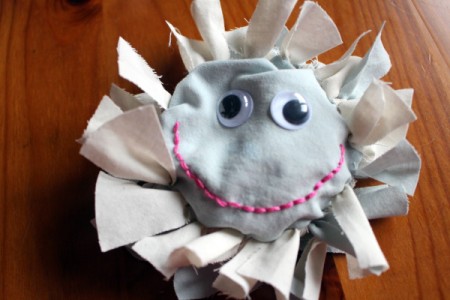
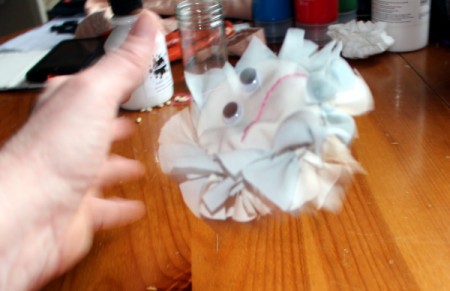
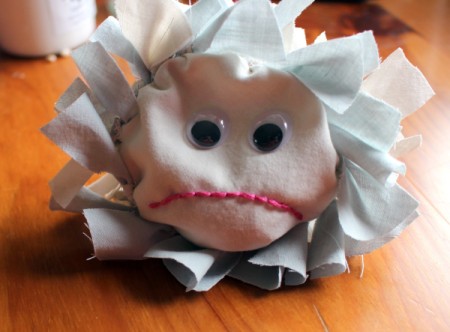
This is a simple fun toy to make with a happy face on one side and a sad face on the other. If you are no good with a needle and thread, that's OK, just use a marker pen to draw the mouth instead of stitching it. The rest is just tying knots, so no sewing involved. I used pearl barley to fill mine, but you could use any dried pulses - the bigger the better. Lentils for instance may fall out of the holes between the knots. Use a dinner plate if you want a bigger beanbag.
Supplies:
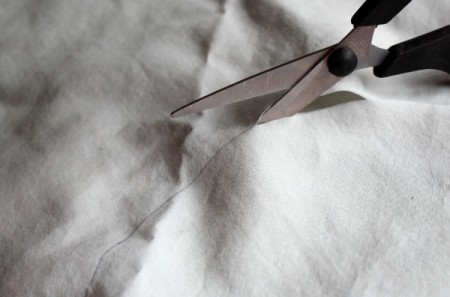
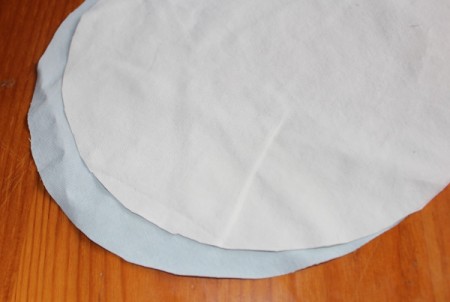
Steps:

This page contains the following solutions.
Homemade bean bags are a great gift for children. Use the sleeve or leg of an old garment and then sew in pieces.
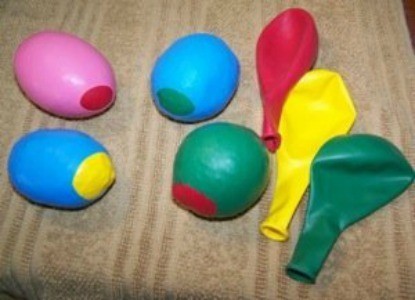
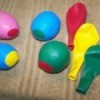
This is a page about making balloon bean bags. Even if you can't sew, you can make your kids some cute bean bags using balloons.