suz1230 Silver Feedback Medal for All Time! 451 Feedbacks
August 3, 2018
These Rellenos are out of this world! A friend of my mom, who had a restaurant for over 60 years, taught my mom years ago how to make these, then my mom taught me too. I just made them again a few nights ago. My husband loves them, and that makes making these such an enjoyabe thing for me too.
Advertisement
Prep Time: 1-1.5 hr
Cook Time: approx. 6 min for each relleno
Total Time: 1.5 - 2 hrs
Yield: 6 rellenos
Source: Mexican Restaurant that was famous for their Rellenos
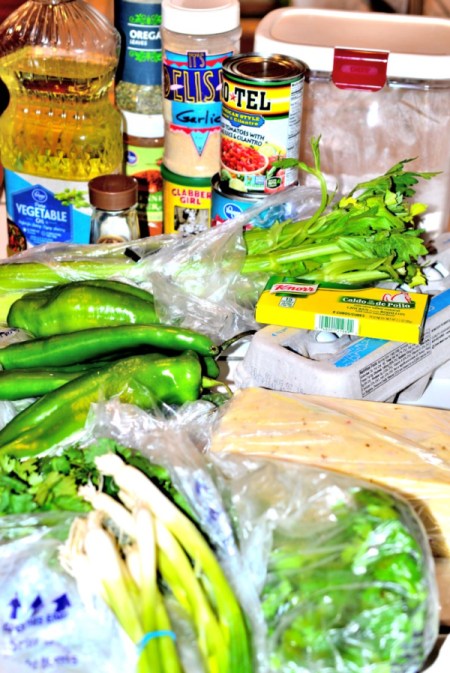
Ingredients:
6 chili peppers Anaheim, Pablano, or Hatches fresh chili peppers
3-4 Tbsp flour
1-3 Tbsp garlic fresh or powder
3/4 tsp cumin
1/2 Tbsp celery salt
1-2 pinch salt
1/2-3/4 tsp cayenne pepper
1-2 pinch dried oregano
4 cubes chicken bouillon
1/4-3/4 cup corn starch
1 tsp baking powder
1/2-3/4 can diced tomatoes or Rotel diced tomatoes
3-5 stalks celery
3-4 green onions
1-1.25 lb jack cheese or pepper jack cheese
8 eggs
3 Tbsp fresh cilantro
1 cup oil for frying
3 Tbsp butter
Steps:
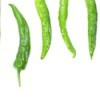
When making Rellenos, you can use Anaheim peppers, Poblano peppers, or when in season, the wonderful Hatches chilies. I love the Hatches the best, they're "meatier, thicker and bigger, with a nice bite", but they're just not available until August. They come from New Mexico, and they're wonderful for making Rellenos with.
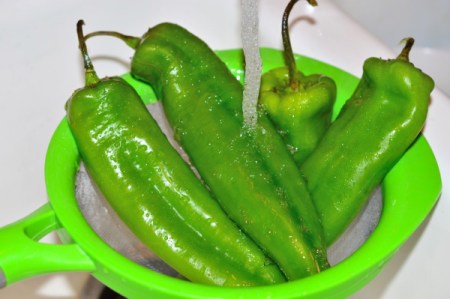
Wash your 6 chilies under cold water. Then pat dry and set aside. I used Anaheim peppers because nothing else was available yet in the store.
Advertisement
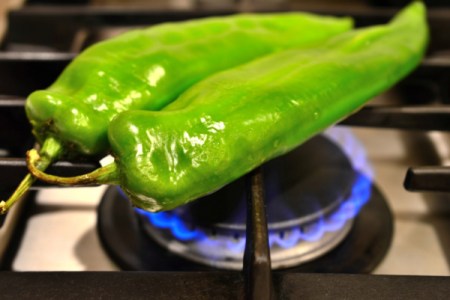
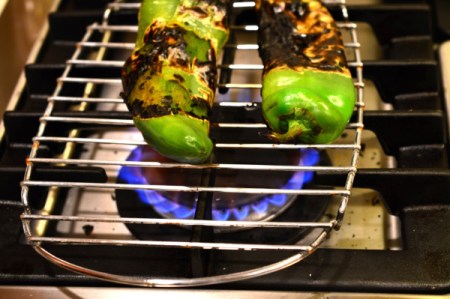
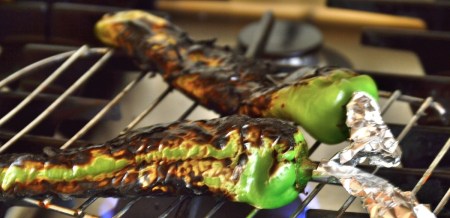
Now we're going to roast the Anaheim peppers to enable "removing the skins". They need to be totally blackened on the outside, for two reasons; to remove the skins (when they're burnt), and this basically cooks your peppers. Keep turning with tongs to get every green part blackened over the fire.
My husband has such a great idea, which was putting a stainless rack on top of the grates (don't know why I never thought of that). They can slip down off the grate, while they're roasting as they get soft and a bit slippery. The stainless rack will become red with so much heat, so be careful. Just place them right on the grate and let the skins "blacken". Some of the skins will begin peeling up on their own, and that's a good thing :)
Advertisement
They must be close to a flame for the fire to literally burn the outside, but you don't want them to catch fire. Also, to save the stems for an aesthetically pleasing look, take little pieces of foil and wrap them - that way they won't catch fire, as they will want to do that. Some of my "stems" made it through the skin blackening, but some didn't, they caught fire and fizzled up! It makes a mess on your stove, but...they are so worth it.
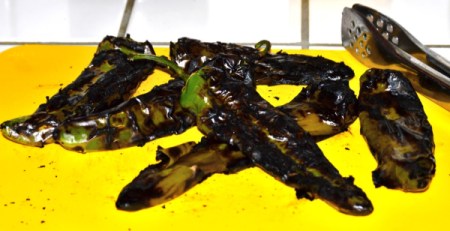
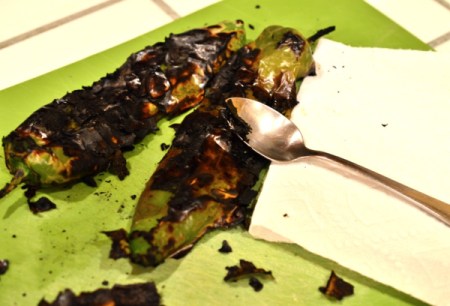
After all your peppers are blackened from stem to stern, use a spoon to (gently) scrape off the peeling blackened skins from the outside.
Advertisement
Place your peppers on a cutting mat as you're going to work on them. You'll need a napkin to keep wiping off your spoon from the burnt skins you're scraping off. If the peppers skins aren't completely burnt, the skin won't remove. If you find you still have green spots, you can place the pepper back over the fire to get it more blackened. Once the skins are removed, set aside.
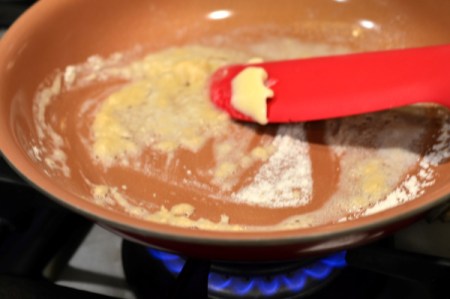
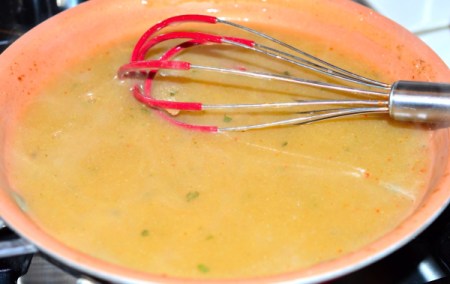
Now you're going to make a roux which is the base of a lot of sauces. Put your butter into a skillet, heat on low and just melt the butter.
Turn off the heat now.
Add 1 semi heaping Tbsp. of your flour and little dash of salt. Use a spatula to combine the butter, flour and salt. Sort of smear it around in the pan until it's blended well.
Turn up the heat now to low. Slowly add all your chicken stock, stirring constantly until well blended, and add your spices.
Put your corn starch into a separate small bowl, and add just enough water to the corn starch and stir until it looks like watered down milk. Stir that until blended.
Now slowly add that to your heated sauce, very slowly stirring constantly until the sauce is thicker, the consistency of gravy. You may not need all of the corn starch and water mixture, as you'll know when your sauce becomes the consistency of gravy that it's done. Now set that aside.
*the reason we're using corn starch to thicken the sauce is because we want the sauce to be a bit translucent, not opaque like gravy is*
Advertisement
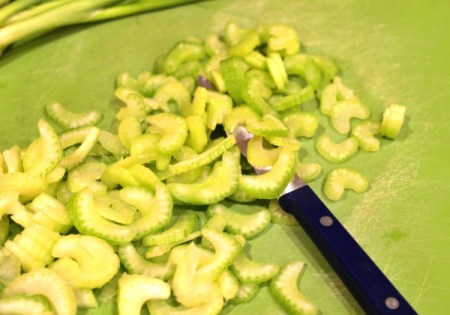
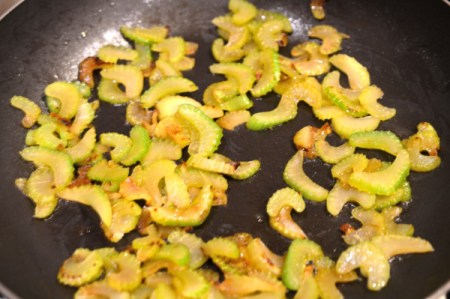
Slice up your celery. Then put your sliced celery into a medium size skillet with a 1/2 tsp of oil and stir fry quickly, just until tender. Then put into your "sauce" when they're semi cooked.
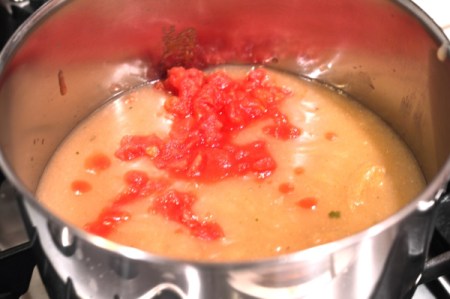
Put your 1/2 can of diced tomatoes (lightly drained) or fresh diced tomatoes can work too into the sauce and then let sit for now, no heat, just stir to mix in.
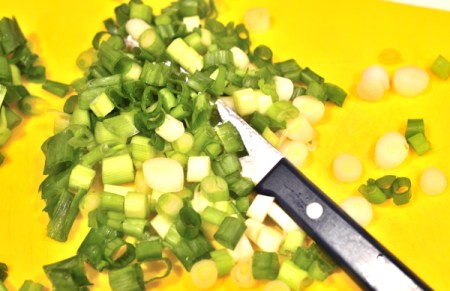
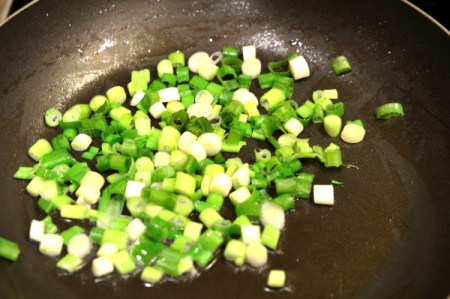
Slice up your green onions. Then stir fry those (lightly) in the same skillet you cooked your celery in. Put those into the sauce pan too.
Advertisement
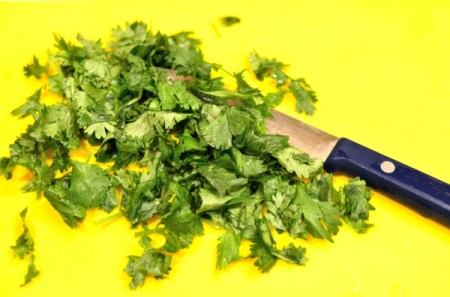
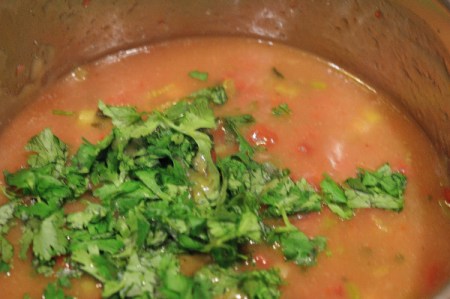
Chop your cilantro and add to sauce, no need to cook the cilantro.
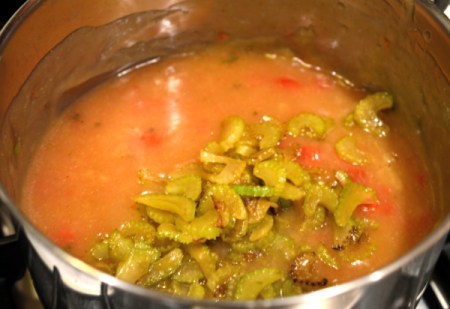
Your sauce now should have celery, diced tomatoes, green onions and cilantro in it, along with the spices.
Set that pot aside with no heat now.
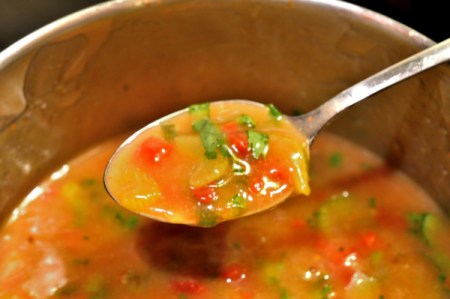
The last picture here shows how it should look with all the yummies in it. This sauce is going to be poured over your rellenos when they're done.
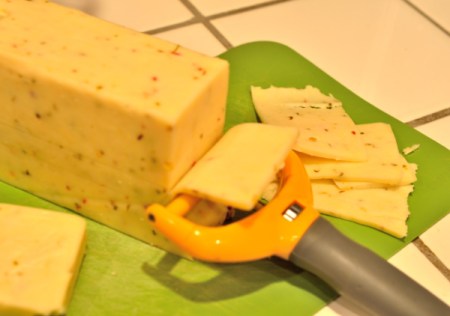
Now slice up the cheese, using either Jack cheese or Pepper Jack. I used Pepper Jack as it has more kick.
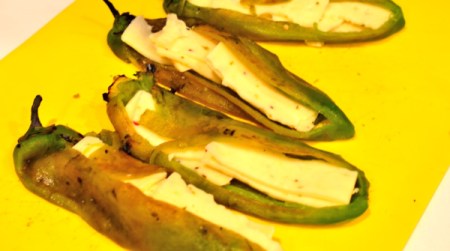
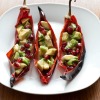
Getting back now to the chilies, they should be cooled off now enough to handle. Now we're going to cut one side of them so you can remove the seeds and membrane that's inside, and make room for the cheese. If the peppers cut the full length, it's okay because the coating will mend all that.
Gently holding one at a time, rinse under running water, then pat dry with a paper towel. They need to be handled carefully as they're delicate at this point. Then place your slices of cheese inside the cleaned out chilies, you can use more or less cheese that I have pictured.
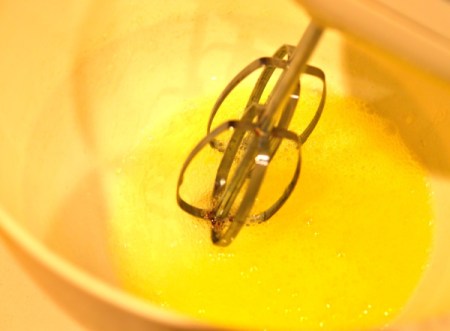
Now in large bowl, beat your *egg whites* all at once until very stiff. Save the yolks in a separate smaller bowl, we'll be using them soon.
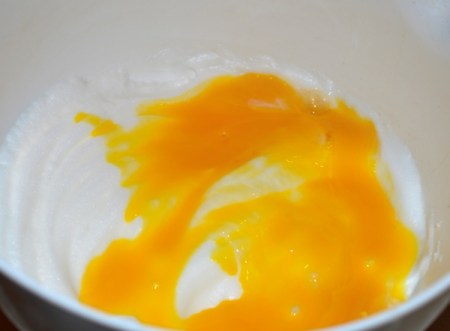
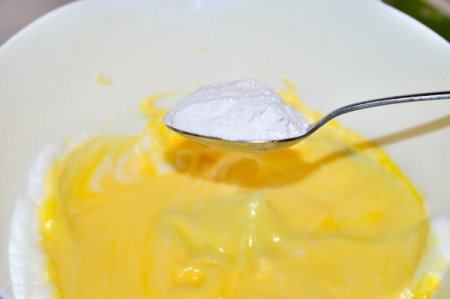
As soon as the whites are stiff, add the yolks all at once. Mix quickly with the mixer or whisk. This must be done fast (the mixing of yolks and stiff whites) or they'll get watery if it takes too long. Then add a heaping Tbsp. of your flour, and add 1 tsp. baking powder. Stir only for a few seconds to combine.
Now you can heat up your sauce you've made, and while that's heating, we're going to get the rellenos cooking.
Heat your skillet (cast iron works great) to medium heat with a generous amount of oil. When the oil is ready, gently grab one of your cheese stuffed peppers, and dip into your stiff mixed egg mixture, then lay gently into the hot oil. If there's "bald spots on your relleno" just spoon over put "egg mixture" on the spot on your pepper while it's cooking.
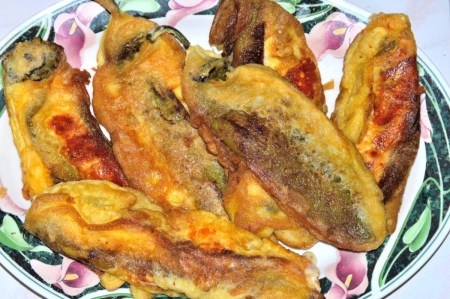
Allow to cook on one side for a couple of minutes, checking frequently to make sure when they get golden browned, then turn them over with a spatula. They'll puff up nicely. When they're all cooked on the outside, transfer to a platter or plate.
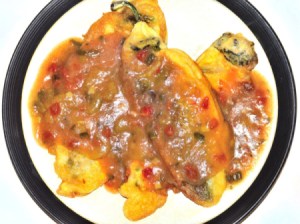
These are the Rellenos all done now on a platter. The "sauce" gets poured over the Rellenos only when they're served as you don't want to let the sauce sit on them until they're ready to be eaten or the nice outside will get soggy.
Now pour a few spoons of sauce over the Rellenos on each plate, and enjoy!
They can be served with a side of rice and beans and shredded lettuce, or just by themselves. I believe you'll enjoy them to the max! :)
attosa Diamond Post Medal for All Time! 1,246 Posts
August 4, 20180 found this helpful
These are my besties favourites!!! Another thing we have NEVER made in our kitchens, and we cook a LOT (as you can see) ;) Thanks for another gem! Oh, I posted a pic of your shells we JUST made. DELIGHTFUL!!!!!!!
suz1230 Silver Feedback Medal for All Time! 451 Feedbacks
August 5, 20180 found this helpful
Hi Attosa :)
And, oh, do I believe it - (how you cook a lot), you're amazing with foods and the varieties, you're so talented, and all your dishes look so delicious, and one day I'm sure you'll knock out these Rellenos too.
Once you make them, after that...you'll never need a recipe again for them. It's actually harder trying to figure out how much of this or that to put the recipe into measurements, which I'm sure you know what I mean.
And you made the shells? That's so exciting, I'm tickled pink, and I'm so glad :) I'll go find your pic.
She states that she uses 4 bouillon cubes in the ingredients. My best guess would be 4 cups of broth as that is how much the cubes would make if following directions. As you are making a roux and then adding the broth, you could start slow and see how much you need. 4 cups seems like too much to me.
I hope the original poster will see and respond but she hasn't been active on the site recently.
 These Rellenos are out of this world! A friend of my mom, who had a restaurant for over 60 years, taught my mom years ago how to make these, then my mom taught me too. I just made them again a few nights ago. My husband loves them, and that makes making these such an enjoyabe thing for me too.