Make Dad his very own personalized stationery and then package it in a cute briefcase. Add a nice pen for him to write with and you will have made a great gift from just a few supplies. For the stationery, pick four different photos and print five of each. A pack of twenty is an ample supply. You can also change the heading to match the picture. You could use the heading, "From the desk of (insert name)" and use a nice photo of him for business correspondence. Choose to use a silly photo of him with another heading, such as, "From my mouth to your ears", that he can use for personal use, such as writing a note to a friend.
Advertisement
Sandwich the stationery between two pieces of cardboard and tie with a ribbon. Put the pack inside the briefcase when you are finished. Once your briefcase is assembled, have fun decorating it for him. Add pockets, letter beads, photos, hand drawn pictures, etc. Make him this unique gift that he'll remember.
Approximate Time: time will vary
Supplies:
2 expandable folders
double backed tape
2 brads or paper fasteners
string
felt
markers
printer paper
computer and printer
Instructions:
Use your computer program to make the stationery. I put my photos in the top left corner with the heading centered. Print them out on your choice of paper.
Advertisement
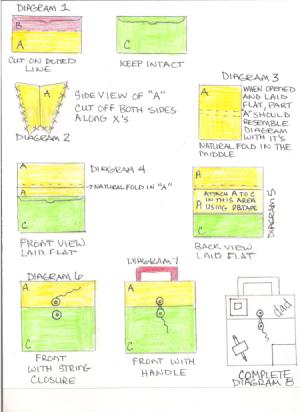
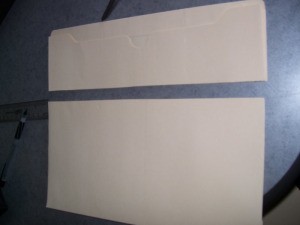
The colors used on the diagram page are for diagram purposes only. Take one file folder and cut approx. 1/3 off (See Diagram 1). This is the piece you will attach to the other folder to make the briefcase. You will be able to cut this piece shorter if you feel the case stands too tall.
Cut off side seams (See Diagram 2). The natural fold in this piece will now become the top of the briefcase.
Lay this piece flat (See Diagram 3).
Place the intact folder on top and fold cut piece over (See Diagram 4). You can now judge how tall it will be and cut shorter if you choose.
Advertisement
Put double backed tape (DBT) on half of cut piece and attach to the intact file (See Diagram 5). This will create the flap of the briefcase. You should be able to flip this flap up in front just like a real briefcase.
Cut 2 half dollar size circles from leftover file piece. Push a brad through one circle. On the other circle, lay an end of a long length of string across it. Place brad over string and push through circle. You want to catch and secure the string under the brad. Lay this one in lower center of top flap and push brad through. Secure. Place other circle directly below it on the case bottom and push through. Secure (See Diagram 6). You can use paper fasteners instead of brads, but do not glue down the circles. The string will not wrap under each circle if you use glue. You should now be able to close case by wrapping string under one circle and then the other, forming an "X", just like the ones you can purchase.
Advertisement
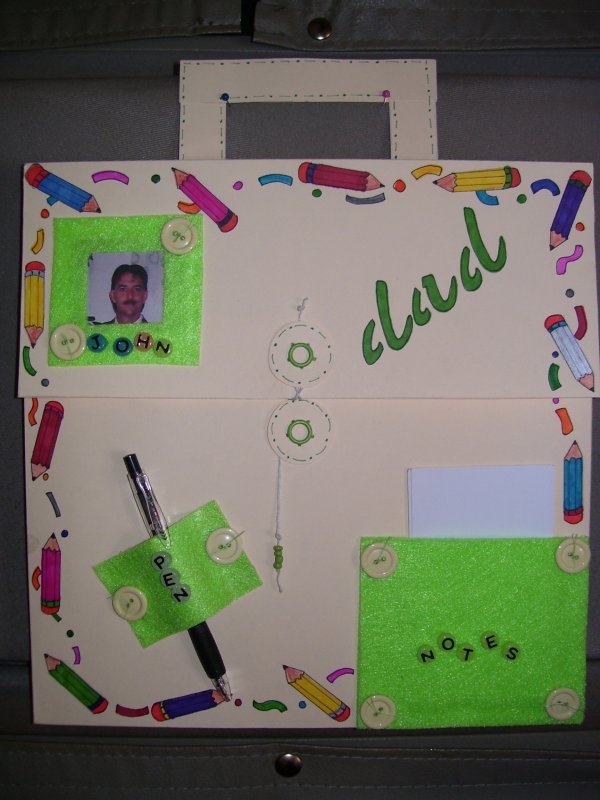
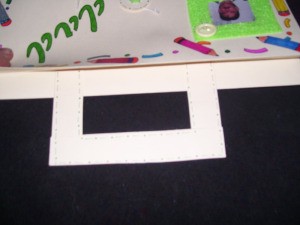
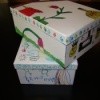
Make a handle using the leftover piece of file (Part B). I doubled my handle for strength and used DBT to secure. Apply handle to inner back flap on top only. (See photo).
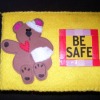
Decorate case as desired. I chose to use a pocket for note cards and made a pen holder, all from felt. I also added a frame with a photo of "Dad". I colored the rest using magic markers and added some letter beads (See Diagram 8).
Feel free to message me if you have any questions.