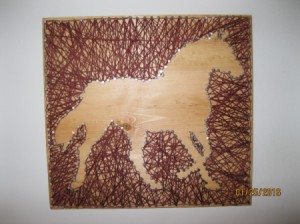
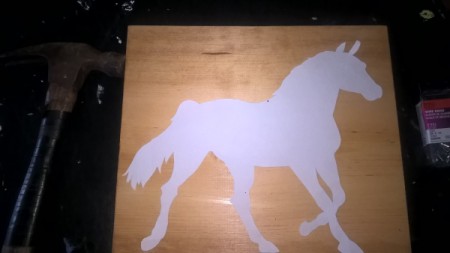
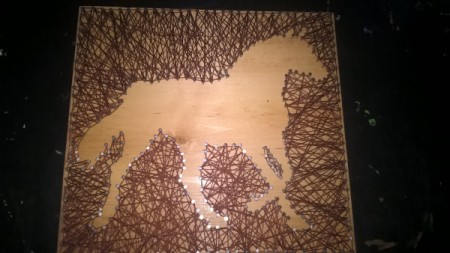
 When I was a little girl, we had a piece of string art that I loved. I have no idea who made it or where it came from. I'd just sit and look at it. Lately, I've seen lots of different string art ideas on pinterest. I was excited, but nervous to try it. But, I'm very happy with how it turned out. I can't wait to try some other designs. The possibilities are endless!
Total Time: About 2 hours.
Yield: 1 piece of art
Source: pinterest
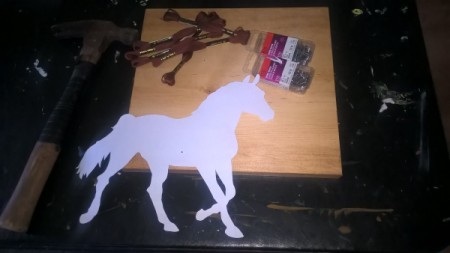
Supplies:
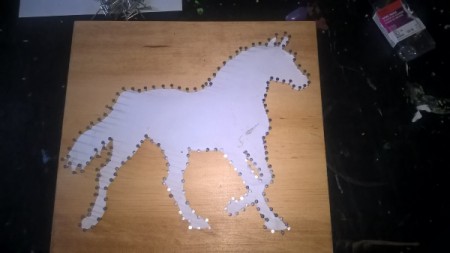
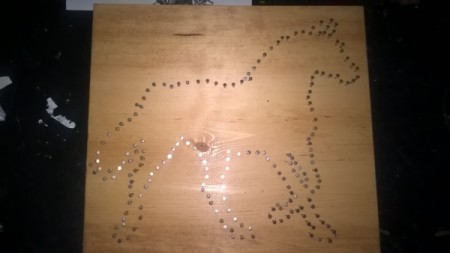
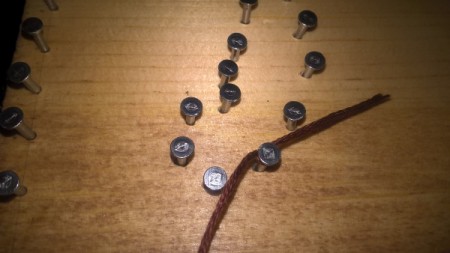
Steps:
Share on ThriftyFunThis page contains the following solutions. Have something to add? Please share your solution!
This easy simple project only takes about 10 minutes. It could work as just a simple home decor project and could be made as big as you want.
![]()