social

Making a Collage Folder


Diamond Post Medal for All Time! 1,298 Posts

Making a Collage Folder
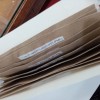
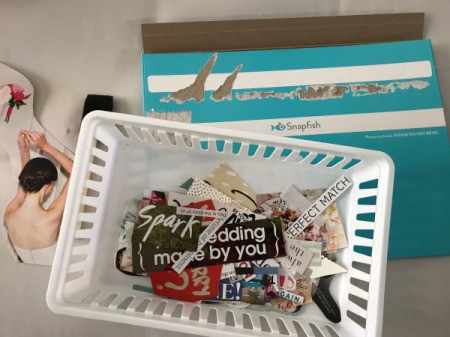
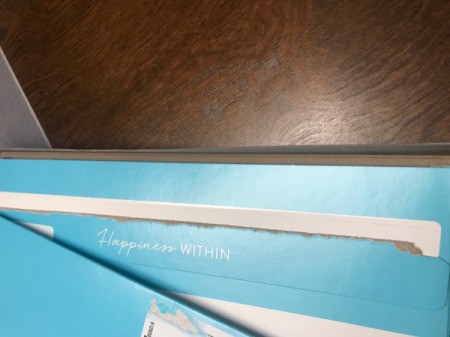
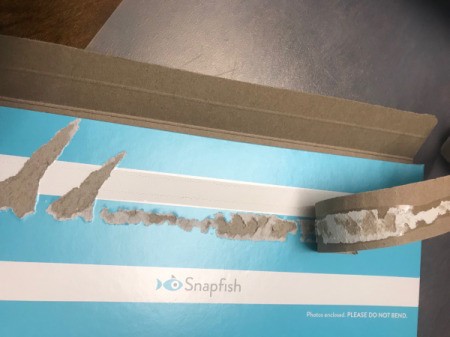
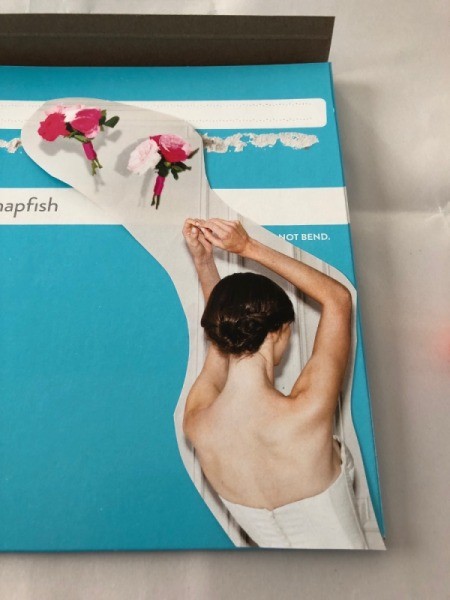
When you have 8 x 10 photos printed whether it may be in a store or online, they come in a folder. Especially ones that are printed online and mailed to your home. They are in a folder made out of cardboard which is extremely sturdy (from Snapfish). I always keep these folders because they come in handy with storing pictures, documents, papers, etc.

Advertisement

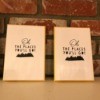
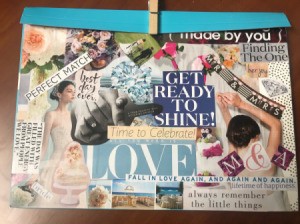
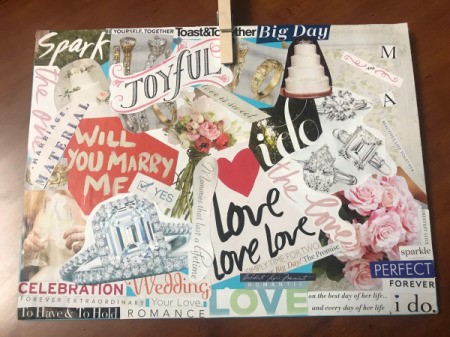
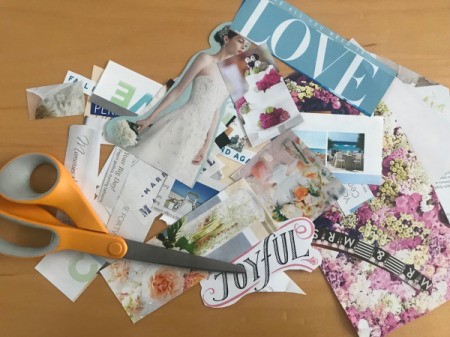
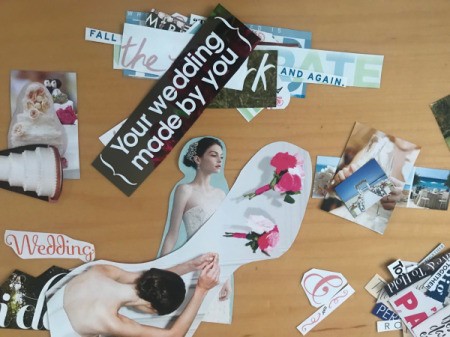
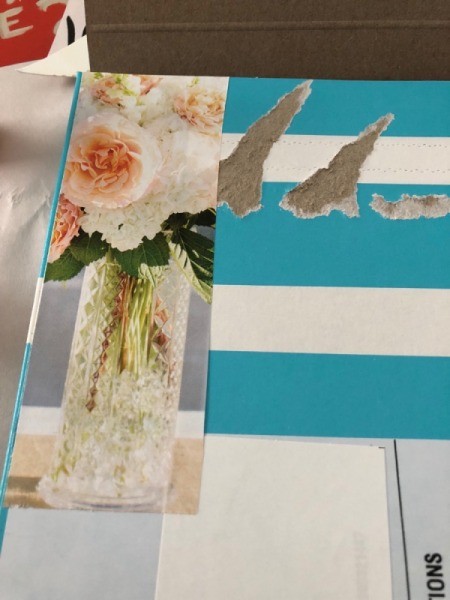
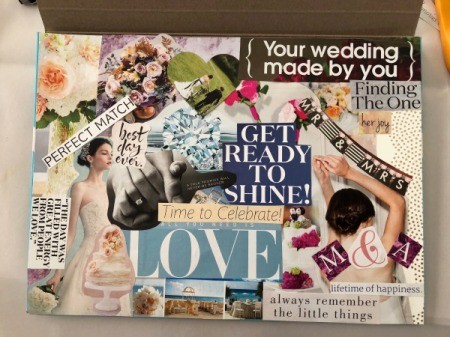
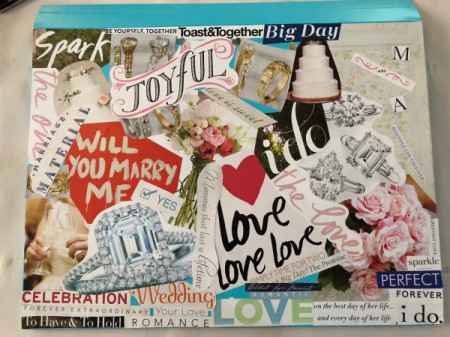
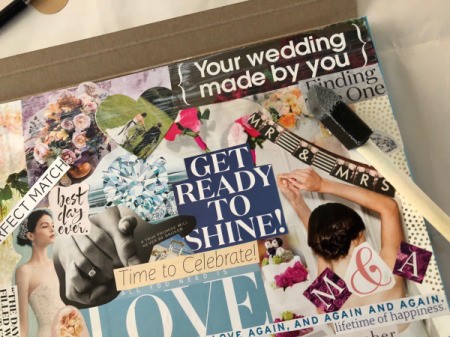
For this college folder I made, I placed cards that we received from my engagement party and when we have our wedding, the rest will go in here as a keepsake. You can apply this concept and use the folder for something else and have a different theme than wedding/love/engagement.

Total Time: 1-2 hours (time varies)

Yield: 1 folder

Making a Collage Folder
 

Supplies:

Making a Collage Folder
 
Making a Collage Folder
 

Steps:

  1. I used the folder that was shipped to me in the mail from Snapfish (where I printed my photos). I peeled off the extra excess cardboard on the folder so that the folder is flush and flat.
  2. Making a Collage Folder - excess cardboard material
     
    Making a Collage Folder - peel off cardboard to prep folder surface
     
    Advertisement

  3. Skim through old wedding magazines and look for photos and phrases you like and cut out.
  4. Making a Collage Folder - magazine photo
     
    Making a Collage Folder - clippings
     
    Making a Collage Folder - trimmed clippings
     
  5. Once you have a good amount of clipped photos and phrases, you can start arranging your college. Secure clipped photos and phrases with a glue stick.
  6. Making a Collage Folder - begin gluing clippings down
     
    Making a Collage Folder - continue
     
    Making a Collage Folder - overlapping clippings
     
  7. Repeat gluing down clippings until there is no room left, or until you feel your folder is complete. You can build on your collage master piece until you feel like your folder is complete. Repeat on the other side if you would like (like I did).
  8. Making a Collage Folder - front
     
    Making a Collage Folder - back
     
    Advertisement

  9. To ensure the folder is well glued and secured, I added a thin layer of modpodge on both sides. Allow to dry.
  10. Making a Collage Folder - coating with Mod Podge
     
  11. To keep the folder closed, I used a clothespin. You can use a clip or wrap around with twine.

Add your voice! Click below to comment. ThriftyFun is powered by your wisdom!


Diamond Post Medal for All Time! 1,246 Posts
May 30, 20180 found this helpful

I love the "love love love" bit! Cute!

Reply Was this helpful? Yes

Diamond Post Medal for All Time! 1,298 Posts
June 3, 20180 found this helpful

Thank you :) Me too so many cute phrases in the magazines!

Reply Was this helpful? Yes

Add your voice! Click below to comment. ThriftyFun is powered by your wisdom!

Categories
Crafts DecoupageMay 29, 2018
Pages
More
🎄
Christmas Ideas!
🍂
Thanksgiving Ideas!
Facebook
Pinterest
YouTube
Instagram
Contests!
Newsletters
Ask a Question
Share a Post
Categories
Better LivingBudget & FinanceBusiness and LegalComputersConsumer AdviceCoronavirusCraftsEducationEntertainmentFood and RecipesHealth & BeautyHolidays and PartiesHome and GardenMake Your OwnOrganizingParentingPetsPhotosTravel and RecreationWeddings
Published by ThriftyFun.
Desktop Page | View Mobile
Disclaimer | Privacy Policy | Contact Us
Generated 2022-11-10 05:09:21 in 2 secs. ⛅️️
© 1997-2022 by Cumuli, Inc. All Rights Reserved.
https://www.thriftyfun.com/Making-a-Collage-Folder.html