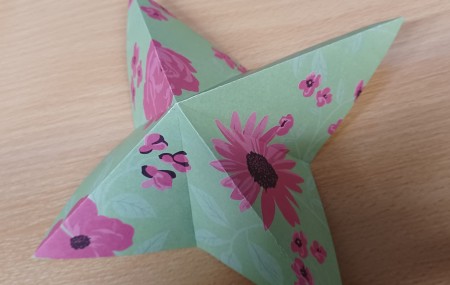
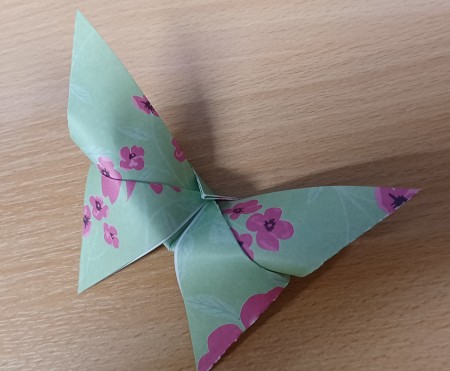
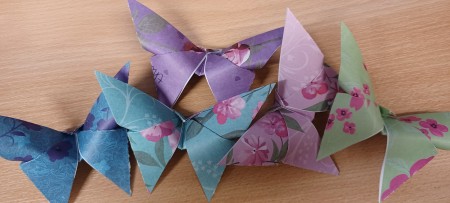
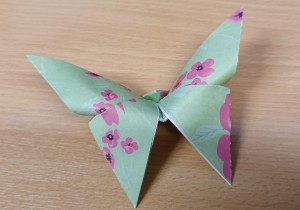
 With just a few simple folds you can make this easy and impressive paper butterfly.
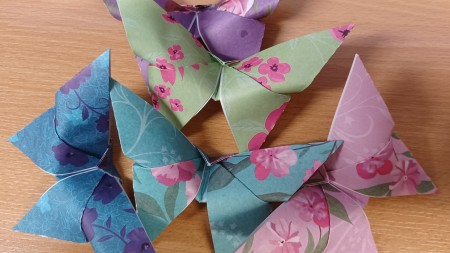
They take only minutes to fold and you can make them in different colours patterns and sizes to decorate walls or gifts or for hanging as a mobile
Total Time: 5 minutes per butterfly
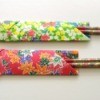
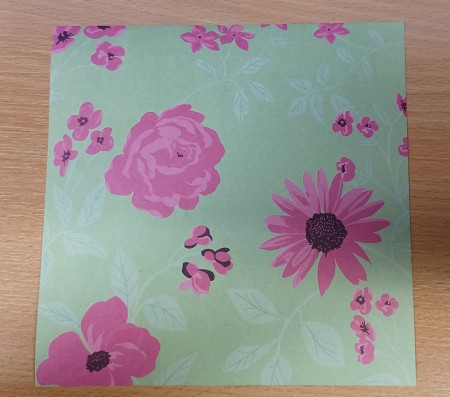
Supplies:
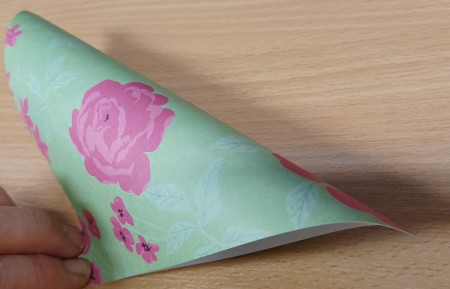
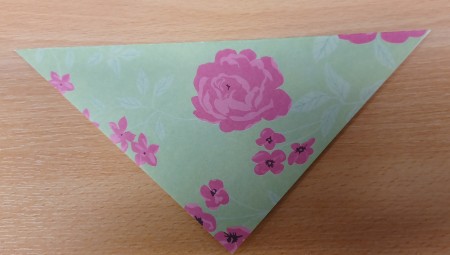
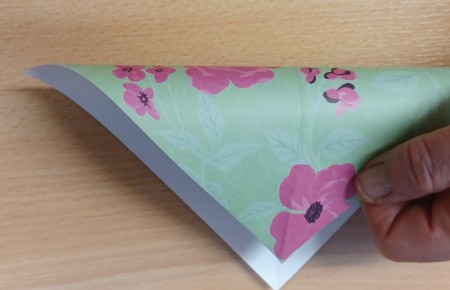
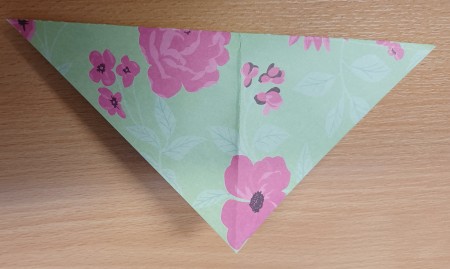
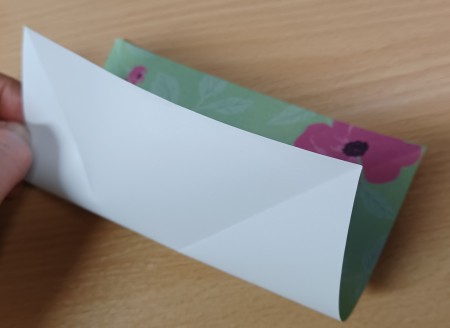
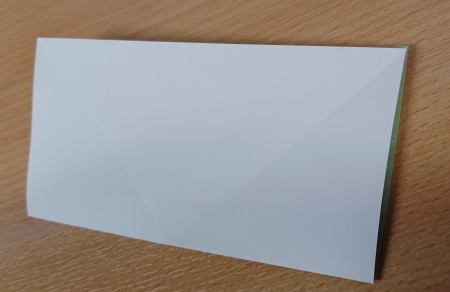
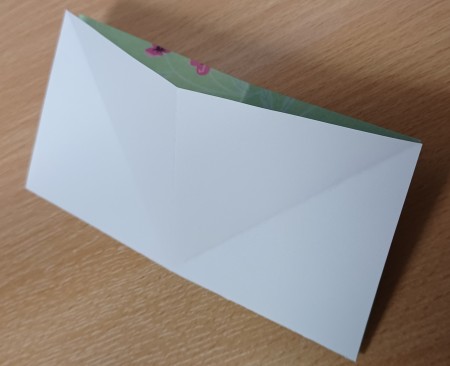
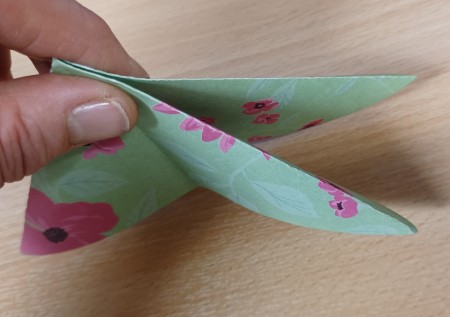
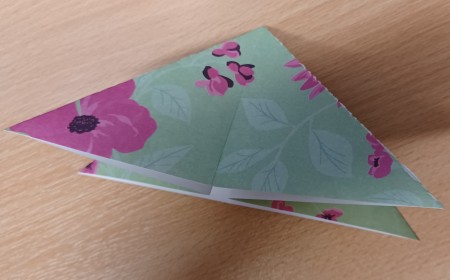
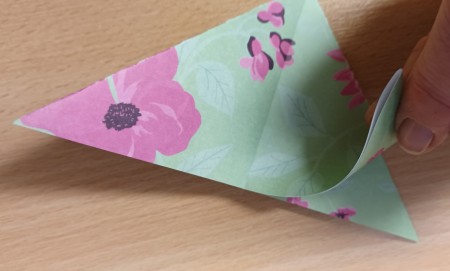
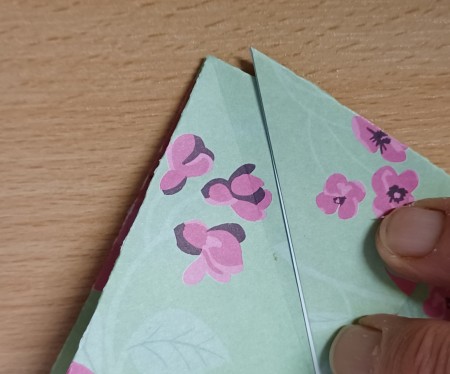
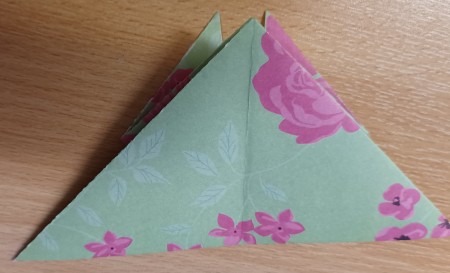
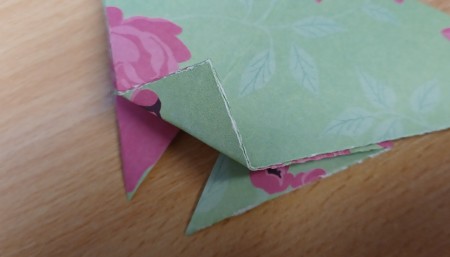
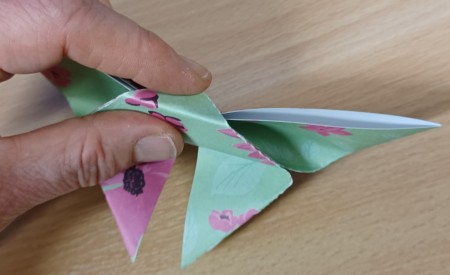
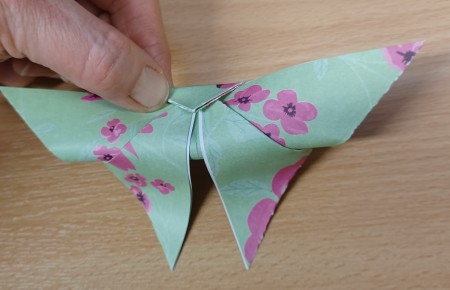
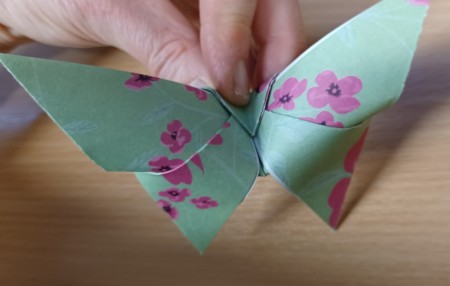
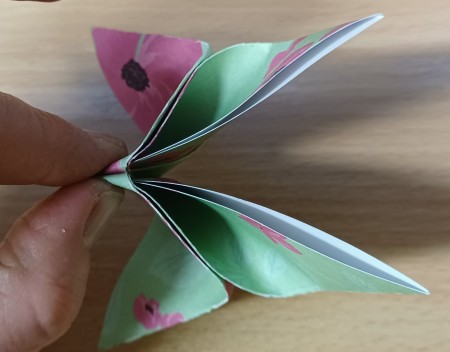
Steps: