social

Saving a Broken Plastic Basket


Gold Post Medal for All Time! 969 Posts
February 23, 2021

The original basket before the handles broke.
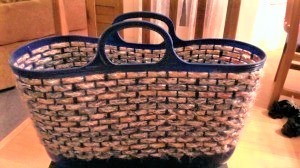
About 5 years ago, I posted this basket with you folks. I am happy to say you deemed it worthy of a winning post.

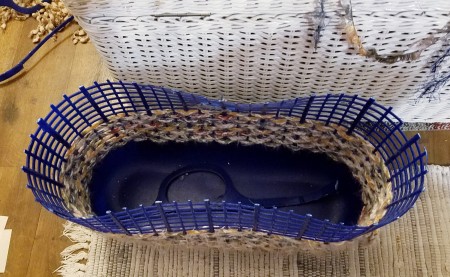
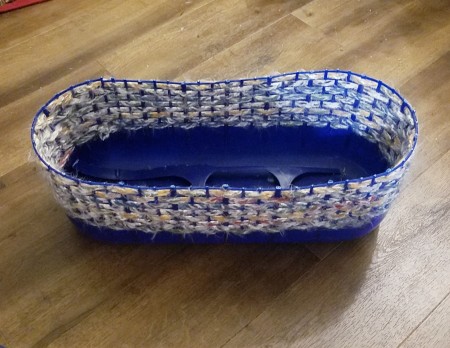
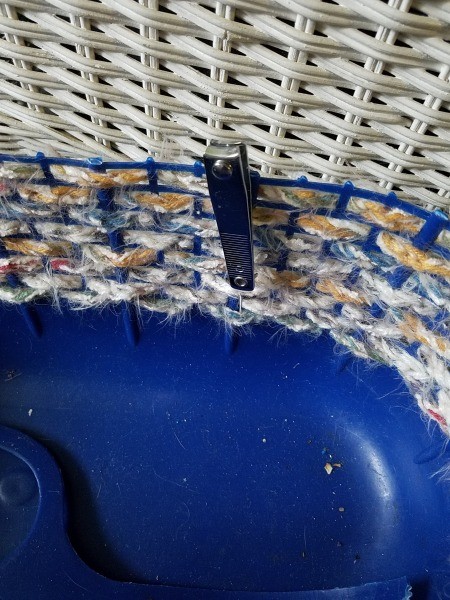
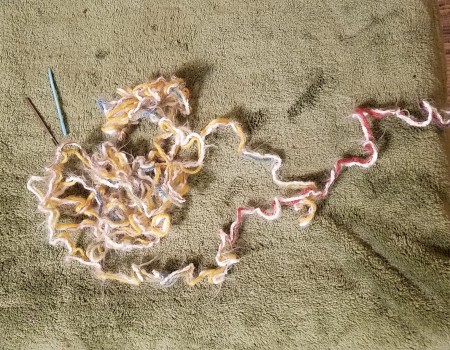
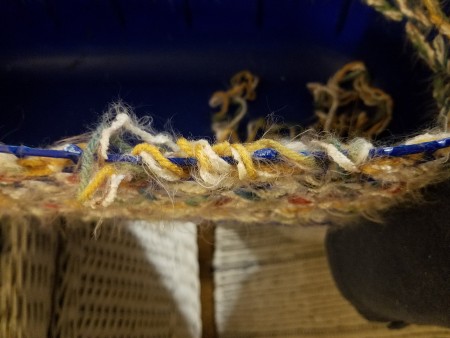
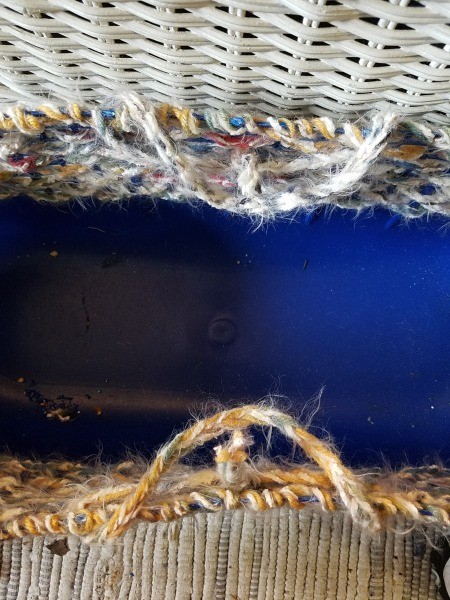
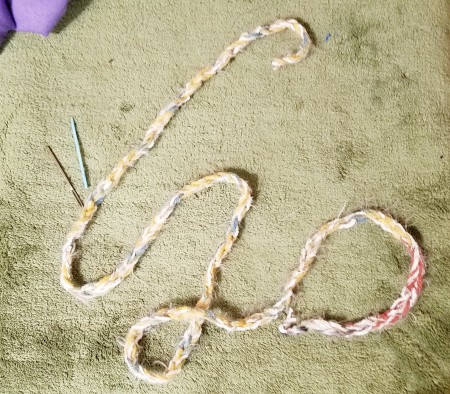
But, time and too many moves took a toll, and sadly the handle began to split. All the work of crocheting the strips made it really hard to just toss. So, I set about to fix it and make it into a smaller basket. I think putting life back into it was worth it.

Advertisement

Total Time: 2 hours

Yield: 1

Source: Here is the original basket posted on ThriftyFun.

Link: Crochet Chain Woven Basket
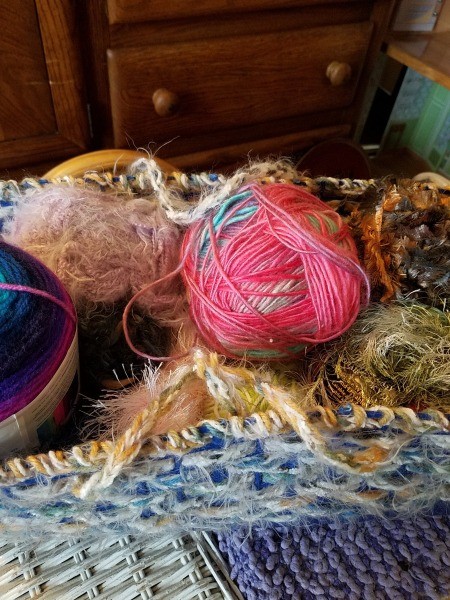
Supplies:

  • scissors
  • razor cutter
  • nail clippers
  • darning needle
  • size K crochet hook
A crochet chain on the floor.
 

Steps:

  1. When I lifted the basket to move it, it ripped about 1/4 the way around. No tape or glue was going to save it. So, I cut it down a few rows, undid the yarn chains in the holes, and got it to level.
  2. A plastic basket that is broken at the top, with crochet below.
     
    The cut down crocheted plastic basket.
     
  3. There were lots of little plastic sections that made up the weave. They were a bit too thick and close together to use a scissors. So I used a nail clipper. I got them down to where they weren't poking up very much, certainly not enough to keep me from the next step.
  4. Using nail clippers on the crocheted plastic basket.
     
    Advertisement

  5. I unraveled some of the original chain, and had a nice double thread. With the darning needle, I did a whip-stitch around the whole top.
  6. Colorful yarn on the floor.
     
    Repairing the top of the basket.
     
  7. With that done, I salvaged some of the chains, and cut some off for the new handle, about 12 inches. I then found the center of each side, and went to the right and the left of that, by the holes, to insert one end of the chain on each of those two points. I did the same on the other side.
  8. Repairing the crochet at the top.
     
  9. Then I tied the two ends together to secure the handles. I tied a small amount of thread to the center of each handle. This kept it from slipping and gave me a nice secure fit. I then refilled it with some of the yarn that had come out.
  10. The finished basket
     
    Advertisement

  11. It was done and now it should last a lot longer. N-JOY!
Comment Pin it! Was this helpful? Yes
Categories
Crafts Recycled Crafts ContainersMarch 7, 2021
Pages
More
🍂
Thanksgiving Ideas!
🎃
Halloween Ideas!
Facebook
Pinterest
YouTube
Instagram
Contests!
Newsletters
Ask a Question
Share a Post
Categories
Better LivingBudget & FinanceBusiness and LegalComputersConsumer AdviceCoronavirusCraftsEducationEntertainmentFood and RecipesHealth & BeautyHolidays and PartiesHome and GardenMake Your OwnOrganizingParentingPetsPhotosTravel and RecreationWeddings
Published by ThriftyFun.
Desktop Page | View Mobile
Disclaimer | Privacy Policy | Contact Us
Generated 2022-10-25 19:32:14 in 3 secs. ⛅️️
© 1997-2022 by Cumuli, Inc. All Rights Reserved.
https://www.thriftyfun.com/Saving-a-Broken-Plastic-Basket.html