deenagoodale Bronze Post Medal for All Time! 221 Posts
January 13, 2021
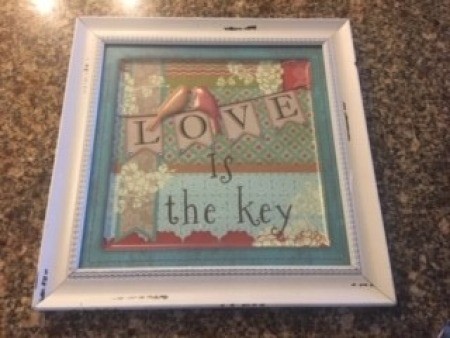
The cost of this project was only $2.75 (for a used picture frame) because I used up craft supplies I already had on hand.
Advertisement
Total Time: 1 hour
Yield: 1
Supplies:
1 picture frame (picture frame without glass, or shadow box or one with depth works best)
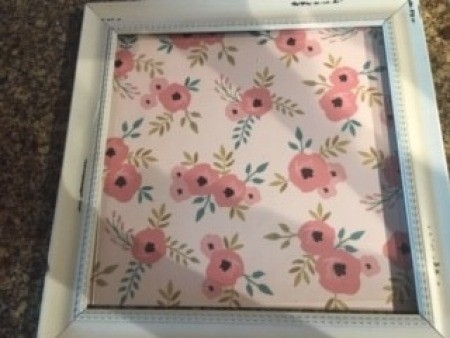
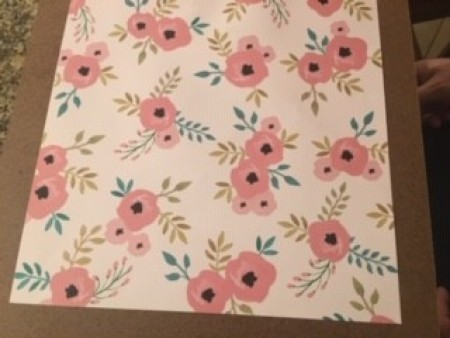
contact paper or scrapbook paper for back
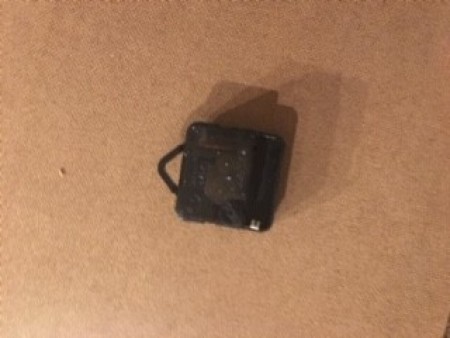
clock fixture
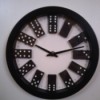
clock face (I used a template printed from computer)
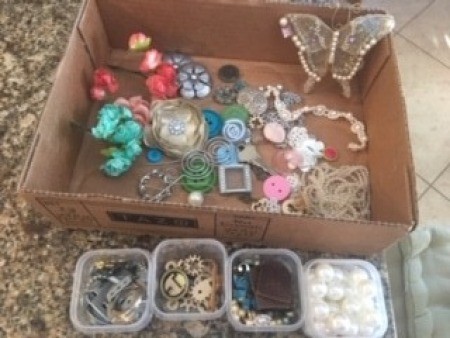
various embellishments
hot glue gun
Elmer's glue
wood glue
drill
craft glue
Steps:
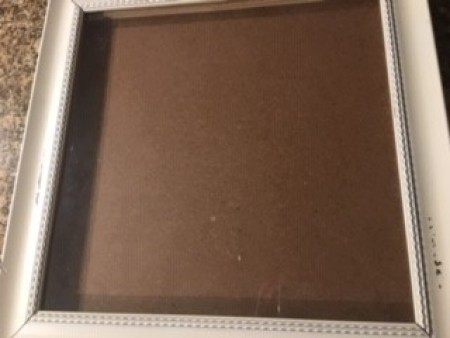
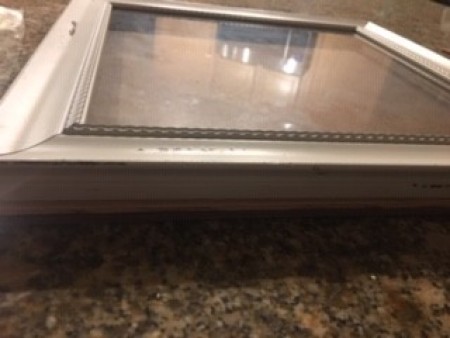
Because I chose to keep the glass on this picture frame, we needed to add more depth to the frame to allow room for the depth of the clock fixture. Another alternative would be to use a picture frame without glass and to skip this step. First, we glued the glass to the picture frame using Elmer's glue. Then, we cut out a square from plywood to fit around the perimeter of the picture frame. Glue scrapbook paper or use contact paper to decorate the back of the frame. (Note the added depth of the frame similar to a shadow box picture frame.)
Advertisement
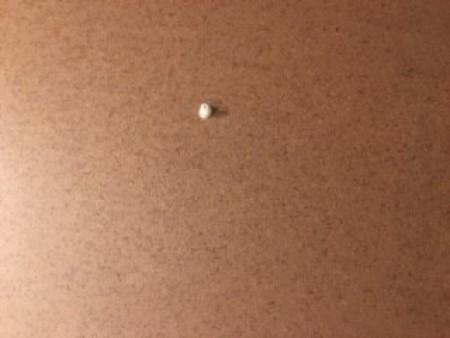
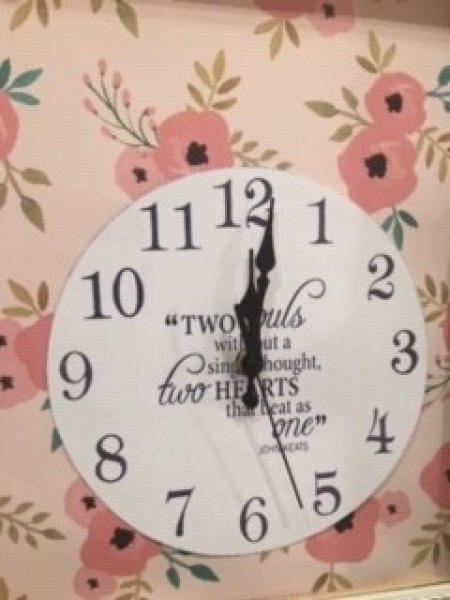
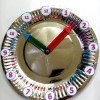
Place the clock face (free downloadable templates online) on the front side of the back piece. Mark a hole where the middle of the clock should be and then drill the hole. Attach the clock fixtures to the front and back and add the clock hands.
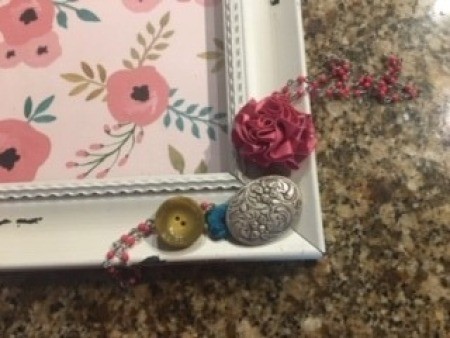
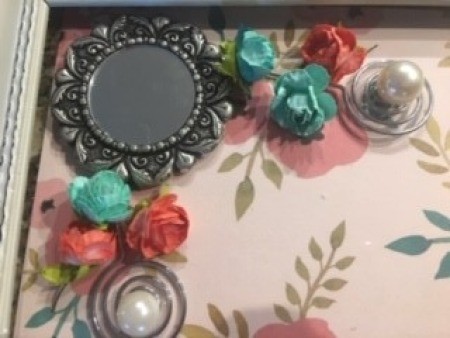
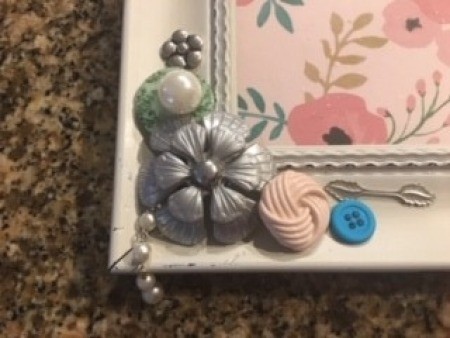
Using your embellishments, plan the placement of the decor. I pre-planned placement of the decor and took a picture to refer to the placement so that when I removed the items to glue into place I would remember how I had placed them. I used craft glue and a hot glue gun to glue the embellishments, depending on the thickness of the item. To hang on the wall, drill two holes in the back of the picture frame so that it can be hung with nails.
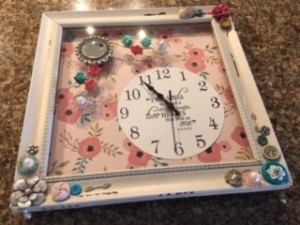 The cost of this project was only $2.75 (for a used picture frame) because I used up craft supplies I already had on hand.