lalala...
Gold Post Medal for All Time! 899 Posts 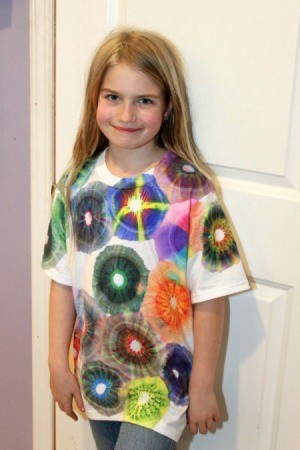 Using Sharpies to tie dye t-shirts is easy and would be a great kids' craft!
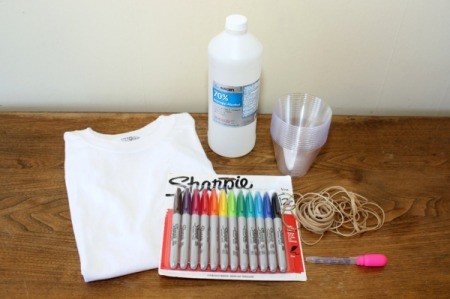
Supplies:
- white t-shirt
- Sharpie markers
- plastic cups
- rubber bands
- eye dropper
- rubbing alcohol
- hair dryer
- cardboard template (quarter-sized circle)
Warning: I highly recommend that you either open your windows or do this outside!
Steps:
- Create a cardboard template by tracing around a quarter and cutting it out.

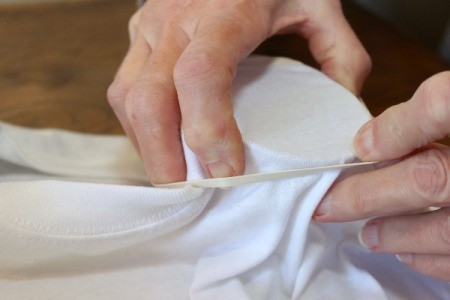
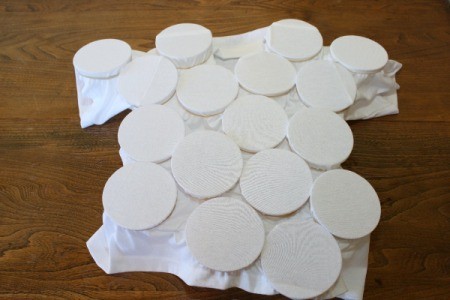
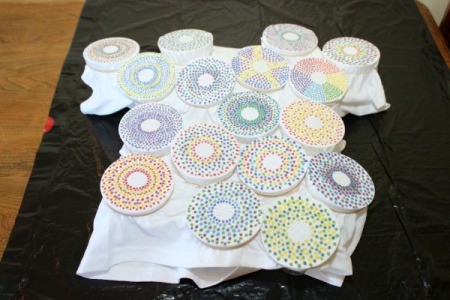
- Put plastic cups in between the layers of the t-shirt. Place a rubber band around the top of each cup, pulling the t-shirt material tight.
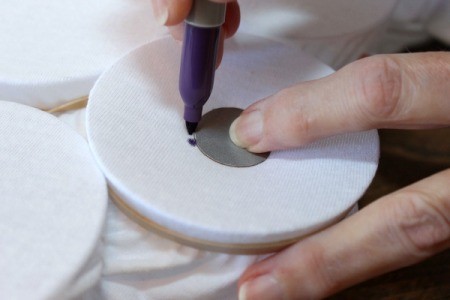
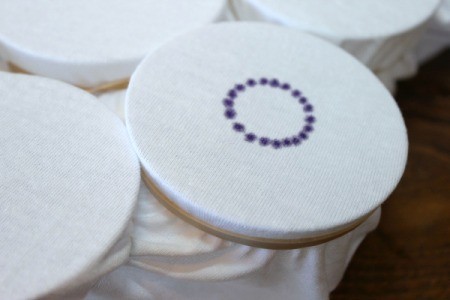
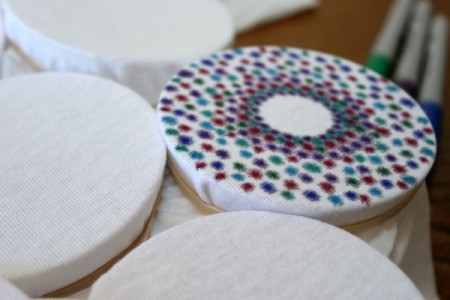
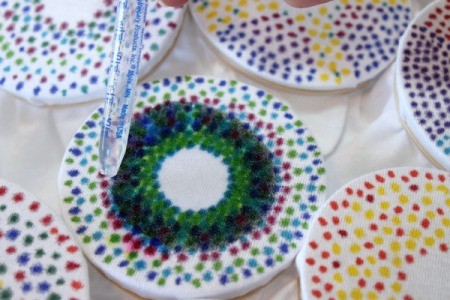
- Place the template in the center of rubber banded areas. Select a marker color and make large dots around the template. Then remove the template.
- Now working out from the middle, fill the rubber banded area with large dots. Change colors and create whatever patterns you want. Repeat for each of the rubber banded areas.
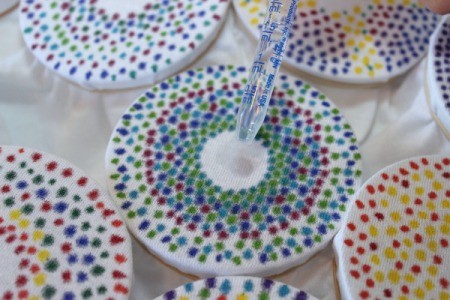
- Once all of your areas are colored, lay out a plastic bag on our work surface and pour rubbing alcohol into a small bowl.
- Using an eye dropper, put a few drops of alcohol into the very center of one the areas. Allow the alcohol to wick outward from the middle. Be aware that some colors spread better than others. NOTE: Be sure to hold the cup you are working on upright, so that the alcohol spreads evenly.
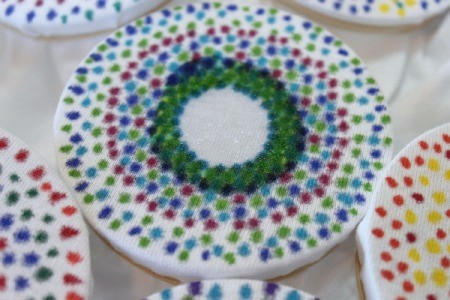
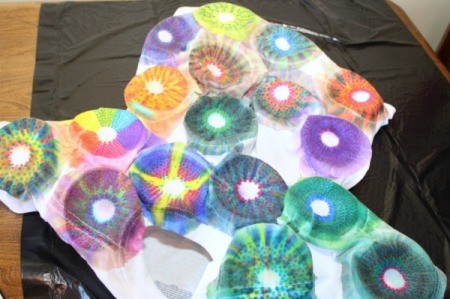
- Now add drops of alcohol to keep it wicking outward. Continue adding alcohol as needed until all of the ink in the area has become wet and had a chance to spread. NOTE: Only add alcohol to where it is already wet, otherwise you will interfere with the spreading of the ink.
- Repeat until all of the rubber banded areas have been tie-dyed.

- Allow the t-shirt to dry, using a blow dryer if necessary. Now remove the rubber bands and cups. If you want to do more tie-dying in the areas that are still white, repeat the above steps.
- Put the t-shirt in your dryer and dry on high heat to set the colors. I would wash it in cold and line dry to maintain the colors.
Add your voice! Click below to comment. ThriftyFun is powered by your wisdom!
Benetta
Silver Post Medal for All Time! 408 Posts March 3, 20140 found this helpful
Very neat!
May 31, 20220 found this helpful
Researched throughly. Looked amazing. Hot ironed and hot tumbled. Washed cold and guess what ran. Why don't people show after they have been washed because they don't look like this .
Add your voice! Click below to comment. ThriftyFun is powered by your wisdom!