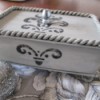
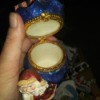
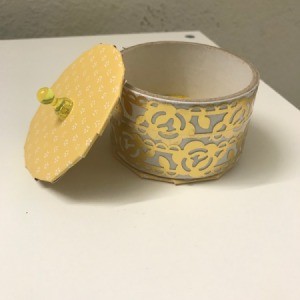
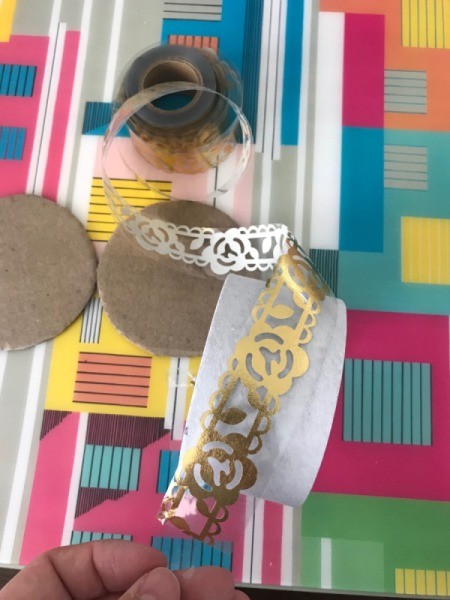
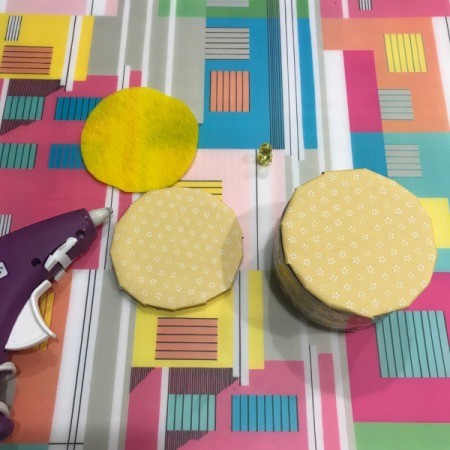
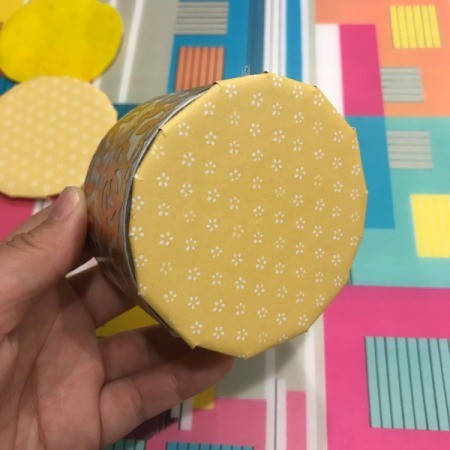
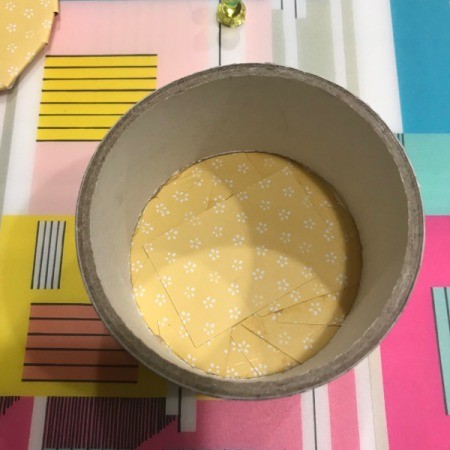
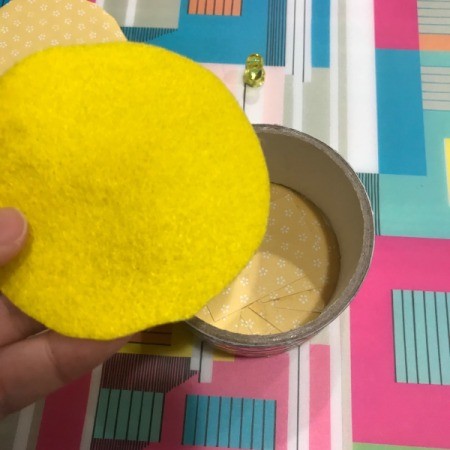
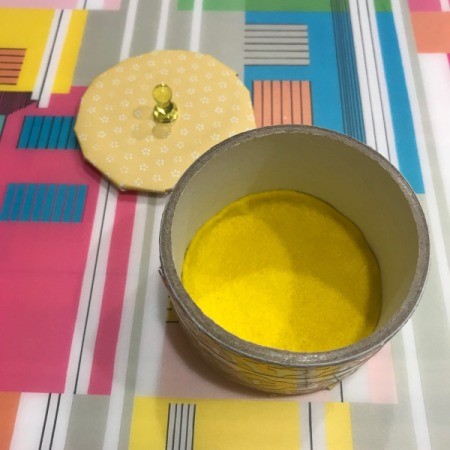
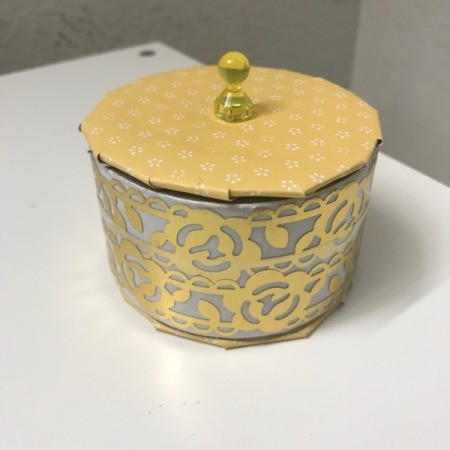
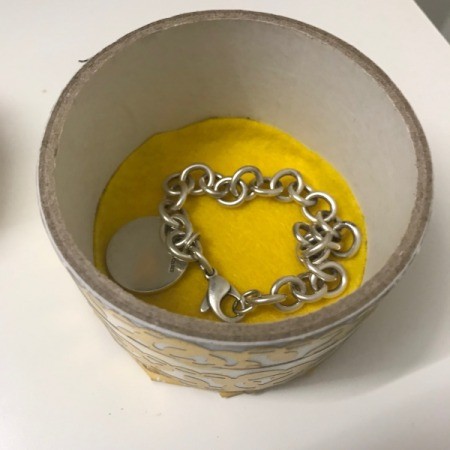
 Here is an upcycled trinket box made with an empty packaging tape roll. The packaging tape roll is very sturdy and makes a great circular shape. You can design this as a trinket box, jewelry box, or a handmade circular box to gift something inside - the possibilities are endless.
Total Time: 30 minutes
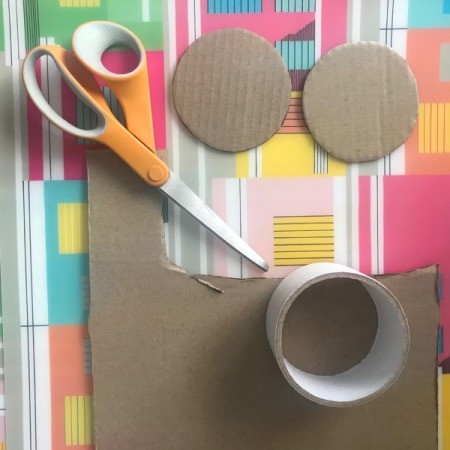
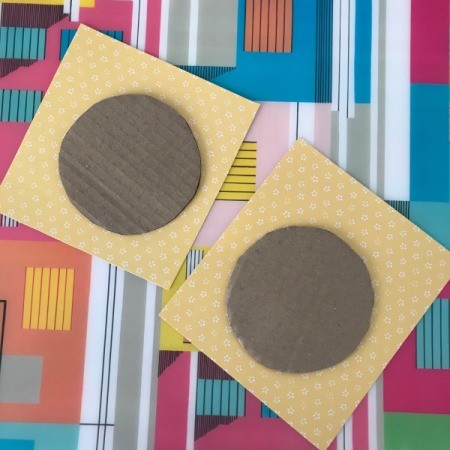
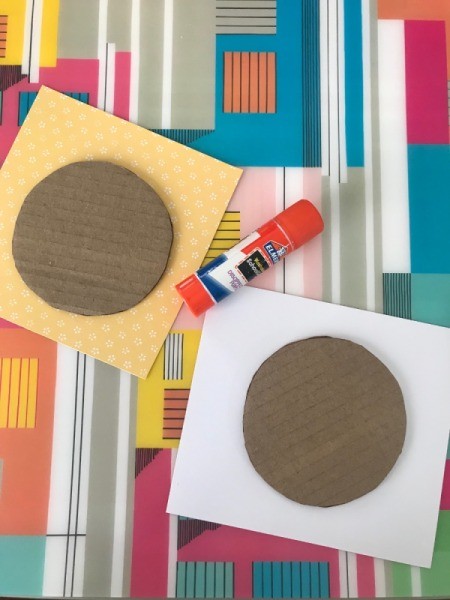
Supplies:
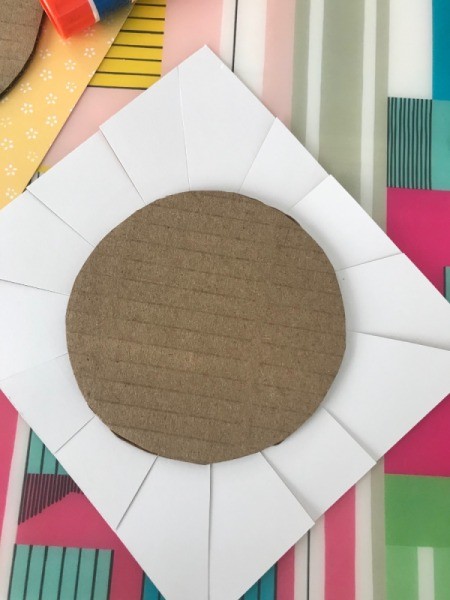
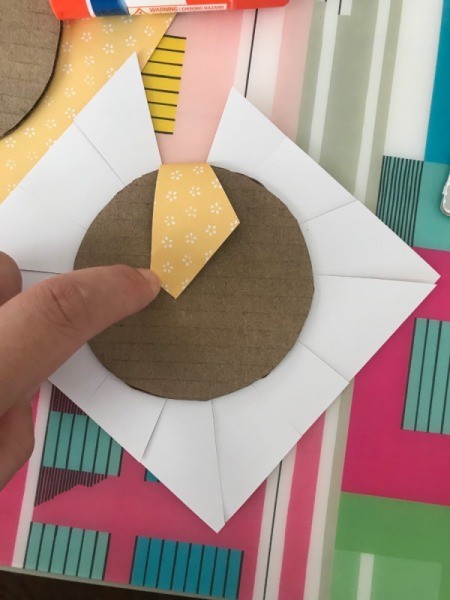
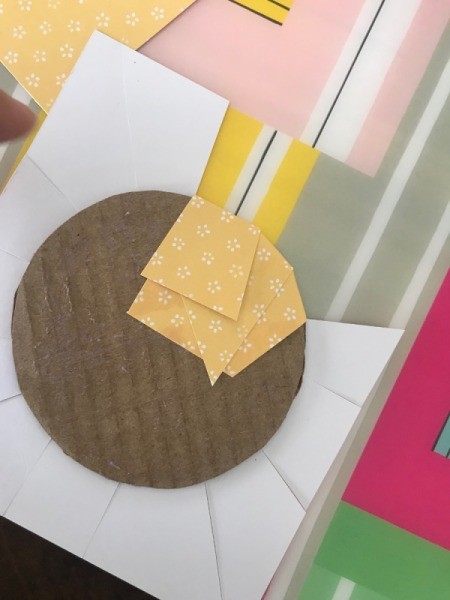
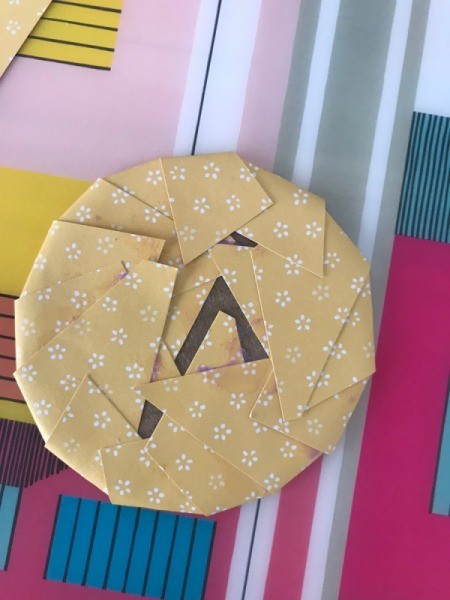
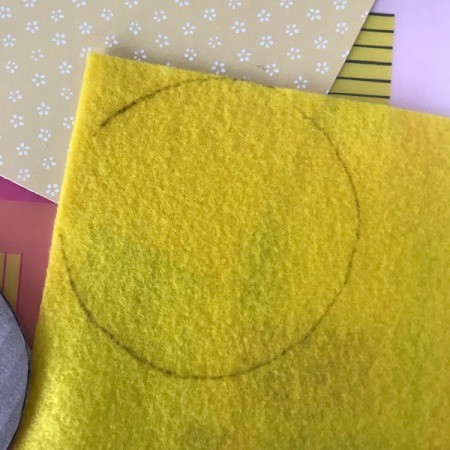
Steps:


Add your voice! Click below to comment. ThriftyFun is powered by your wisdom!