 I had so much fun with this one rainy day late in March! I found that the plastic helps retain moisture better than my plantable pots. You can use this project to help kids learn about the value of recycling and creating something from nothing.
As a budding educator, my thought would be to incorporate this project into science lessons (e.g. the stages of plant development) and a fun art activity with a moral. If you start early enough, the kids could take their seedlings home on Earth Day. :)
Total Time: A couple hours
Supplies:
- plastic yogurt containers
- Popsicle sticks
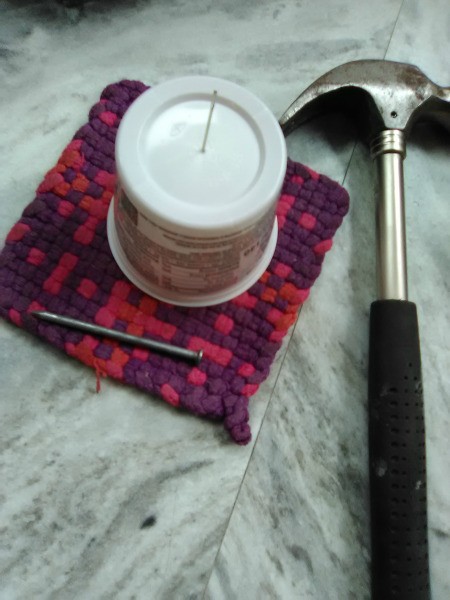
- campfire fork or hammer and nail with needle
- Sharpie
- sand paper
- acrylic paints
- paint brushes
- leak-proof barrier to place the pots on (e.g. old Rubbermaid tupperware lid. One holds up to 4 little pots)
- potting soil
- seeds
Steps:
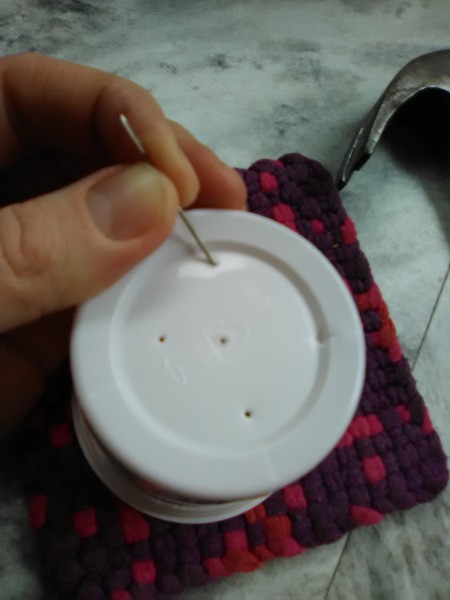
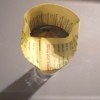
- Start by poking holes in the bottom of the yogurt containers prior to having children sand and paint the pots. I would recommend using a campfire fork heated over an open flame to easily melt small holes into the plastic. If you don't have that on hand, carefully hammer in holes and widen them with the needle.
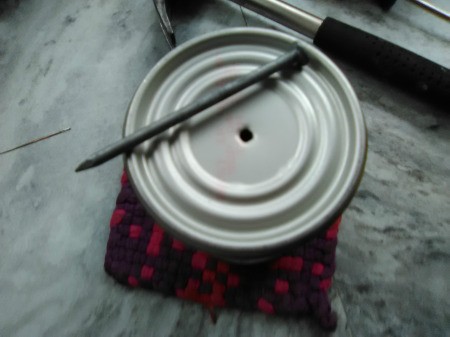
- Each pot should have 4 or 5 holes in the bottom. At least one should be fairly large for easy drainage. Or poke one big hole in the center of a can instead!
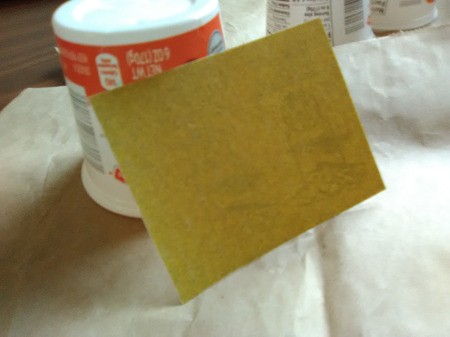
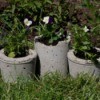
- Sand the outer surfaces of the pots using fine-grain sandpaper. This etches tiny scratches into the surface so that the plastic can absorb paint. You can do the same thing if you use cans, as well. Gently rub the powder off each pot with a paper towel.

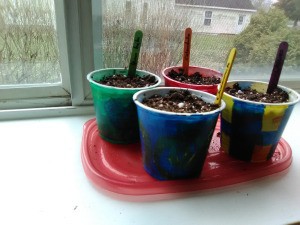
- Paint the pots. I like to have a cut up paper bag underneath to keep the table surface clean. You may need a couple layers of paint. Let the paint dry between layers.
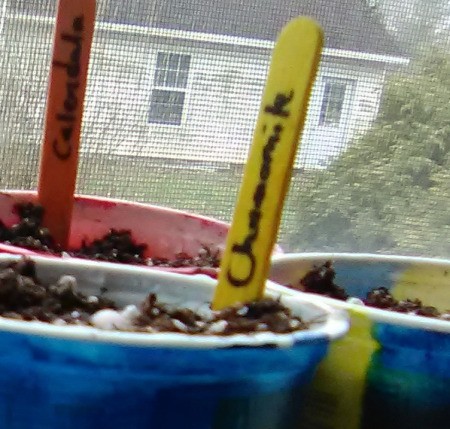
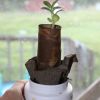
- Once fully dry, add moist potting mix (seed starting is best) and plant seeds according to instructions. Mark what is in each pot with a Sharpie on a Popsicle stick. Place the pots on a barrier to allow for drainage. I used a lid from an old Rubbermaid food container that had a leak. :) Find a sunny area away from cats and dogs to start your plants.
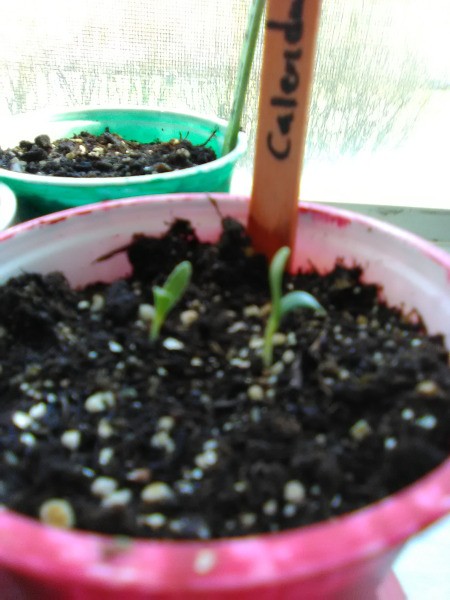
- Keep the soil moist by misting the surface well, once or twice a day, with a spray bottle until your seedlings sprout and mature. When the leaves look strong, you can water as normal.
Add your voice! Click below to comment. ThriftyFun is powered by your wisdom!
April 13, 20190 found this helpful
Great idea.thanksf.Bowen
Add your voice! Click below to comment. ThriftyFun is powered by your wisdom!