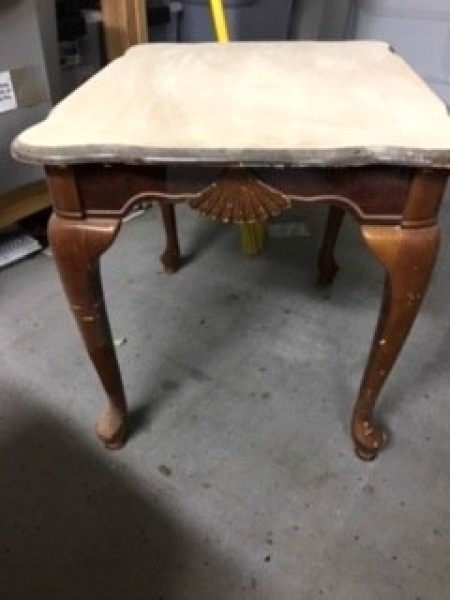
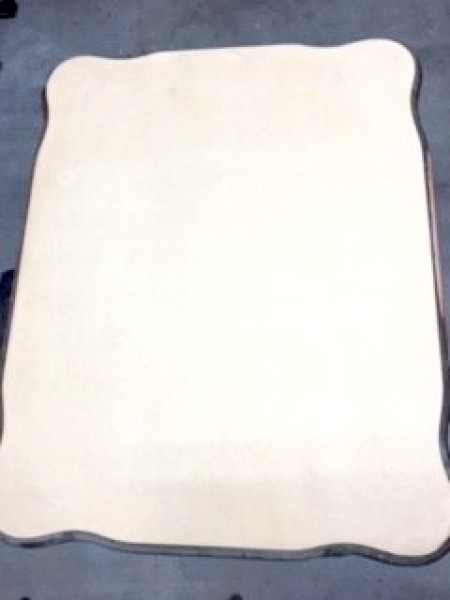
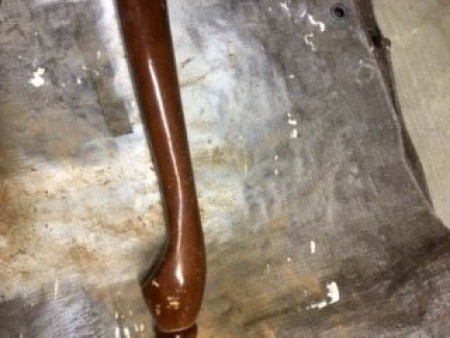
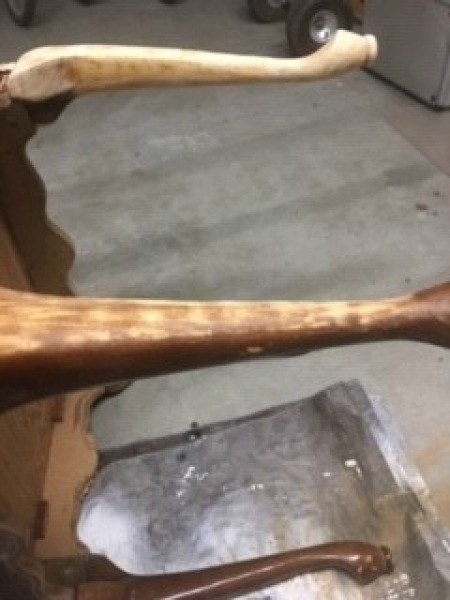
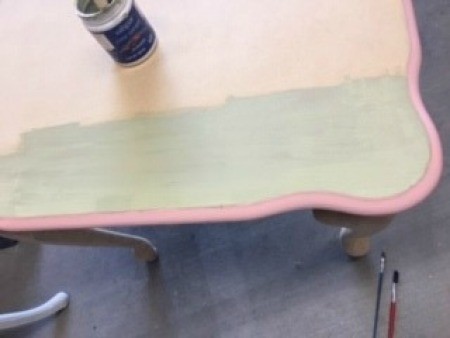
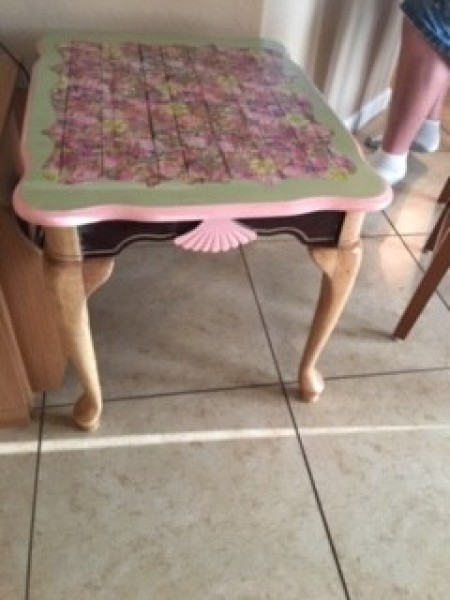
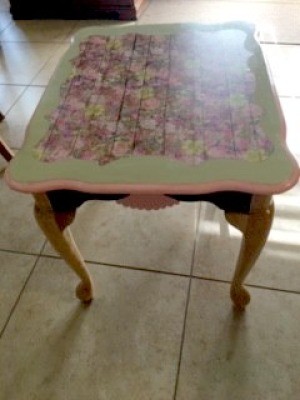
 I got this table for free and upcycled it for about $5. (I already had basic supplies of paint, brushes, stain, varnish, and sandpaper. The only things I purchased was the vinyl and a small bottle of acrylic craft paint.) The top was not wood, but the legs of the table were, so I decided to do a combination of wood, paint, and vinyl for the top. It turned out rather unique!
Total Time: 15 hours
Yield: 1
Supplies:
Steps: