 I am in the process of adding a few new elements to my home décor. The challenge is to try and upcycle old items, without breaking the bank in the process.
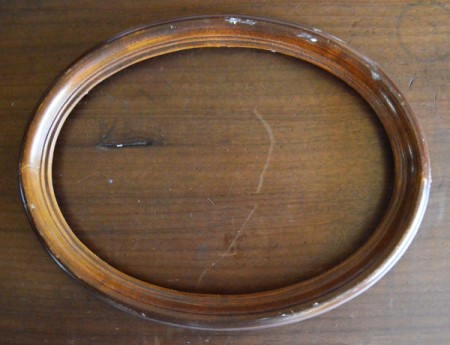
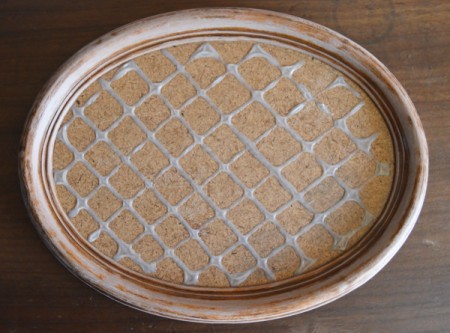
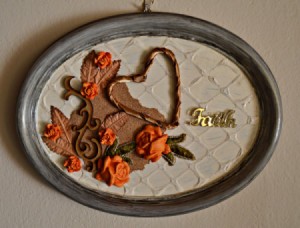
I found an old frame stuffed in a cupboard. The frame belonged to my late grandmother. The frame is about 50 years old, and was not in a good condition.
For this project, I had to buy a few things from a local craft shop. I spent ZAR70 on this project, which is equal to about $6.
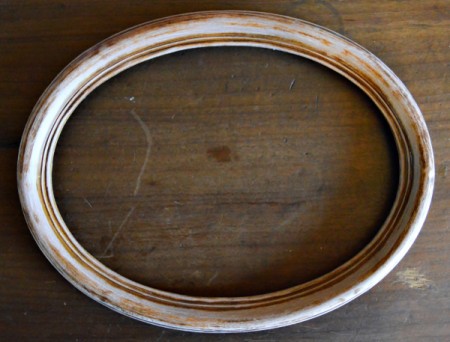
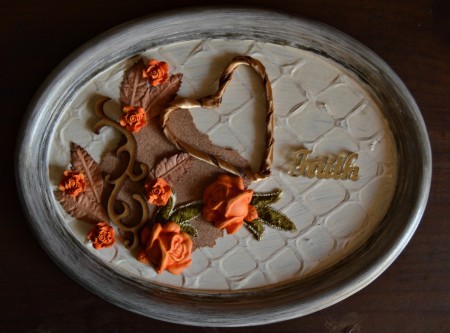
In the end, my grandmother's old frame got a new look. It gave me the perfect excuse to intertwine family memories with my current décor.
Total Time: weekend project, drying time included
Yield: one mixed media artwork
Supplies:
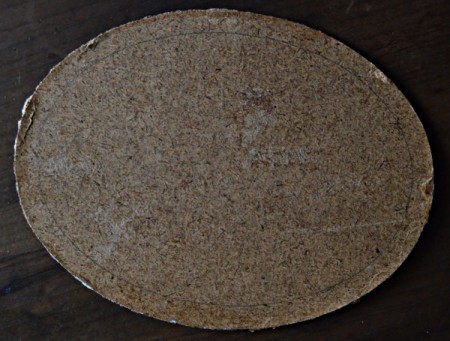
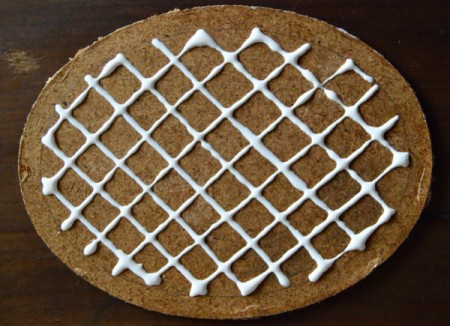
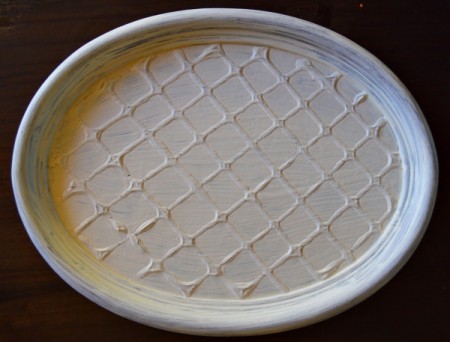
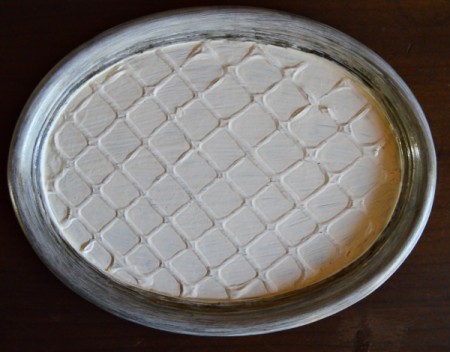
Steps: