This is a fast, easy way to use up old National Geographic magazines, newspapers, or stamps -- with some acrylic medium and a magnet sheet, you can create customized magnets!
Note: There are a few different types of magnet sheets you can purchase. Some have a layer of adhesive already included -- if you choose to buy that kind, you won't necessarily need acrylic medium. Others come with a paper surface adhered to one side, which won't work so well for this project as the paper may warp and bubble underneath your clipping. Make sure that the magnet sheet you purchase is thin enough to easily cut with scissors.
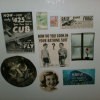
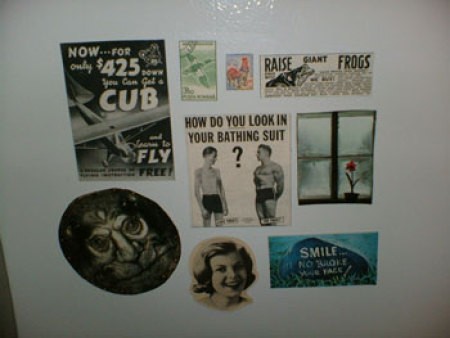
You'll need a lot of acrylic medium for this project, so it's a good idea to have a bowl of it ready. Also, what you'll want to do before you begin is have a stockpile of clippings or stamps that you'd like to use. National Geographic is a fantastic resource for gorgeous pictures. You might also want to use old advertisements from vintage magazines. The clipping doesn't need to be cut perfectly yet, as you can cut to the size and shape you like after it's been adhered to the magnet.
Once you have a good selection of clippings, take your paintbrush and paint a liberal amount of acrylic medium onto the magnet. Place your clipping on the painted area and smooth it down carefully with your finger, taking care to rub away any bubbles that appear. Paint some more medium over top of the clipping, and rub it with your finger in a circular motion until it appears to be perfectly smooth. Often, tiny bubbles are simply unavoidable -- especially with thin paper.
This is the easy part -- now, just wait for it to dry! The clipping should dry with a smooth, uniform glaze. Once it's *completely* dry, take your sharp scissors and cut it out. That's it -- you have a customized magnet!
About The Author: Jess Hampton has been an active DIY devotee since she was 15. Now, 10 years later, she uses her creations to furnish a little house in Regina, where she works as a freelance editor and lives with her husband, cat and 2 rats.
Add your voice! Click below to comment. ThriftyFun is powered by your wisdom!
Add your voice! Click below to comment. ThriftyFun is powered by your wisdom!