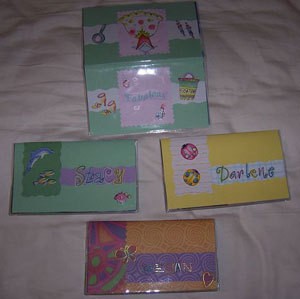
Calendar/Planner gift idea: Scrapbooking isn't just for photo albums
Supplies
- pocket planner with clear plastic cover
- piece of cardboard or heavy paper to use as a template
- glue stick
- scrapbooking paper (card stock)
- miscellaneous scrapbooking stickers, scissors, and embellishments
Instructions
- Remove planner from plastic cover.
- Open plastic cover and lay flat on cardboard.
- Trace around cover and cut it out with straight edge scissors (this is your template).
- Place template on card stock that you want to be your planner cover and trace around edges.
- Cut out with straight edge scissors and fold in half.
- Place inside plastic cover to make sure it fits, this may require a little trim work.
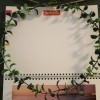
- Remove from clear plastic cover and embellish with coordinating paper, trim, stickers, etc. Be sure to decorate both sides. Use glue stick to attach embellishments that do not have an adhesive backing.
- Insert cover and planner into plastic cover.
This would also work with checkbook covers.
By Melanie from NC
Add your voice! Click below to comment. ThriftyFun is powered by your wisdom!