Check out these Homemade Bookmark Ideas shared by the ThriftyFun community!
Here is a duct tape bookmark my daughter made for me for my reading.
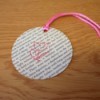
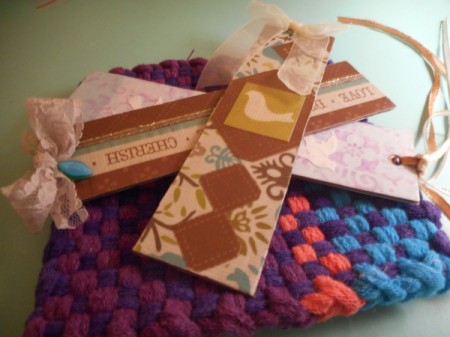
I wanted to come up with a homemade personalized gift for my best girlfriend of 42 years. She happens to be an avid reader and this is what I came up with, and with items I already had on hand :-)
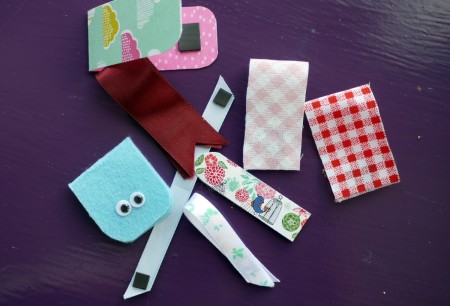
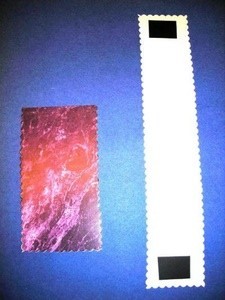
Add thin magnets to colorful paper scraps to make these handy magnetic bookmarks. It's a cute way to keep your place in any book without damage.
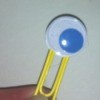
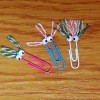
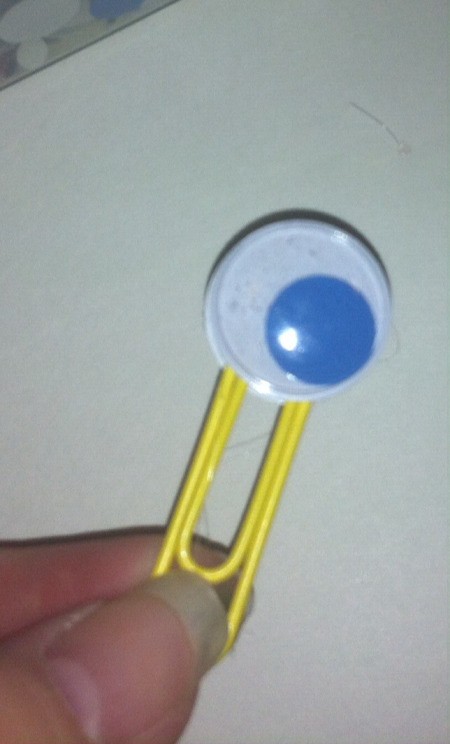
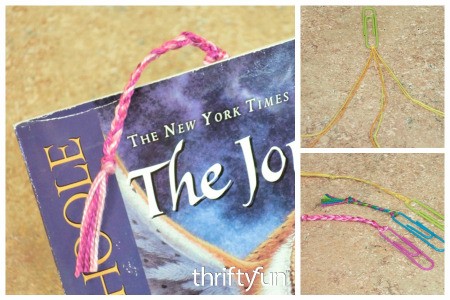
Paperclips make great bookmarks but why settle for a plain one? You can add small decorations to regular paperclips to make them fabulous. A great craft project for kids, teens and tweens.
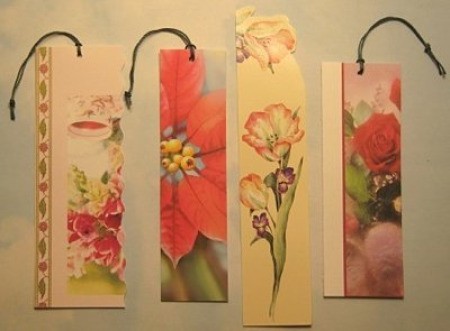
Greeting cards are a good craft supply to keep on hand; there are so many uses they can be put to. One easy and fun project is to make bookmarks from them.
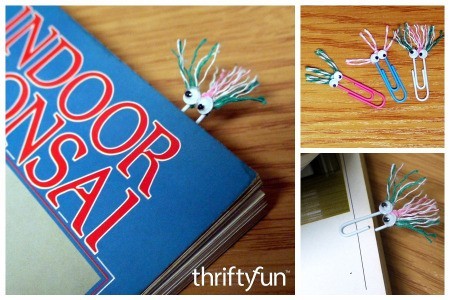
Make some of these fun bookmarks to use and give as gifts along with a book. This is a page about hairy monster bookmarks.
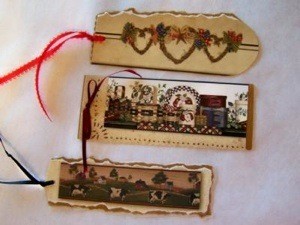
Having a good mark is very helpful when reading a book. Chipboard is a great material to make bookmarks from. This is a page about sturdy chipboard bookmarks.
Paperclip bookmarks are quite functional, and additionally, they are easy enough for children to make. This is a page about simple paperclip bookmarks.
Leftover wallpaper or pieces from a sample book can be made into beautiful bookmarks. This is a page about wallpaper bookmarks.
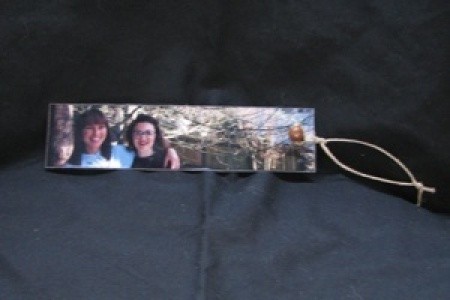
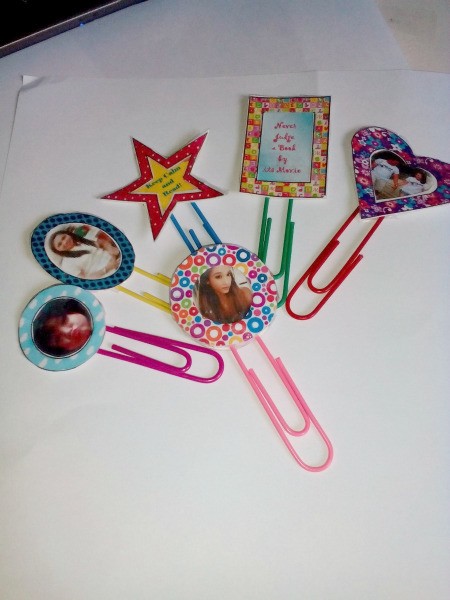
These tiny paper photo frames on a paper clip make simple, but unique bookmarks. This is a page about making paper clip photo frame bookmarks.
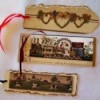
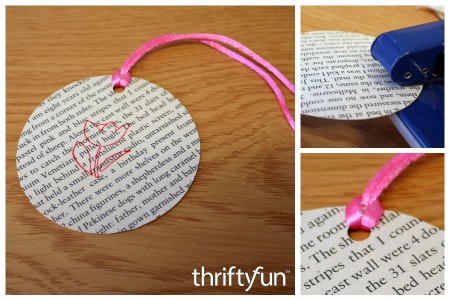
This is a page about making a book page bookmark. Discarded books can find a new life when used to make a variety of craft projects.
I am giving books to friends this year for Christmas. While getting out my card holder from last year filled with last years cards a thought came to me to make bookmarks to put inside the books I am giving.
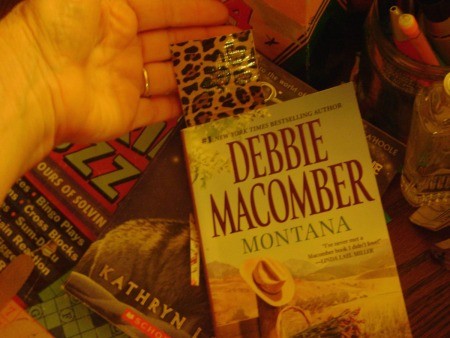
This is one of the bookmarks I made to go with the less than a dollar new books I picked up on half.com to give as gifts this year.
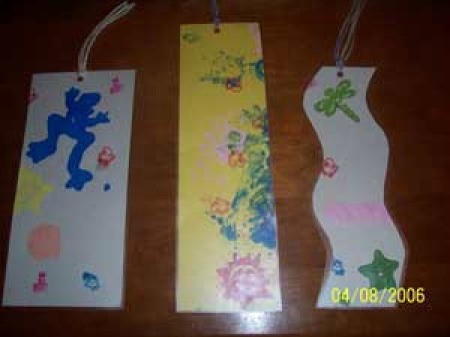
You and children of any age can make these simple paintings with just some construction paper, paint, and stamps (or cut potatoes).