katrine2706 Silver Post Medal for All Time! 449 Posts
September 15, 2016
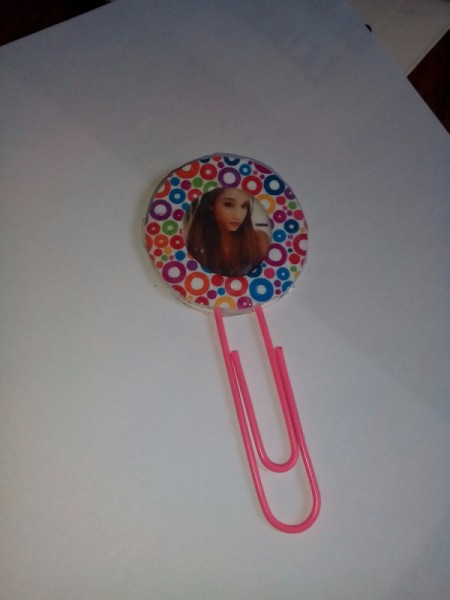
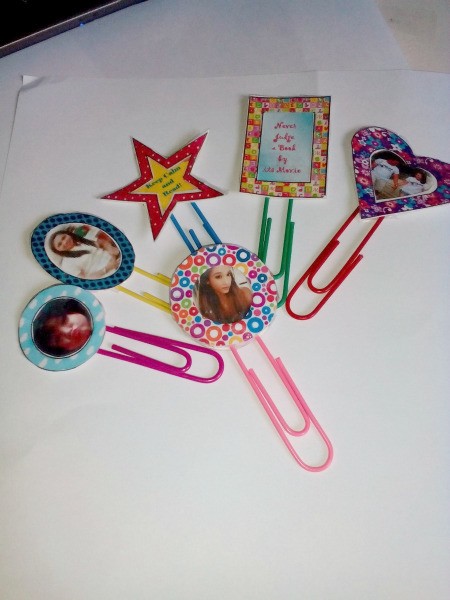
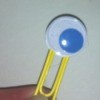
Here's a fun way to use a paper clip. I was thinking of making a bookmark out of it and I came up with the idea of creating a mini photo frame bookmark.
Advertisement
Total Time: 10 minutes
Yield: 1
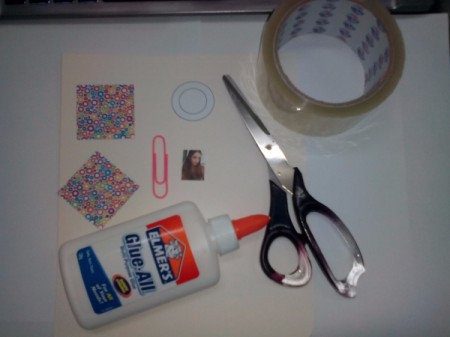
Supplies:
paper clip
picture of your choice
frame pattern
a piece of card board
printed paper design/background
scissors
glue
transparent tape
Steps:
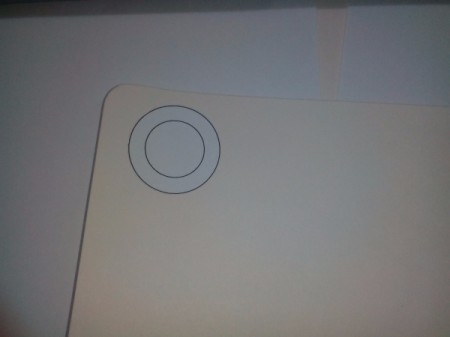
Glue the pattern into a piece of card board and cut it out.
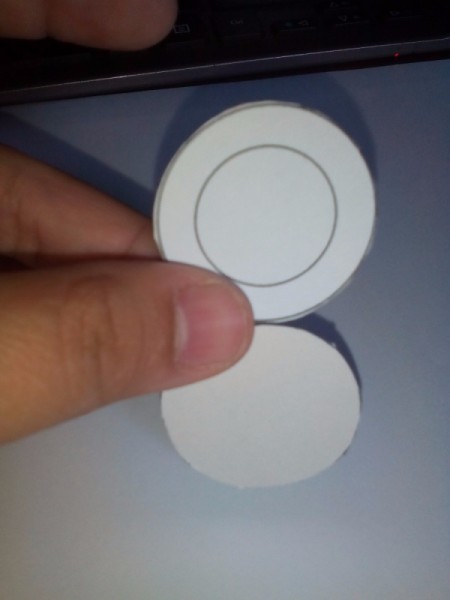
Trace and cut another copy of circle.
Now, we have two card circles. Let's call them "card 1" (circle card with smaller circle drawn inside) and "card 2" (plain circle card).
Advertisement
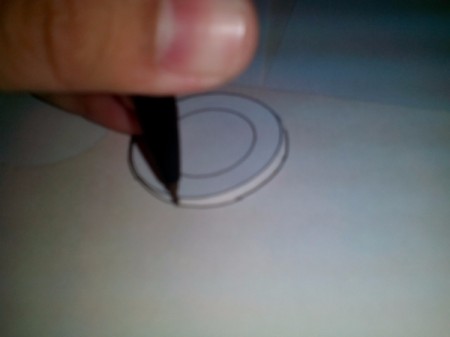
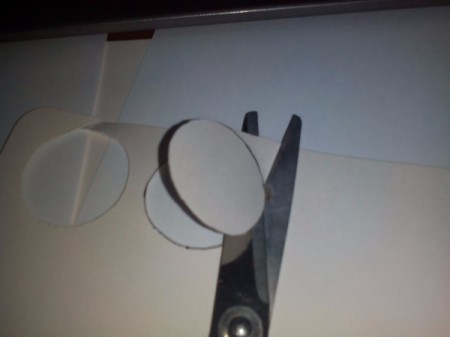
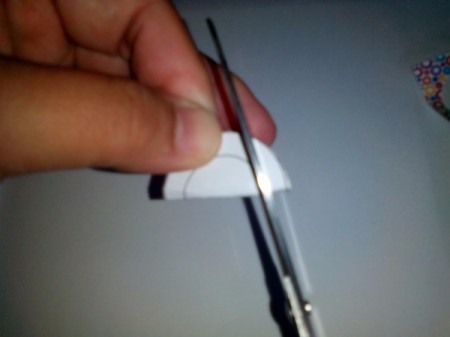
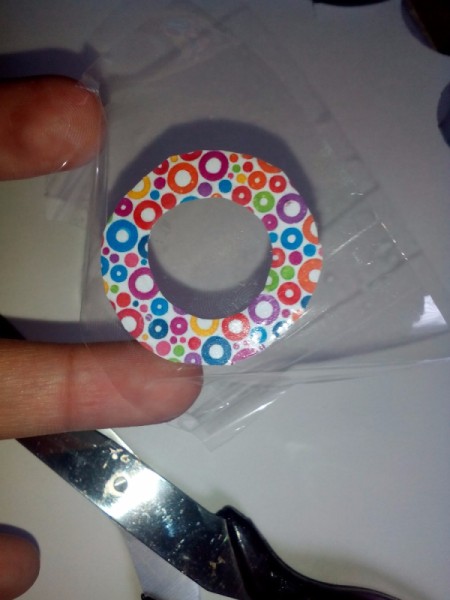
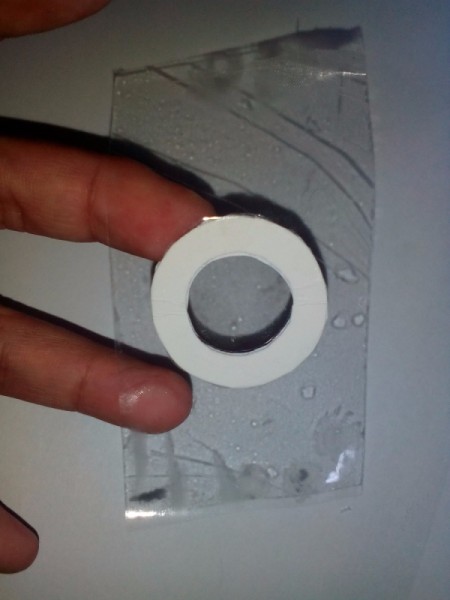
Now, get card 1, fold it in half and cut out the smaller circle.
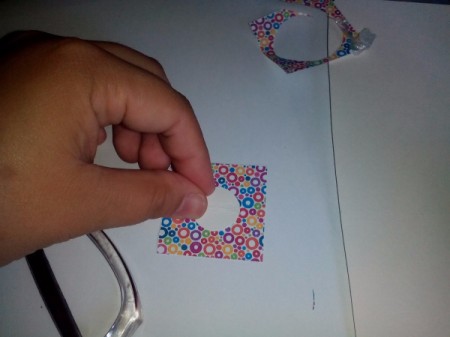
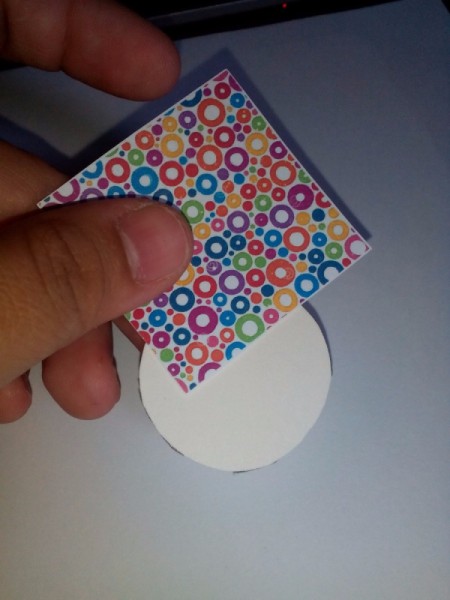
Position the small circle into the paper design. Trace and cut.
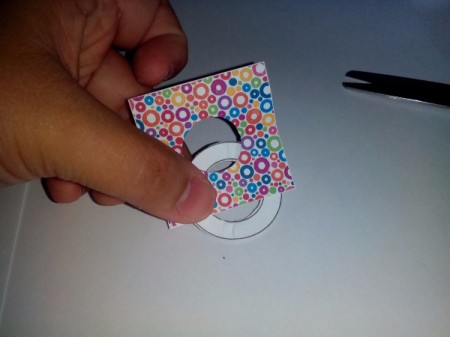
Cover card 1 with the paper design and glue it on. Trim off excess paper.
Cover with transparent tape on both sides then set aside.
Advertisement
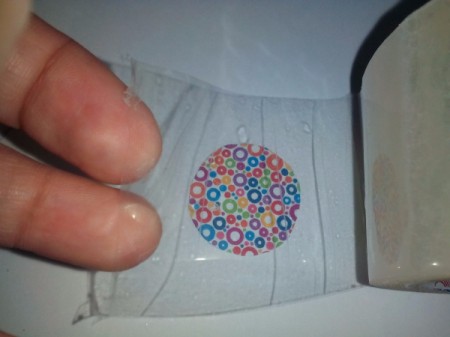
Get card 2 and cover with paper design. Trim off excess paper. Neatly stick the tape into it. The tape will make the frame look glossy. Trim off excess tape on both pieces.
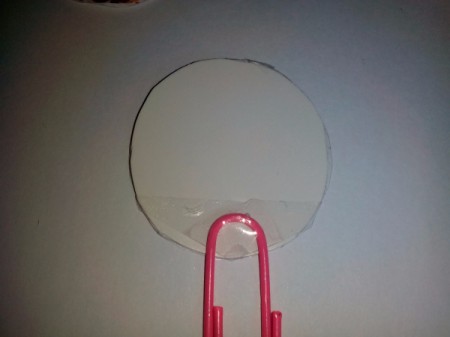
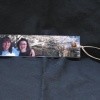
Position the paper clip on the uncovered side of card 2. Secure with tape.
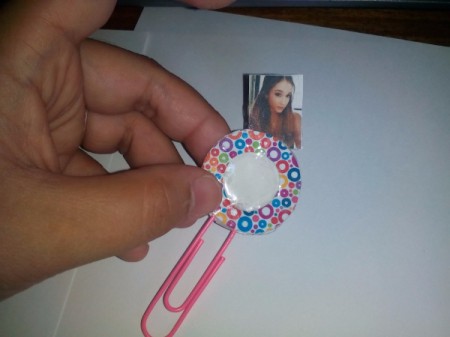
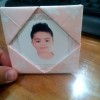
Glue the sides of the circle and stick them together. Insert your picture.
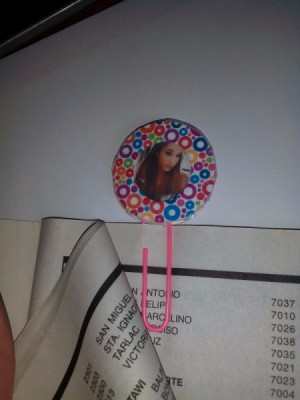 Here's a fun way to use a paper clip. I was thinking of making a bookmark out of it and I came up with the idea of creating a mini photo frame bookmark.