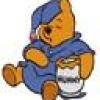
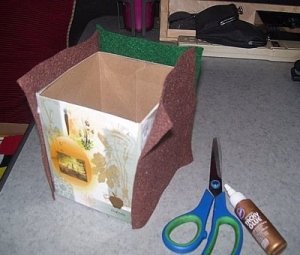
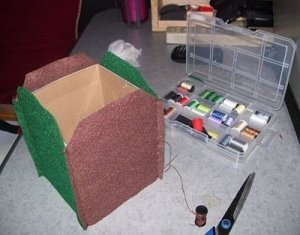
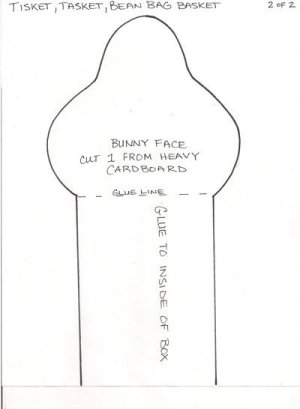
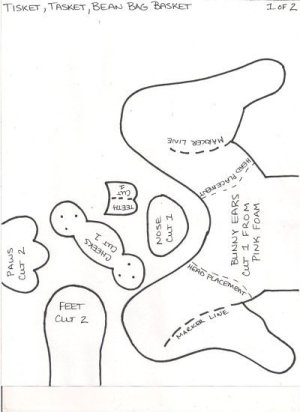
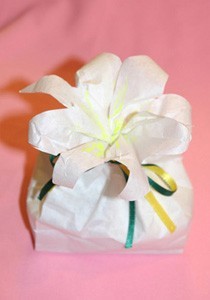
I love to recycle and find myself staring at items I use on a constant basis, thinking, "What can I create with this?" Not only does it save space in the land fills, I don't have to empty the garbage as often! One of my most used items is Kleenex and I came up with this idea for my grandson on Easter.
Approximate Time: 1-2 hours approx.
Kids take turns trying to toss the eggs into the bunny basket. Make up your own rules for the scoring system.
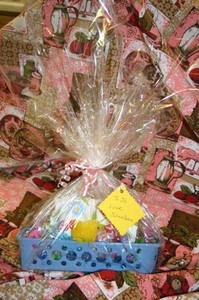
Note: You can omit the eggs and just make the basket. Fill with goodies for a great Easter gift!
By Mary from Palm Coast, FL
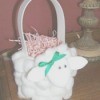
Make this sweet wooly lamb Easter basket with simple to find supplies; some you may already have at home. This is a page about cotton ball lamb Easter basket.

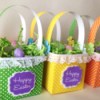
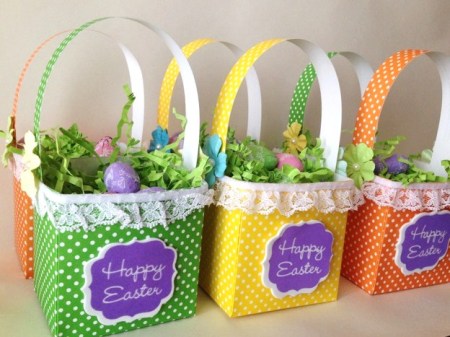
Using your choice of cardstock and embellishments, you can make up several of these pretty paper baskets for Easter. This is a page about making a paper Easter treat basket.
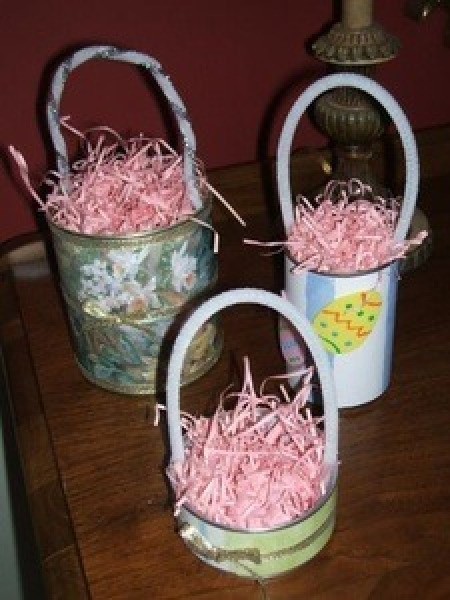
Recycled cans from coffee, formula or other larger canned goods can be reused to make adorable baskets for the Easter Bunny. This is a page about making Easter baskets from recycled cans.
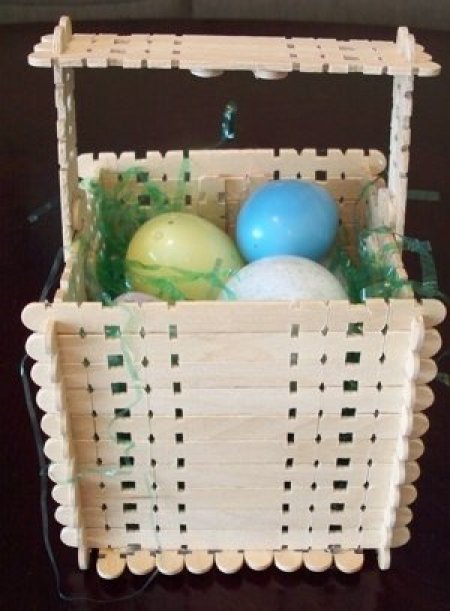
Wooden craft sticks, tongue depressors, or Popsicle sticks can be used to make these sturdy baskets. It's a great project to do with kids for the Easter Bunny. This is a page about making a craft stick Easter basket.
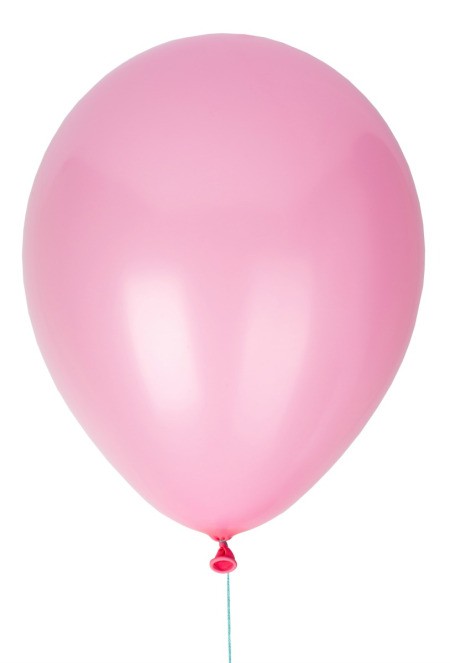
Using a balloon as the mold, you can make cute Easter baskets from string or yarn. This is a page about use a balloon to make an Easter basket.
A coffee can makes a perfect last minute Easter Basket for children. This is a page about making a plastic coffee can Easter basket.
This page contains the following solutions.
This quick treat bag is easy enough for grade schoolers. Use it for your Sunday School Class and talk about the symbolism of the Easter Lily. Or, wouldn't Grandma love this filled with marshmallow peeps and jelly beans from her favorite little Easter bunnies?
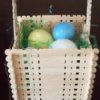
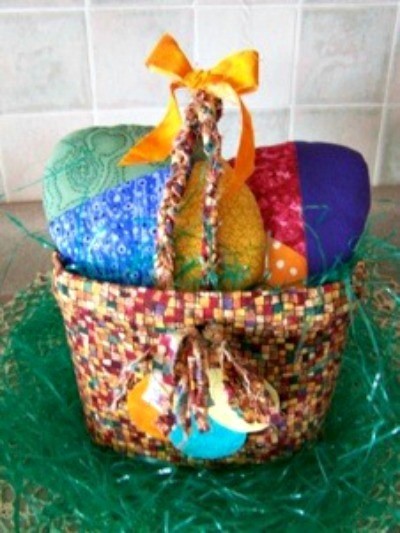
A child would be thrilled to have their own gathering basket or it could be used as a centerpiece after filling with colored eggs and surrounding with Easter grass.
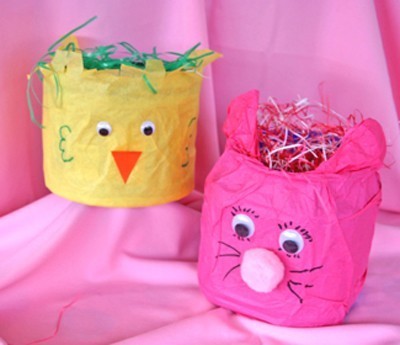
These are Easter baskets recycled from a dinner out at Kentucky Fried Chicken and from empty containers of products I use on a daily basis.

For a quick, easy, and cheap Easter basket, rinse and clean an empty liter soda bottle, cut a 1 inch "ring" at the top of the body of the bottle (after the spout), and cut in half. Trim the rest of the body of the bottle to the height of the "basket" you'd like.
It's that time again when we need to be creative about what goes into that Easter Basket so that we don't put our kids on chocolate overload. Personally, I like to put inexpensive toys like crayons and books in their baskets, but recently I was asked by my grandson William if I could get him some coloring pages to color when he had to spend some extended time here.

Here's an easy and cheap Easter basket that the kids can make.
I have four children and Easter baskets can get messy, expensive, and just full of junk, so every year I give them everything they will need (and ask for anyway ) for a fun summer. The basket is always a big sand pail.
Buy small brown paper bags and paint them with vegetable oil until the paper is translucent. Turn them upside down to drain out any excess oil. Pour tempered chocolate inside the bag and turn and tip the bag until all sides are covered.
Make your own Easter baskets. Use baskets from around the house or reuse strawberry baskets. You can use fresh grass from outside as basket filler!
Need a last-minute Easter basket? You've probably got packs of plastic drawer organizers somewhere in your house that you've never used. Well, now's the time!
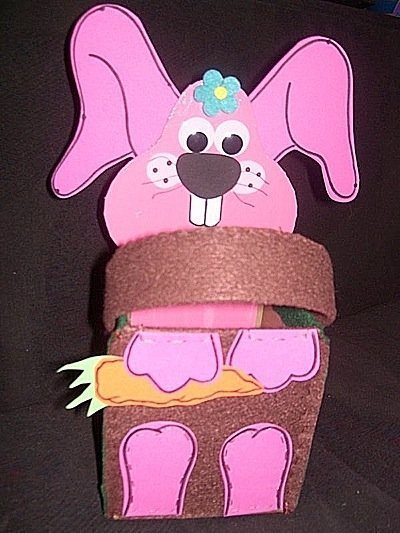
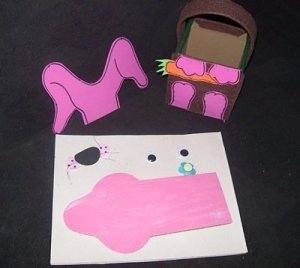
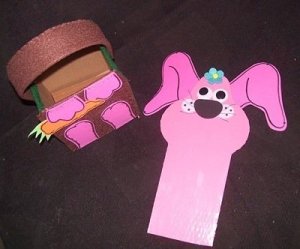
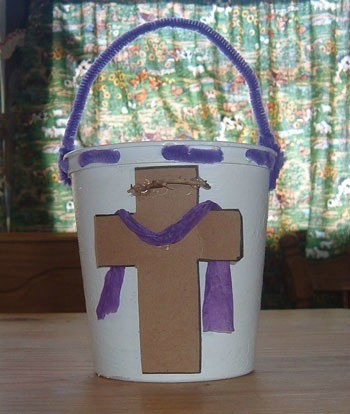
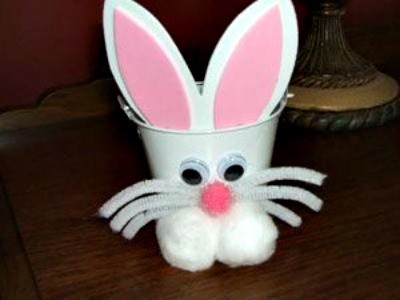
Transform a small metal pail into a bunny to hold Easter treats. These are a snap to make and they make cute little Easter gifts.
Create beautiful holiday theme basket fabric garters to embellish baskets with strips of fabric and elastic. Add them on as embellishments to basket handles or rims. Here I have embellished this little basket's outer edge with a very pretty Easter print fabric in 3-inch wide strips.
Here are the questions asked by community members. Read on to see the answers provided by the ThriftyFun community.
 I am looking for directions on how to make an Easter basket like one I received as a child in the 60s. (something similar to the attached photo of a pinkytoast basket) My mother made it out of a bleach bottle and it had a hole cut in the front or back.

By Cindy S
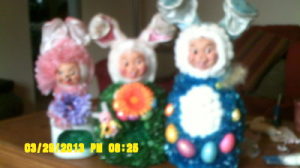
Supplies: Hot glue gun and glue sticks, Bleach bottle or any strong plastic bottle, Styrofoam ball (large), Bunny ear headband, Doll face or rabbit face (very hard to find I am using my originals from the 60s), Pipe cleaners cut into 1 inch pieces, a few rolls of cellophane wrapping paper cut into 2X3 inch squares, 1 inch pompoms, 3 inch pompom for tail, accessories to decorate with flowers, birds etc.
Directions: first cut the hole in the bottle where you want the opening, then Hot glue the Styrofoam ball firmly to the top pressing down. Glue on headband, glue on face, Take each square of cellophane and fold it like a bowtie then take a pipe cleaner and twist it in the middle of cellophane.
After you have your cellophane pieces ready begin gluing them into the Styrofoam head or you can use the pompoms for the head, Then glue the cellophane pieces directly to the bottle. After all cellophane is glued in place you can take scissors and trim cellophane to look nice. I hope this helps.
I had one as well and have made them too....if you go to Amazon and search "vintage craft bunny faces" it should come up....I plan to make these for Spring craft show....
I had one as well and have made them too....if you go to Amazon and search "vintage craft bunny faces" it should come up....I plan to make these for Spring craft show....
I was looking for these instructions for ever. How much cellophane do it take to make these
My Grand-Moma made Easter Bunnies from a Clorox Jug.
The material are as followed:
(1.)Empty Clorox Jug (2.)Cotton Balls (3.)Glue (4.)Pink Velcro for the ears (5.)Plastic 's
Has anyone found where you can buy the faces for the old fashioned Clorox bottle bunnies?
By Debbie B
Hi...when I was an arts and crafts counselor years ago, we used markers construction paper on year, but another year someone donated faces like these (see eBay auction) link and they worked.
www.ebay.com/
Any time I want old-timey items like this...my first line is the flea market, second it Etsy and third is eBay. Inevitablely someone is selling exactly what I need!
Hope you find what you need!!
I am looking for ideas for Easter hats for boys and girls and baskets.
By kerine wattley from Trinidad and Tobago
Check out these photos.
I designed this Easter Basket for my 1 year old granddaughter. I drew a bunny on both sides by hand, with beads for eggs under him. Then I put a pom pom tail on the end. I spelled her name out on the handle, with more egg beads.