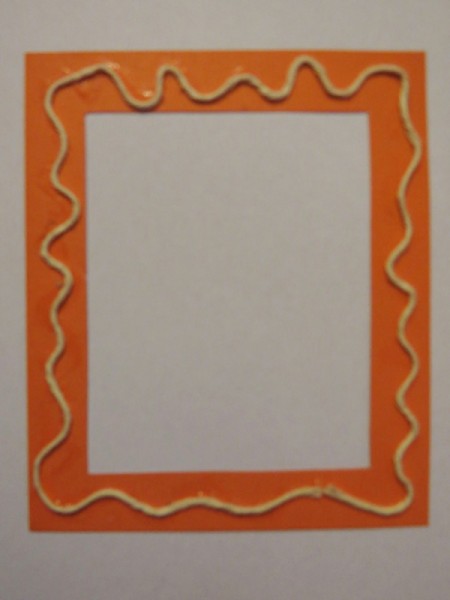
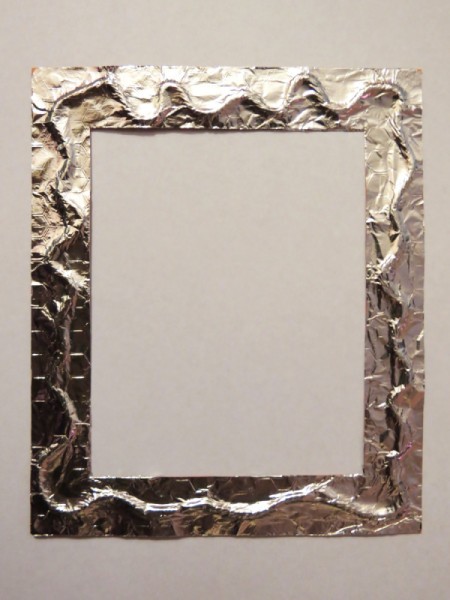
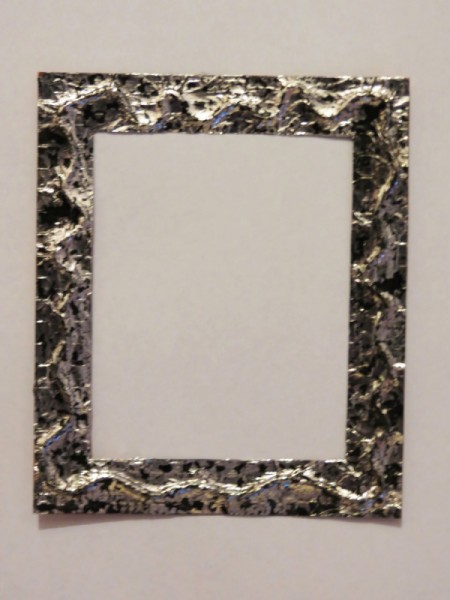
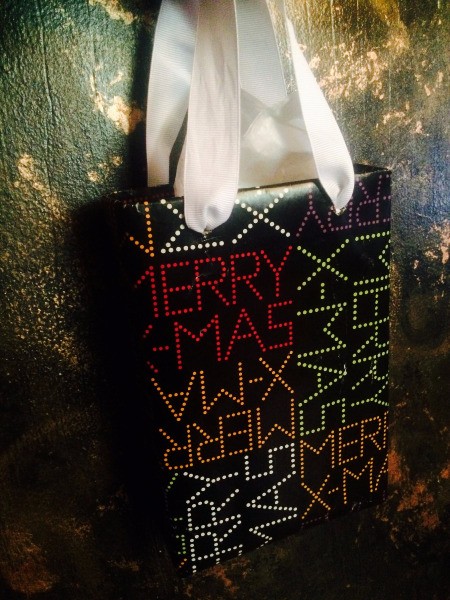
 Use aluminum foil and some shoe polish to create this mock pewter gift bag. Fill it with stocking fillers or candies, and you are ready to spread some Christmas cheer to friends and neighbors alike!
Total Time: 15 minutes
Yield: one bag
Supplies:
Steps:
This page contains the following solutions.
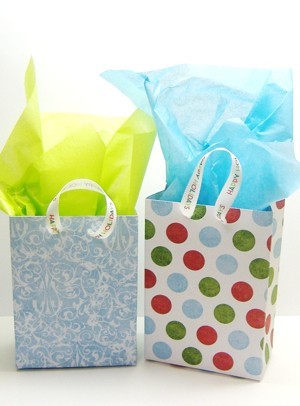
If you don't have the right size gift bag on hand, create your own by recycling a box. These are much sturdier than gift bags and can be used over and over again.
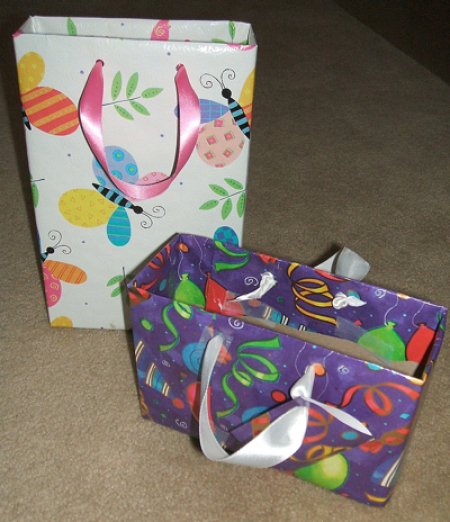
Don't throw away your cardboard food boxes. Turn them into gift bags in a few simple steps!
Cut out template and trace onto decorative paper. Make folds and score with a bone folder. To assemble bottom, fold short flaps, then the long flaps.
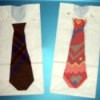
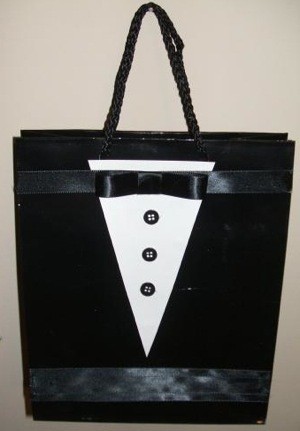
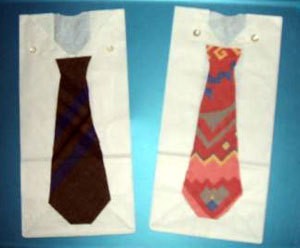
Dress a wedding gift in formal wear with this tuxedo-style bag, or use it for a special gift for that special man in your life.
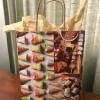
I collect shopping bags from department stores and such and try to re-use them despite the printing on them. One way I can do that is by covering the printing/advertising with pictures cut out of magazines or calendars.
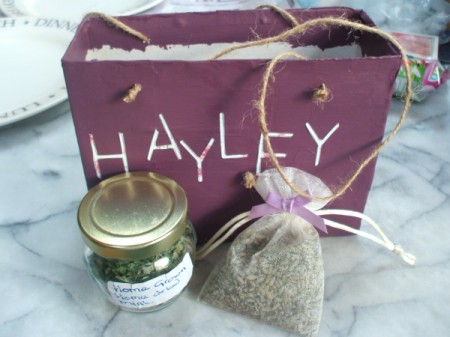
This gift bag is made from a crispbread box, painted using a 99p test pot. For the handles I used twine/string.
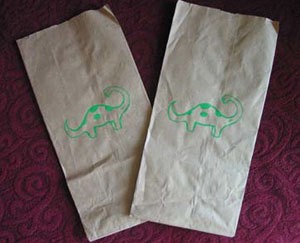
Take a 9x12 sheet of felt and cut it in half longways with decorative scissors. Then fold in half short ways. Sew 1/4 inch seam with machine or by hand or glue side openings only, to close.
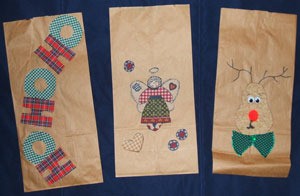
Create your own gift bags using ordinary brown lunch bags, fabric, and fusible web. I cut out the words "Ho ho ho" from plaid fabric and fused them on a bag.
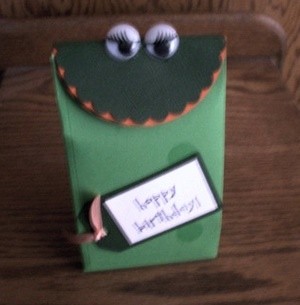
This little froggy gift bag is very easy to make, using a 12x12 inch piece of card stock and scoring a bit, two circles and a couple of eyes. The bag itself isn't very big but fun. I made it for my granddaughter's birthday!
These bags make great inexpensive gift bags or you can use them for parties.
For a frugal and fast gift bag, use a brown paper lunch sack. Take a bag and fold it down about 1 - 2 inches from the top.
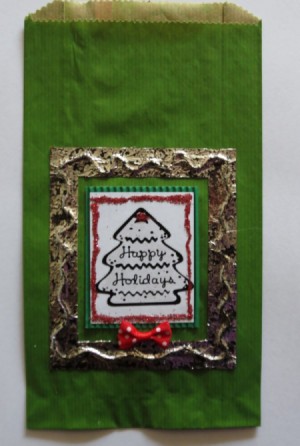
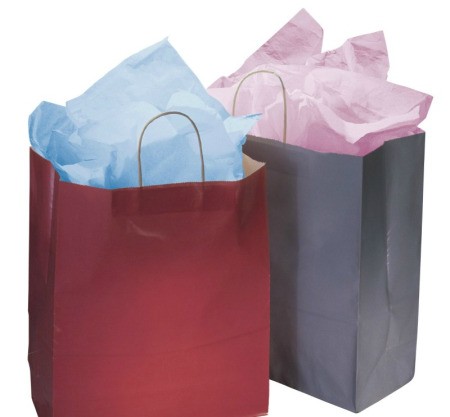
If you ever come into possession of the shopping bags with twine handles, used by some of the more "upscale" stores, turn them into gift bags! For example, cut the front off of a Christmas card picturing Santa, a winter scene, etc.
Keep the kids busy and have great, cheap gift bags. Get a pack of brown lunch bags at the dollar store and let the kids decorate them with markers, stencils, glitter-glue, whatever is on hand.
Give the kids a stack of brown paper lunch bags to decorate. Use them for small gifts. Add a ribbon tie, a raffia bow or staple shut and add a stick-on bow and you're good to go! By Linda
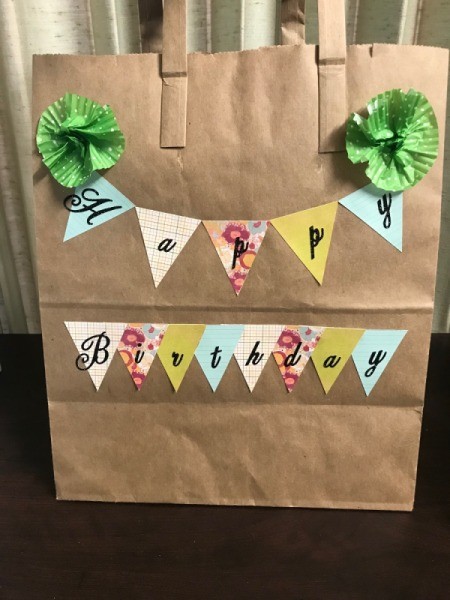
Start with a kraft paper grocery bag and some colorful cupcake papers and you too can fashion this gift bag. This page contains photos and instructions to assist you in making a happy birthday gift bag.
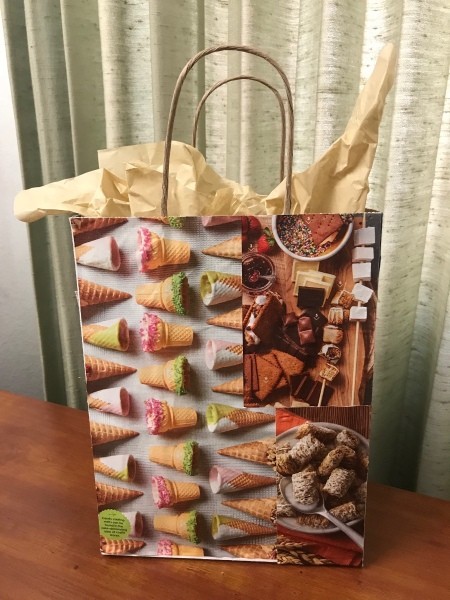
Using magazine clippings, or other decorative, colorful paper pieces you can upcycle a plain kraft paper shopping bag into a pretty gift bag. Let us show you how.
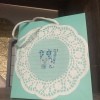
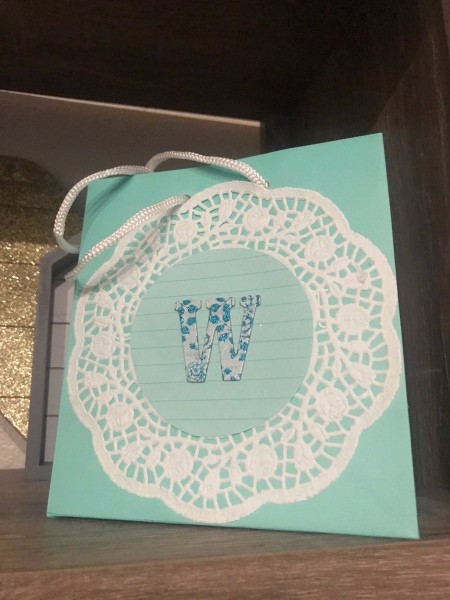
Transform a plain gift bag into a monogram bag using a paper doily, paper, and and a chipboard letter. Step by step instructions follow.
Transform a plain brown paper lunch bag into a cute Rudolf gift bag. This is a great project for your kids to work on.

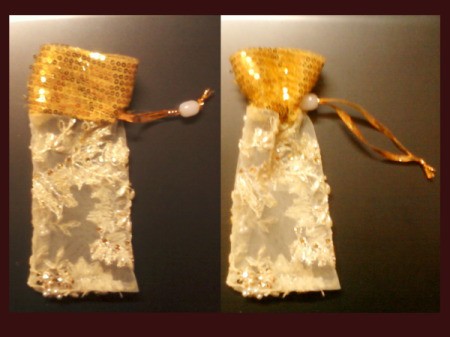
Use scraps of cloth and decorative cord to make pretty drawstring gift pouches. The instructions for this hand crafted project follow.
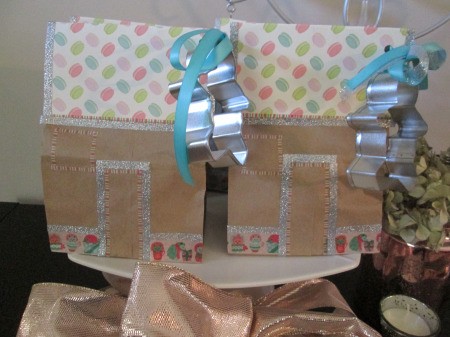
Make your own seasonal gift bags using brown paper sacks, craft paper, and washi tape. Add a bow and cookie cutter and you have gingerbread house gift bags.
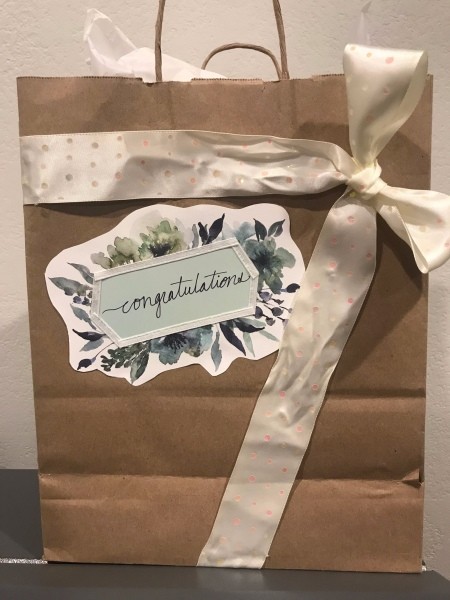
Make your own sturdy gift bag by reusing a shopping bag. Add embellishments and a bow. This congratulations gift bag project follows.
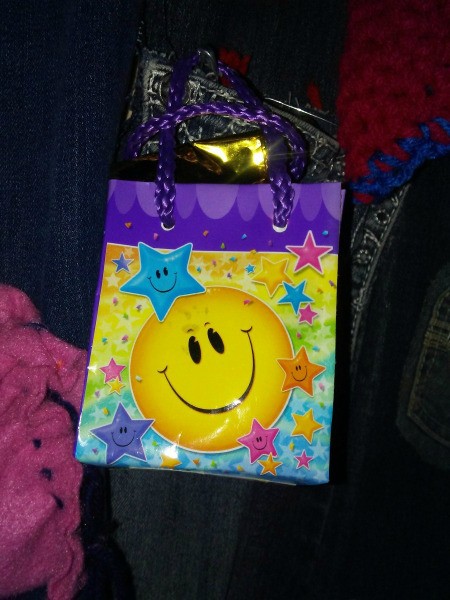
This is a page about reusing a balloon weight bag as a gift bag. If your bundle of balloons came attached to one of these cute little weighted bags, here is a tip about to reuse it as an actual gift bag.
This page explains an easy way to scent your gift bags intended for friends and family who enjoy fragrances. This is a page about how to make scented gift bags.
A fun way to easily decorate a dad's gift bag. This is a page about making Dather's Day neck tie gift bags.
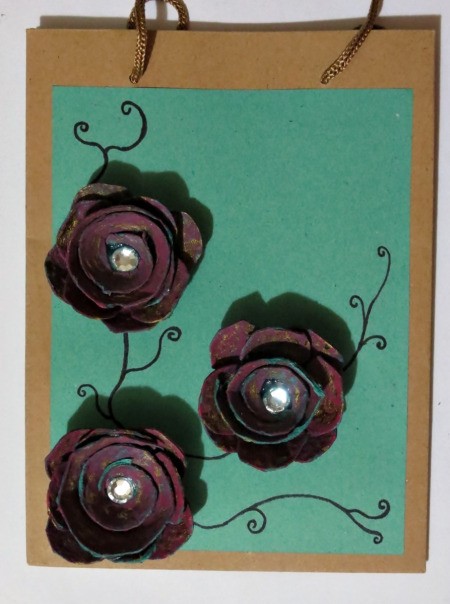
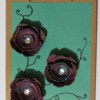
This is a page about making a vintage rose gift bag. Roses made from decorated egg carton cups are used to embellish a plain gift bag and make it unique and special.