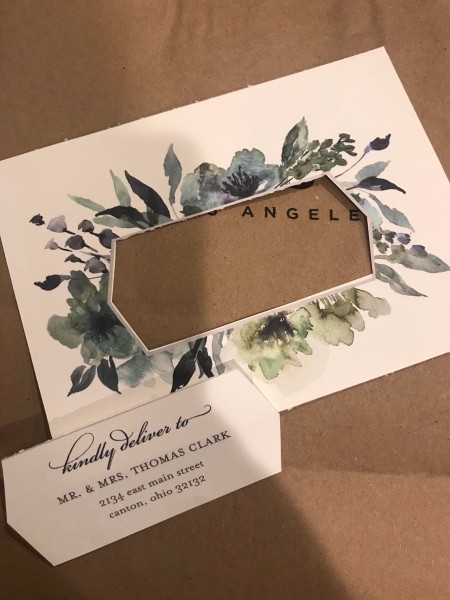
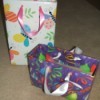
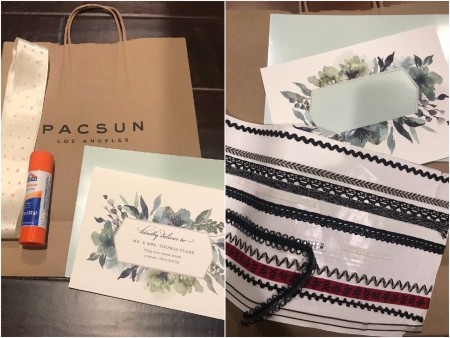
 I needed a "Congratulations" gift bag and went to Dollar Tree. Many of the bags there were very thin for the fragile item I was gifting. I was afraid the bag would not hold up. I decided to make my own gift bag upcycling items I already had at home.
Total Time: 20 minutes
Yield: 1 giftbag
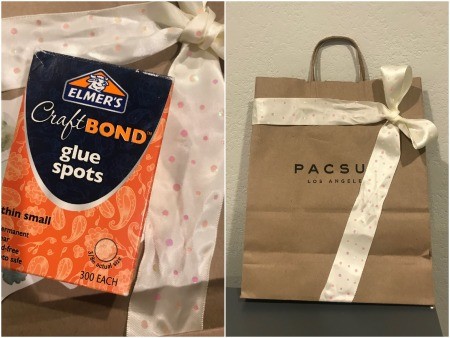
Supplies:
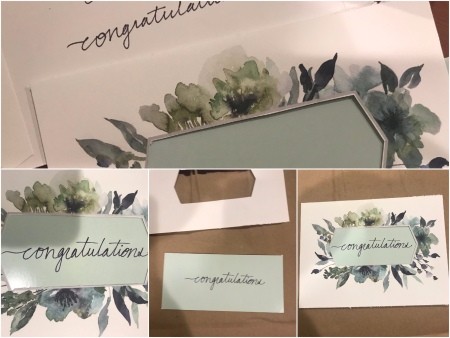
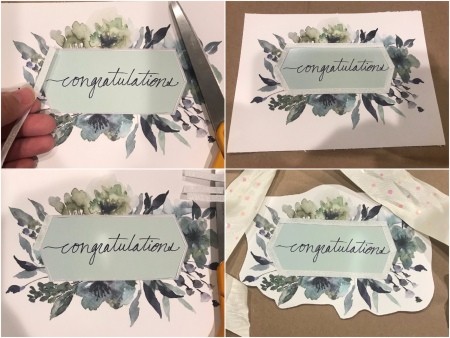
Steps: